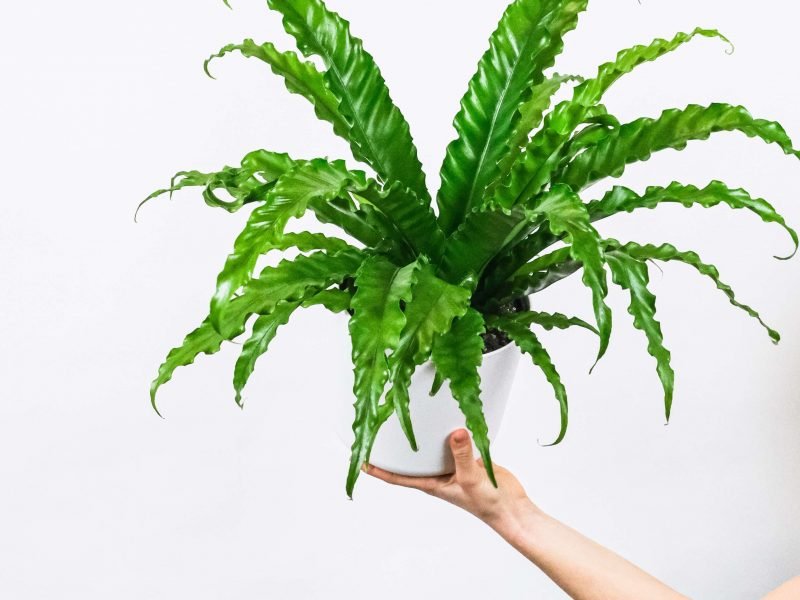
Anyone who loves Bird’s Nest Ferns as much as we do, will also probably be desperate to know what methods you can use, as well as how easy and quick it is…
In this post we will cover the step by step process, as well as what tools you’ll need, issues you may face and all of our top tips for a successful Bird’s Nest Fern propagation.
What is propagation?
We assume that if you’ve landed on this page, you probably know what propagation is but we thought it was important to cover this basic first before getting into the finer details. Simply put, it’s is the method of growing new plants out of existing ones. This can be done through a range of methods, from taking a cutting and growing in water as well as division of the mother plant and a few other more challenging processes.
Why propagate a Bird’s Nest Fern?
Lots of people want to simply multiply the number of plants you have without actually having to open your wallet. Whether you want to expand your collection, share with friends and family or even sell off the new plants, there are so many good reasons!
You may also be forced to propagate your Bird’s Nest Fern if part of your plant is starting to die. We always recommend trying to save your plant, but taking a few spores to grow new ones is a great option in case your mother plant doesn’t make it.
What things will I need to propagate my Bird’s Nest Fern?
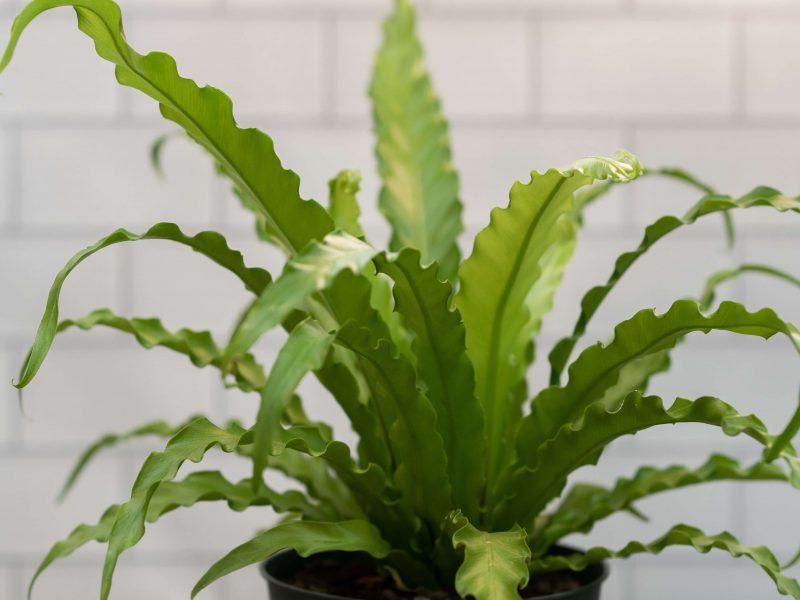
Healthy and mature Bird’s Nest Fern
Sharp scissors/shears
Spare pot(s)
Fresh soil and water
Newspaper or plastic sheet (if you’re propagating indoors)
Sphagnum moss
What methods can I use to propagate my Bird’s Nest Fern?
These plants are quite unique in that you can’t use any of the more common methods like stem cuttings or division. The most successful method of propagating a Bird’s Nest Fern is through spores. These appear as brown spots on the undersides of your plant which can be collected and grown into new plants. It is a little more unpredictable than the methods you might be used to but if done right, can lead to plenty of incredible ferns. Below we will go through a complete step by step of this propagation method.
How to propagate your Bird’s Nest Fern through spores
Locate healthy spores
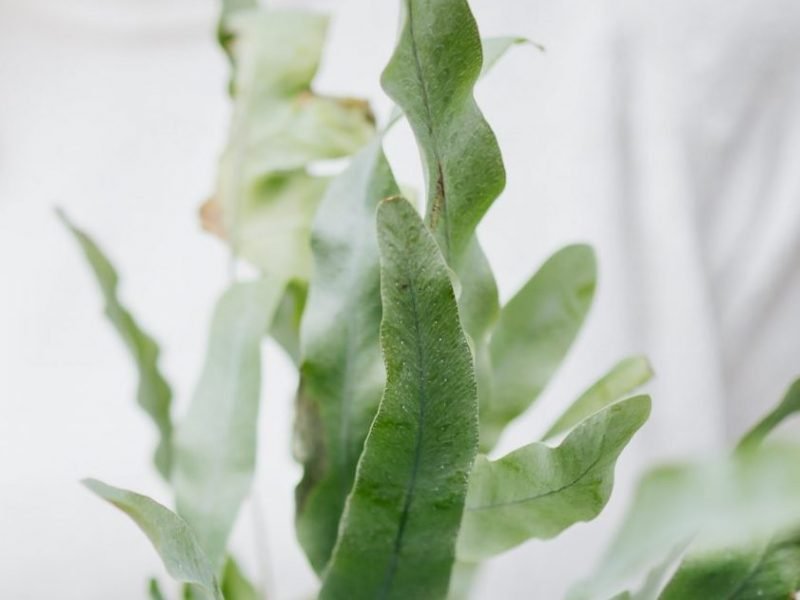
Once your Bird’s Nest Fern matures, you may start to see spores forming on the undersides of the leaves. These look like brown fuzzy spots or lines. Make sure that when you propagate your Fern, that the spores are pump and fuzzy.
Cut off the frond
Once you have located one or more leaves (fronds) that have plump fuzzy spores, cut one or more of them off with clean, sharp scissors. One leaf should be enough but if your fern is bushy and you don’t mind taking a few more leaves off, then the more spores you use, the higher the chance that some will successfully germinate.
Place the frond(s) in a paper bag
The next step is to place the fronds into a clean, dry paper bag. Over the next few days, the spores should start to fall off the leaves into the bottom of the bag which makes it easy to collect them.
Add to sphagnum moss
Collect the spores and place them on top of a container filled with sphagnum moss. Make sure to mist the sphagnum moss regularly. This should keep the moss moist but not waterlogged.
Cover with a plastic bag
To create the perfect environment for germination, cover the container with a clear plastic bag and place in a warm, shady spot. This will lock in some of the moisture which will help the spores turn into actual Bird’s Nest Ferns.
Mist the moss regularly
Lift the plastic bag and mist the sphagnum moss regularly. You want to have some moisture in the moss, but prevent it from becoming soggy. On average, you’d look to mist every few days but adjust this if needed.
Enjoy your new growth
Germination should happen in a few weeks and growth should soon be visible. Growth across the spores will differ, some will be quicker than others and some may not even grow at all. Continue misting but remove the plastic bag once you start to see growth. After a few months, you should have several small Bird’s Nest Ferns!
Bird’s Nest Fern Propagation
Bird’s Nest Fern Propagation FAQs
Below you’ll find all the answers to make sure that you have plenty of new ferns in no time!
What’s the best time of year to propagate a Bird’s Nest Fern?
It’s best to propagate a Bird’s Nest Fern in spring as it gives plenty of months of warm, sunny weather to help the spores germinate. Make sure that any wintery cold weather is behind you so that your new plants are growing in warmer months with a lot of sunshine. This will speed up growth and increase your chances of success.
If you do want to do this during the cooler months, then you can still do it if you buy a heat mat. You place this underneath the container which helps the spores germinate by creating the ideal environment.
Should I use a rooting gel or powder when propagating my Bird’s Nest Fern?
The spores are super delicate so we don’t recommend using fertiliser. It can be pretty strong stuff and a good warm environment is enough to help the spores germinate.
Should I use a grow light for my Bird’s Nest Fern cuttings?
Grow lights are great as they provide ideal light conditions for young seeds, spores and cuttings. They can avoid problems caused by a lack of sunlight and help to stimulate growth. Grow lights can also be used more generally on your mature houseplants if they don’t get enough light in autumn and winter so are a great investment for any plant parent.
Can I propagate a Bird’s Nest Fern from a single leaf?
Unfortunately, no. The only way to propagate is through spores.
Common problems when propagating a Bird’s Nest Fern
Why aren’t the spores growing?
Propagating through spores is a lengthy and unpredictable process. Whilst some might germinate and grow roots in just a few weeks, others can take months or just not work at all. This is why we recommend growing quite a few spores so that hopefully a few will take. Make sure you are misting the right amount and keeping in a warm environment.
Why is my Bird’s Nest Fern cutting yellow?
If the leaves on your new Bird’s Nest Fern are turning yellow then it may be due to too much direct sunlight which has burnt or scorched the leaves. Watering issues can also cause several issues such as yellow leaves so inspect the potting mix or spagnum moss to check how you need to change your watering routine.
Bird’s Nest Ferns are native to tropical regions so it’s important that their environment mimics this slightly. Although we can never create a tropical paradise in our home (as it would be pretty uncomfortable), there are a few little things we can do.
When it comes to lighting, Bird’s Nest Ferns like filtered light or indirect light. Stay away from any direct light as this can very quickly burn the leaves, especially when they are so young. The Bird’s Nest Fern likes to have moist but not soggy soil so it’s important to get the right balance. Don’t let the soil of your new plants dry out completely but avoid waterlogged soil at all costs. This will very quickly rot the roots of your Bird’s Nest Fern which can cause a whole range of issues, especially when they are young and their root system isn’t so established.
But it’s not just the moisture in the soil that you need to take into account after propagating your Bird’s Nest Fern but humidity too! They need a high humidity level so things like misting and pebble trays will be your best friend to aid growth of your new plants.
But there’s one thing that you don’t need to worry about at all and that is fertiliser. Ferns in general don’t really need much fertiliser and they do really well without. But you especially want to stay away from any kind of feeding on new plants. They are super sensitive to overfertilisation and it can really harm young cuttings and plants.
We hope you have found this complete guide to Bird’s Nest Fern propagation useful. It’s never an exact science and sometimes it will take a while for you to see anything happening with the spores. But with the right methods, care routine, warmth and light level you should find some success.
Check out our detailed Bird’s Nest Fern care guide to find all the information on how to continue to care for your new plants!


