

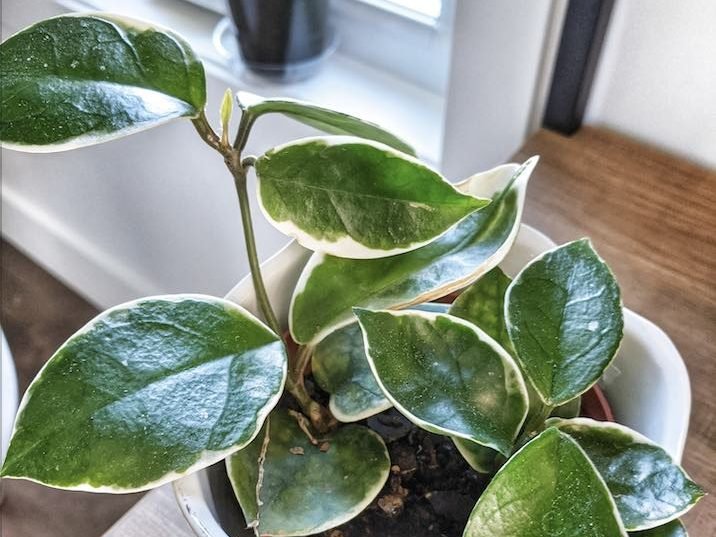
Also known as Wax Plants, Hoya Carnosa is a super low-maintenance houseplant that can also reward you with incredible blooms if cared for properly. If you’re looking to propagate your plant then you have come to the right place.
There are several methods you can use; from stem and leaf cuttings to the division of the mother plant. Some of the methods are easier than others, and can also depend on the maturity of your plant. But don’t fret, we will go through each of the methods below to help you choose which is right for you. You’ll also find a list of tools you’ll need as well as how to diagnose and fix any issues you find along the way.
Why propagate a Hoya Carnosa?
It’s a great way to expand your urban jungle without having to spend any more! They also make great gifts for friends and family if you don’t have any more space for plants.
Another reason you might want to take cuttings from your Hoya Carnosa is to reshape your plant. During the dark winter months, growth can become quite leggy and uneven. Pruning your plant can help encourage bushier growth and also help your plant fit into the space better if it’s gotten a bit long. But instead of throwing away those perfect stem cuttings, use them and create new plants!
You might also propagate your plant out of necessity if it’s starting to die. We always recommend trying to diagnose and fix the issue before it takes over the whole plant but if things aren’t looking any better, you might want to use the healthy stems to create a new plant.
If this is the case, you want to be 100% sure that the part of the plant you are using is healthy as any issues will just continue and take over your new cutting.
Propagating a Hoya Carnosa can be easy!
What tools will I need to propagate my Hoya Carnosa?
Healthy and mature Hoya Carnosa
Sharp scissors/shears
Spare pot(s)
Fresh soil and water
Newspaper or plastic sheet if you’re propagating indoors
What are the different methods I can use to propagate my Hoya Carnosa?
The great thing about Hoya Carnosa plants is that there are quite a few ways you can choose to propagate them. The main 4 methods are; stem cuttings, leaf cuttings, layering and division.
Leaf cuttings can be quite tricky to grow so we recommend this for more experienced plant parents or those that are after a challenge! We have found a lot of success with the stem cutting, layering and division methods, all producing strong roots and a new healthy plant!
Note that the layering method is totally different to the air layering method, but more on that later!
We will go over each different method in detail below so you can figure out which is the best for you and your plant!
There are four methods of propagation you can choose from
How to propagate a Hoya Carnosa using stem cuttings
This is the main method as it’s suitable for all maturities and lengths of plants and has the highest success rate.
Locate a healthy stem
When taking a stem cutting you want to make sure that the part you are cutting is healthy to give you any chance of success. Avoid any sign of disease or pests as they will be transferred onto your new cuttings and very quickly take over your cutting.
Ideally, you also want to locate a stem that has several healthy nodes and leaves. A node is the joint in the stem where the root would grow out from (you will feel a slight bump running a finger down the stem).
Make the cut
Using sharp scissors or a knife make the cut across the stem cutting. Make sure your tools are clean as you don’t want to pass on any direct, bacteria or pests to the wound in your cutting. Make sure your stem cutting has at least one node as this will ensure it roots.
We recommend using cuttings with 2-3 nodes as the maturity will help with new root and leaf growth. Avoid using a cutting with any more than 3 nodes as it will require a lot of energy to keep it alive.
Fill up your container with water
Next, you want to fill up a glass with fresh temperate water to place your cuttings into. Avoid hot or cold water as this can very quickly shock or burn your cutting which can often kill your cutting.
If you can, try to use purified water so the levels of chlorine and fluoride aren’t as high as in the water straight out of the tap.
A great way to do this naturally is to leave the water out for 24 hours to allow the chemicals to evaporate. You can also use filtered water or collected rainwater to avoid this sensitivity.
Place your cuttings in water
Make sure that the nodes on your Hoya Carnosa stem cutting are sat in the water so that the roots will start to grow out from them.
Make sure that the leaves aren’t sat in the water as they will very quickly start to rot, releasing bad bacteria into the water. Place your glass in bright but indirect sunlight to avoid leaf burn.
Change out the water regularly
One of the most important steps in this process is to switch out the water in your glass regularly (every 2-3 days).
This keeps the water free from bacteria and stops it from stagnating which is harmful to your cutting. Stagnant water will also start to smell our your home so you really want to avoid this.
Be patient
Luckily Hoya Carnosa plants aren’t the slowest growers so you should see some new root growth after only a few weeks.
It can be a little unpredictable though so just make sure your cuttings are getting enough light, warmth and fresh water and you should start to see roots soon.
Plant your cuttings into fresh potting mix
Once the roots on your cutting are between 5-10 centimeters long, it’s time to pot them into soil! We recommend using a high-quality potting mix to make sure your cuttings are getting enough nutrients.
Carefully place your cuttings a few centimetres into the soil, making sure not to damage the newly formed roots as they can be quite delicate at this stage.
Resume usual Hoya Carnosa care
For the first few weeks of your cuttings living in potting mix, we recommend keeping the soil a little more moist than usual as the cuttings are used to living directly in water.
But after a few weeks, you can go back to usual care and soon your new cuttings will be long enough to propagate again…and the cycle continues!
How to propagate a Hoya Carnosa using leaf cuttings
This is the trickiest method as the success rate isn’t that high even if you follow all the right steps. Propagating leaves is always quite unpredictable but you can get it to work sometimes and the reward is great!
Locate a healthy leaf
When taking a leaf cutting you want to make sure that the part of the plant you are cutting is healthy to give you any chance of success. Avoid any sign of disease or pests as they will be transferred onto your new cuttings.
You can try to use leaves that have naturally fallen off but you will have more success cutting leaves from the plant as chances are they will be healthier.
Make the cut
Use your clean scissors to cut off one or several leaves. Make sure your tools are clean to avoid passing on any bad bacteria to your cutting. To increase your chances of success we recommend using more than 2 or 3 leaves.
Place your cuttings in potting mix
Get a spare pot and fill it with fresh high-quality potting mix. Place the bottom of the leaf into the potting mix so that about one-third of the leaf is covered. This will help stabilise the leaf and encourage the roots to grow.
Place in a sealable clear plastic bag
Once you have pot your cuttings in fresh soil, you want to create a little greenhouse with a plastic bag to make the environment warm and humid. Keep the bag a little open to get some air circulation.
The humidity that will build up in the bag means you won’t have to water your leaves very much at all.
Occasionally water your leaves
Due to the humidity in the bag, you only really need to water your leaves a tiny amount roughly once a week.
Keep an eye on the soil moisture levels to see if you need to increase or decrease this at all as every home is different and temperature, humidity and sunlight will impact how often you need to water.
Be patient
Now all there is left to do is wait and occasionally add water and check in on your Hoya Carnosa leaf cuttings. It will take several weeks or even months for roots to start to grow.
The most important thing is that you don’t try and check root growth every few days by pulling the cutting out to inspect it.
This can damage the cutting and stop any future growth.
Check on your cuttings
After about 4-5 weeks, if roots are still very small and delicate then maybe grow in the ‘greenhouse’ for a few more weeks. If roots are quite established then you can start to grow the cutting outside of the plastic bag.
Enjoy your new plants
It will take a while for you to see anything happening above the surface but as long as the leaves still look healthy this is a good sign that your propagation has been a success.
You’ll soon start to see some new leaves growing out from your cutting and before you know it you’ll have a new Hoya Carnosa!
Continue to care for it as you would the mother plant.
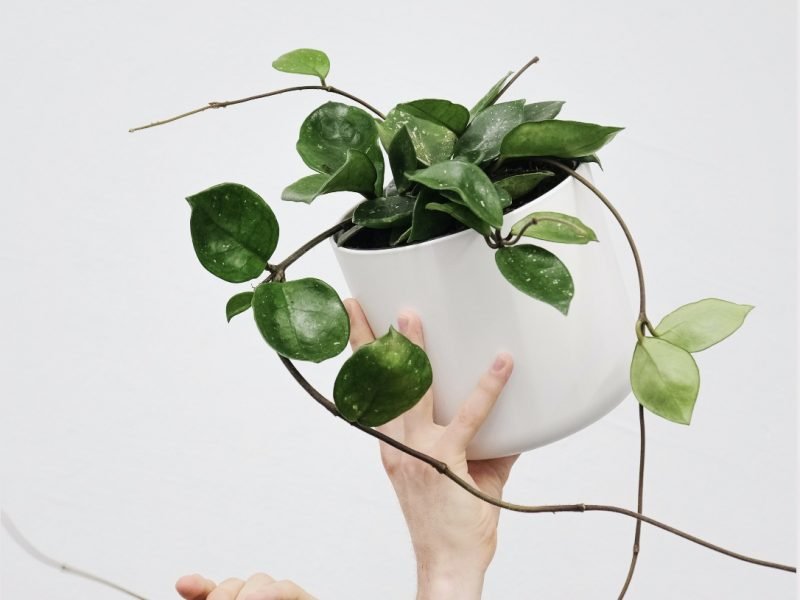
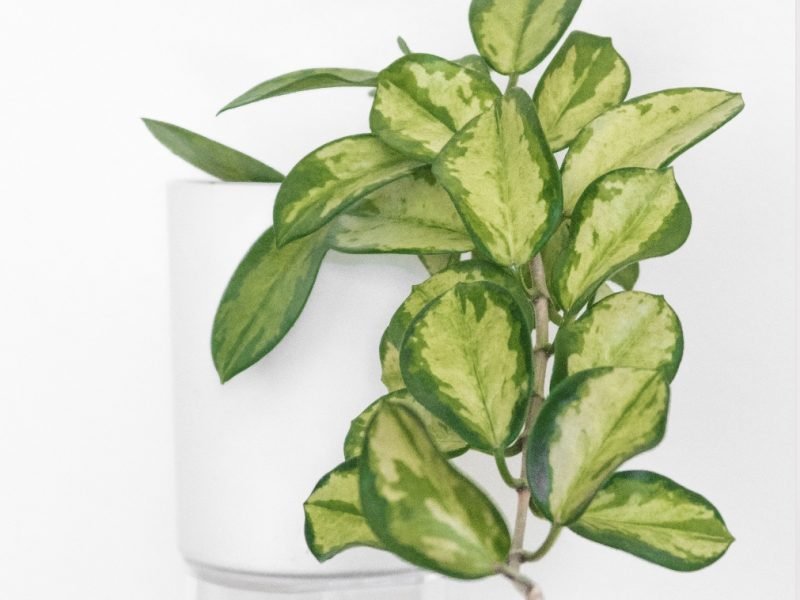
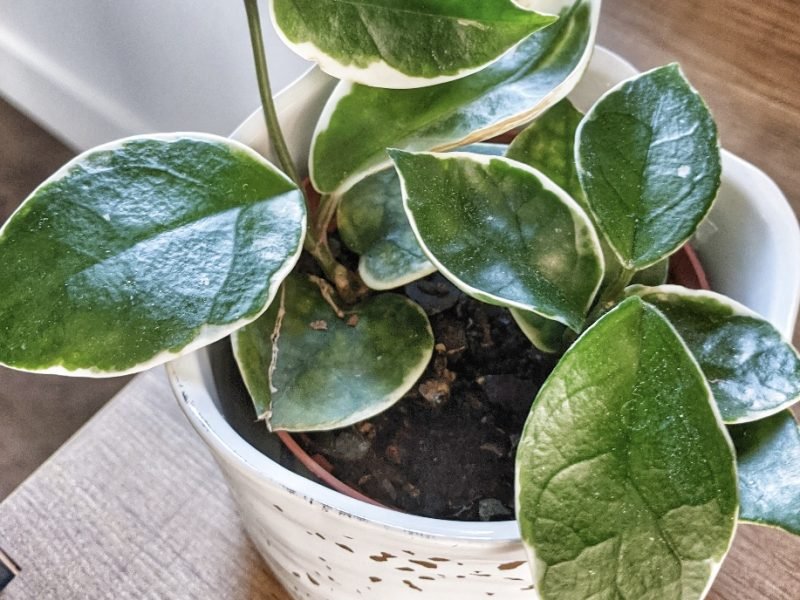
Hoya Carnosa Propagation
How to propagate a Hoya Carnosa plant through layering
The first thing to note with this method is that it’s completely different to the air layering method. That requires cuts and peat moss and is a lot more difficult than the layering method.
Locate a long healthy stem
You want to make sure that you choose a nice healthy stem for this method as you’ll be growing roots whilst it’s still attached to the mother plant. Avoid this method if your mother plant is showing signs of distress or disease as it will impact the health of the stem cutting.
Fill a spare pot with fresh soil
Make sure to use a high-quality potting mix so that your cutting gets the right balance of nutrients. You also want to make sure you never ever re-use potting mix when propagating or repotting plants.
There can be a lot of unwanted pests and bacteria hiding in potting mix and reusing it will simply transfer this across your beloved houseplants. Whilst there is still of course a risk when using even fresh soil, the dangers are much lower.
Place a node on the potting mix
Place the spare pot next to your mother plant and dig in one of the healthy nodes off your chosen stem into the plant.
You don’t want to cover the leaves or even the stem fully, but you want to ensure the node on the stem is making contact with the potting mix.
Water your node
You want to keep some moisture in the top of the potting mix at all times. Not enough to rot the stem but a little bit of moisture to encourage roots to grow.
Be patient
As with the other methods, this bit can be a little boring as you’ll have to wait several weeks before anything happens.
Try to refrain from constantly checking root growth as disturbing and stem and pulling it away from the potting mix will slow down and disturb root growth.
Make the cut
Once your stem has successfully rooted itself into the new pot, it’s time to separate it from the mother plant. Make a cut using sharp scissors on the side closest to the mother plant.
You will then have a nicely rooted stem cutting which is now a healthy and happy Hoya Carnosa plant.
Continue normal care
Enjoy your new plant and continue to care for it as you would your mother plant!
How to propagate a Hoya Carnosa through division
This method only really works if your plant is quite mature and you don’t mind taking a chunk from it to form a new plant. The way it works is by dividing the natural sections of the plant and is a great way to get a new plant without having to wait months and months like in the other methods.
Take your Hoya Carnosa out of its pot
In order to propagate through division, you need to be able to locate the various vines and separate out the roots. Take your plant out of its pot carefully, trying not to damage the leaves or root system.
Locate the various natural divisions
Shake off the potting mix around the roots so you can see the entire root system clearly. A good way to loosen the soil is to run your fingers through the roots to start to separate them. Don’t worry if a few break or fall out, this is normal and won’t cause much damage to your plant.
The best way to locate the different segments is by following each individual vine and loosening the roots around it. They should be completely separate from each other.
Separate your plant
At this stage you need to choose how many plants you want to end up with and how many sections will be in each plant. There’s no right or wrong way to do this ?
Place each section in fresh potting mix
Pop your mother plant back into its original pot (or downsize to a new pot if you’ve removed a lot from the plant). Then pot your new plant(s) into fresh potting mix.
Continue normal care
You’re all done! Now all that’s left is to continue your usual Hoya Carnosa care routine and watch them grow.
Hoya Carnosa Propagation FAQs
The process can be a little scary as you don’t want to cut off pieces from your beloved and healthy mother plant and risk them dying on you. But don’t worry, we have all of the answers below to make sure that it all goes off without a hitch.
When is the best time of year to propagate my Hoya Carnosa?
Starting in spring will give you several months of warm sunny weather to help your cuttings thrive.
This is particularly important using the leaf cutting method as it takes the longest for new growth to appear.
When using the division method you can get away with less than ideal conditions because the root system is already developed and your plant will be more resilient.
Should I use a rooting gel or powder?
Whilst it is not essential, you might choose to use rooting hormone to increase your chances of success.
These products stimulate root growth on new cuttings, not only speeding up the process but also producing stronger roots.
Rooting hormone comes in 3 types: powder, liquid or gel.
When should I use a grow light for my Hoya Carnosa cuttings?
Grow lights are great to use when your cuttings might not be getting enough natural sunlight. It can help stimulate root growth as well as strengthen the root system too.
LED grow lights are also great to use more generally on your mature houseplants too if they don’t get enough light in autumn and winter so are a worthwhile investment for any plant parent.
What is a node?
It’s important that you are able to identify the different parts of the plant so you know where to make the cut on your Hoya Carnosa plant.
A node is where the stem and leaf joints meet.
You will often feel a very small bump in the stem which helps you locate the nodes.
Can I propagate a Hoya Carnosa from a single leaf?
Whilst it is possible to use just a single leaf, the success rate isn’t as high as some of the other methods.
It’s a great challenge for more experienced plant propagators but we recommend beginners try their hand at one of the easier methods first.
When can I start fertilising my Hoya Carnosa cuttings?
Fertilisation is one thing you really don’t need to worry about.
Common problems when propagating a Hoya Carnosa plant
Propagating plants won’t always be smooth sailing and there’s a chance you might encounter a few issues along the way. But luckily we have been through the process many times so are able to explain all of the main issues you might spot as well as how to fix them.
We recommend keeping an eye on your cuttings daily to help spot problems early as this will help you solve the problem before it takes over your cutting and kills it.
Why isn’t my Hoya Carnosa cutting growing any roots?
It’s difficult to give an accurate timeline of root growth as it’s so unpredictable.
Some plant parents will see their stem cuttings grow roots after only a week, others need to wait a month or more. As long as your cutting looks healthy, there’s no reason why it won’t grow any roots.
Make sure your cutting has ample light (but no harsh direct light), enough warmth and fresh water you should see roots develop soon.
If you are trying to propagate when the temperatures in your home are quite cool then this may be the cause of the lack of root growth.
You can help to speed up root growth on your cuttings by using a heat pad that you place underneath your cuttings. This warms up the area and provides an ideal environment for new growth.
Why is my Hoya Carnosa cutting turning mushy?
If you notice that your cutting is turning brown and mushy then unfortunately this isn’t a good sign.
This is usually due to the cutting rotting in stagnant water. You want to make sure you are regularly refreshing the water (every 2-3 days or more) so that it doesn’t encourage the growth of bacteria.
We recommend trimming away the mushy parts of your cutting and hoping that it can still recover and grow roots.
In future, another good way to stop this is by making sure that the leaves are not submerged in the water as they will rot pretty quickly.
Why are the new leaves on my cutting small?
Great news, your Hoya Carnosa is finally growing new leaves, but why are they so small?
Well, luckily this is totally normal and you don’t need to worry at all. The smaller leaves are just down to the fact that the root system is much less mature on the mother plant so it can’t support growth of the same size.
Give it time and slowly the new leaves will start to get bigger. If you want you can then trim away the smaller leaves to divert the energy towards growing new and bigger leaves.
Why is my Hoya Carnosa cutting turning yellow?
Overwatering after transferring your new plant to soil is the most common cause of yellow leaves on cuttings.
Take the plant out of its pot and inspect the root system. If the roots are soft and mushy then overwatering is the cause.
Trim away the affected areas of the plant and replace the potting mix if still waterlogged. Going forward make sure the potting mix has enough time to dry out between waterings.
Why is my Hoya Carnosa fading in colour?
Too much direct sunlight can cause the leaves to fade and become quite dull looking. Move your plant away from the direct light and trim off the worst affected leaves.
Everyones process will be a little different as some cuttings take longer to root in and sometimes it just doesn’t work. But as long as you are equipped with the right method, care, environment and tools you should have a pretty good shot at growing new plants. The end result is worth all the struggles so be patient!
Check out our full Hoya Carnosa care guide to find all the information on how to continue to care for your cuttings once they have matured.


