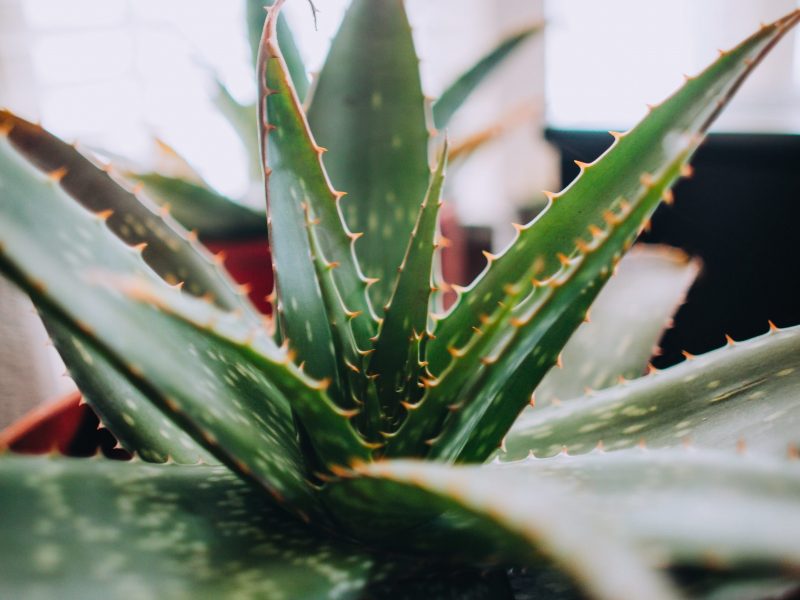
Aloe Vera plants tend to have a reputation that they are easy to care for, but this isn’t actually always the case. They can be pretty sensitive and if things aren’t quite right, their leaves can often turn yellow. To find out why the leaves on your Aloe Vera are turning yellow, it’s important to go through each of the factors we will go through below to see what is happening to your Aloe Vera.
Overwatering
9 times out of 10 your Aloe Vera plant will be turning yellow due to overwatering. This problem is also often accompanied by your plant losing leaves. Aloe Veras hate sitting in soggy soil more than anything and it can quite quickly cause a number of issues for your Aloe Vera. The most serious issue is root rot which can happen very quickly as the roots on Aloe Vera plants are delicate and short. This means even the slightest issue in the soil can cause your Aloe Vera to show signs of unhappiness such as yellow leaves.
Rotting and mushy roots mean that your Aloe Vera is unable to take up nutrients and the leaves will turn quite soggy as well as yellow. Waterlogged soil also gives off quite a damp and musty smell so get up close to all your houseplants every so often to check for any smells.
There are a few really simple ways to find out if your Aloe Vera’s soil is waterlogged:
Take your Aloe Vera out of its pot
If there are a significant amount of yellow leaves on your Aloe Vera then you probably want to take the plant out of its pot so you can inspect the soil up close. If you feel that it is waterlogged and clumpy then this is definitely the issue causing the yellow leaves.
Finger/Chopstick Method
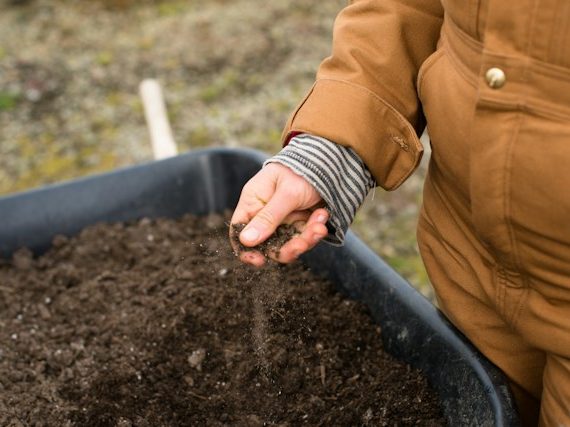
Firstly, the finger trick method where you stick a finger into the soil to see if there is any moisture in the soil. If yes, you’ll notice soil sticking to your finger when you take it out. If the soil is bone dry then it will just be like dust which will fall off your finger. If you don’t want to get your hands dirty then you can also use a chopstick where the same rule applies. If the chopstick comes out clean then you probably haven’t been overwatering it.
Do I risk damaging the root system if I stick my finger in the soil?
As long as you are careful and don’t prod around too much, then you shouldn’t cause too many issues. If you notice a large root in your way, try and pick a different spot rather than forcing the chopstick in as this will break the root.
Picking up your Aloe Vera
Another way you can check the moisture levels and prevent more yellow leaves in the soil is by regularly picking up your plant. This is a great method to get to know your plants and soon you’ll have a really clear gauge as to when they need watering. The lighter the plant is, the less water there is in the soil – pretty simple! Luckily, Aloe Vera are very light houseplants as they don’t have thick stems or roots which means picking them up shouldn’t be too difficult but don’t try this with bigger plants as you don’t want to cause injury.
Use a moisture meter
If you want to take the guesswork out of knowing when to water your Aloe Vera (and prevent more yellow leaves) you can use a moisture meter. You simply pop the meter in the potting mix and it will give you a reading of the moisture in the soil – yes it’s that easy! They are super affordable little gadgets and are great investments for every plant parent! We recommend this one which is available at Amazon.
How do I fix a waterlogged Aloe Vera?
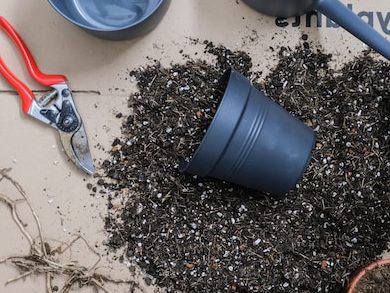
If the yellow leaves on your Aloe Vera are caused by overwatering and root rot, then it’s super important that you act quickly. Root rot can be damaging to your plant due to the shallow and delicate leaves and it can quickly mean your plant doesn’t have much of a root system left. Instead of letting the soil dry out naturally, you want to replace it straight away once you notice it is waterlogged. This will prevent any further yellow leaves from developing on your plant and the roots can start to recover and healthy growth should resume soon. Make sure to use a high-quality well-draining potting mix like this one which you can buy on Amazon.
After replacing your Aloe Vera’s potting mix, prune away all of the yellow leaves. Once they have turned yellow, this is unfortunately irreversible. The best thing to do next is prune off the damaged leaves and stems so your Aloe Vera can focus on growing new healthy (and green) growth.
In future, to prevent any more yellow leaves on your Aloe Vera, try to regulate your watering and always check that the top of the soil is dry before giving your Aloe Vera any more water. You also need to adjust your watering routine according to the seasons. During the growth period of spring and summer your Aloe Vera will require water about every 10 days. However, in winter months about once every month or two is enough or you risk more yellow leaves.
Drainage Issues
Sometimes it may not be your watering schedule that is causing your Aloe Vera’s leaves to turn yellow, but inadequate drainage. You can very easily increase the amount of drainage in the pot of your Aloe Vera by mixing in a small amount of perlite. This helps with drainage and aeration of the soil. Make sure your pot has drainage holes so excess water can flow out the bottom. Another easy step is to add a few small stones or pebbles to the bottom of your pots, this helps in making sure that the drainage holes are never blocked by clumpy soil.
Although clay or terracotta pots tend to be a bit more expensive and are breakable, they are great for your plants and sometimes it’s worth spending a little more to prevent yellow leaves on your Aloe Vera. The clay they are made of is permeable which means that a little bit of water in the soil can evaporate through the sides of the pot. This doesn’t happen with plastic pots that houseplants often come in, which hold in every drop of water. We love these terracotta pots from Amazon.
Cold Temperatures
Another cause of yellow leaves on Aloe Vera plants are extreme temperatures It’s important to keep your Aloe Vera away from AC or heating vents/radiators as these temperature extremes can be very harmful to your plant and result in various issues, including yellowing leaves. The ideal temperature for your Aloe Vera is between 18°C – 24°C, so it shouldn’t be too difficult to keep in a good range. You can always pick up a digital thermometer to check the spot your Aloe Vera is sitting for peace of mind.
Sunburn
If the yellowing on your Aloe Vera’s leaves is quite patchy and the leaves look scorched then it may be due to too much direct sunlight which has burnt the leaves.
Aloe Vera plants like a spot with bright light, but it needs to be indirect so try to avoid placing right next to a window. You need to also watch out a little more in summer when the sun is a lot stronger for more of the day where the risk of yellow leaves is higher. It is best to move your Aloe Vera a metre or so further away from the window in warmer months to avoid any leaf burn.
Those are the most common causes of yellow leaves on your Aloe Vera plant. Yellow leaves is a sign that your plant is unhappy and is usually a few steps before plant death so it’s super important that you fix the issue at this stage. As long as some of the plant is still nice and green, you should be able to bring it back to full health with a lot of care and attention so don’t give up too soon.
To learn more about how to care for your plant, as well as propagation methods and tips on how to solve other common issues, check out our Aloe Vera care guide.


