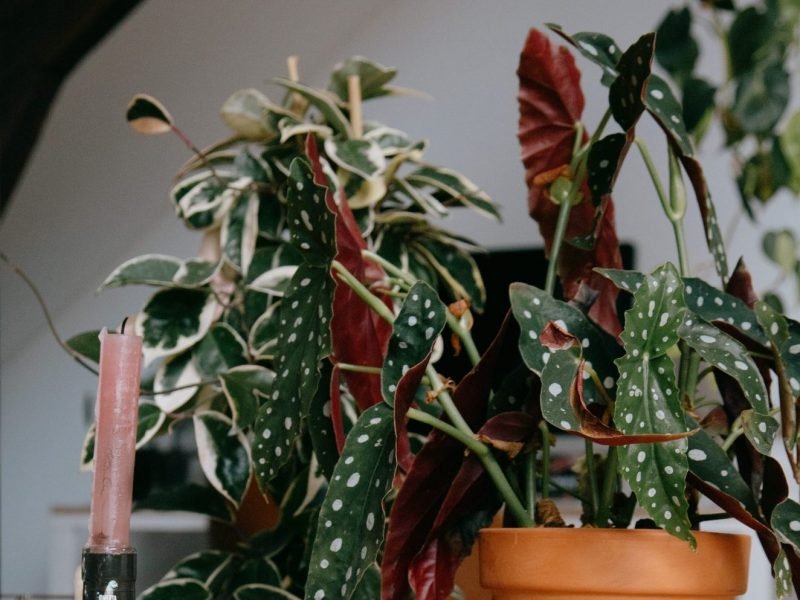
Loved for their unique dotted leaves, the Polka Dot Begonia is a great addition to your urban jungle and although they might have super delicate leaves, they aren’t actually fussy plants.
Propagating them also doesn’t have to be difficult and can be done in a few ways so in this post we will cover not only a step by step of each method, but we will be sharing all of our top tips to help you along the way.
What methods can I use to propagate my Polka Dot Begonia?
Polka Dot Begonia plants can be propagated through both stem cuttings and the division method. The division method, whilst quick and easy, can only be used for more mature plants as you’ll have to remove a section of your mother plant to do this. Stem cuttings, however, can be used on less mature plants but do take longer to grow and mature into proper Polka Dot Begonia.
How to propagate a Polka Dot Begonia using stem cuttings
This is the main method of propagating Polka Dot Begonia plants as it’s suitable for all maturities and doesn’t require you to remove a section of the mother plant. Whilst there are more chances for something to wrong compared to with division, by using a few stem cuttings, you have a really good chance at one or two of them properly taking root.
Locate some healthy Polka Dot Begonia stems
There are a few things to look for when choosing the right stem to propagate. Firstly, you want the part of your Polka Dot Begonia to be healthy and not showing any signs of unhappiness (brown or yellow patches are a no-no). You also want to make sure that the cutting has at least one or two nodes on it as this is where the roots will grow out from. Without a node, your stem cutting can’t be propagated.
Make the cut
Use scissors to cut off one or more stems. Ensure the scissors are clean as you don’t want to accidentally transfer bacteria onto your fresh cutting.
Fill up a transparent container with water
Now that you have taken your cuttings, you need to grow them in water to help roots grow. Fill up a clear container with temperate water (so as not to shock your delicate cuttings) and place your cuttings in so that the lowest third is covered by the water. Make sure that the leaf (leaves) are not touching the water at all or they will rot.
By choosing a clear container, not only will you be able to see the roots growing which is pretty cool, but this will also help you spot any early warning signs that something might be wrong with your cutting.
Place your cuttings in bright but indirect sunlight
Keep your new cuttings away from any direct light. Polka Dot Begonia plants are very sensitive to intense light as they have super delicate leaves.
Refresh the water every few days
This keeps the water free from bacteria and stops it from stagnating which is not only damaging to your new cutting, but it can also start to smell pretty bad too.
Wait, wait, wait
There is no guarantee that you’ll start to see roots at a certain time but as long as you are refreshing the water and giving your plants the right amount of warmth and sunlight, you’ll see roots popping out soon.
Plant your Polka Dot Begonia cuttings into fresh potting mix
Once the roots on your cuttings are a few centimetres long you can pot them into potting mix. The roots will still be very delicate so just be a little careful when potting them to make sure they don’t break.
Continue usual Polka Dot Begonia care
Now that your cuttings are pot nicely into soil, you can go back to your usual Polka Dot Begonia care routine. Keep a close eye on your new plants for a few months to ensure everything is going well but with the right care routine, they should be thriving!
How to propagate a Polka Dot Begonia using the division method
Remove your Polka Dot Begonia from its pot
Squeeze the pot (if it’s plastic) to help your plant come away from the pot. You want to avoid pulling at the leaves or stems as they are very delicate and can break easily.
Remove the potting mix from the roots
Shake off the soil from the root system so that you can start to see the various natural divisions in your plant. This will allow you to see where you can divide your Polka Dot Begonia.
Untangle the various natural sections
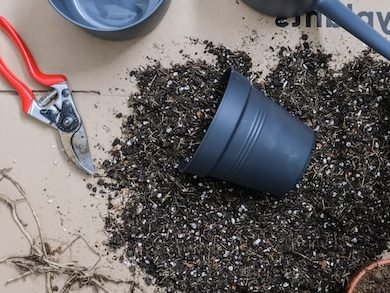
It’s OK if you need to slice through a few roots using pruning scissors just make sure you keep the thickest roots intact as these are crucial to the health of your plant.
Grow in water or fresh potting mix
Either option will work well but we recommend using water as a middle step if your new plant doesn’t have a very mature root system.
You’re all done
If your new plant is now in fresh potting mix then you can care for it as you would your other Polka Dot Begonia. If you’re using the middle step of water, make sure to change it out every few days to prevent it from stagnating. Once the roots have matured a little, pot into fresh soil.
Can I propagate a Polka Dot Begonia from a single leaf cutting?
Unfortunately, you can’t propagate using just a leaf cutting from your Polka Dot Begonia. This is because there is nowhere for the roots to grow out from, meaning you need to use stem cuttings or the division method to have any success.
What time of year should I propagate my Polka Dot Begonia?
If you are propagating your Polka Dot Begonia through stem cuttings, then always do this in spring. This is because your cutting will need plenty of warmth and sunshine to grow new roots and this process can take a while.
If you are propagating your Polka Dot Begonia through division, you can do this at most points in the year. Maybe avoid doing it in the coldest months as this can lead to an increased risk of root rot, but otherwise, it should work well.
Check out our Polka Dot Begonia care guide for more information on how best to care for your new plants after the propagation is complete.


