

With their long trailing vines and heart-shaped leaves, it’s no wonder that plant parents fall deeply in love with their Devil’s Ivy plant and desperately want to continue making more. Luckily, propagating them is incredibly simple and with the right processes and care, you shouldn’t run into too many problems at all. Before you know it, you’ll have so many plants you won’t know what to do with them all.
In this post, we will guide you through the entire process of how to propagate your plant so that you’re fully equipped with the knowledge you need to create infinite new plants. We will be covering the tools and equipment you’ll need as well as a detailed step by step process for each of the different methods as well as how to spot and solve any issues you might face.
Why propagate a Devil’s Ivy plant?
Before we get into the details, we thought it would be useful to cover the reasons why plant parents choose to or have to, propagate their plant. The main reason is probably just wanting to multiply the number of plants you have without having to shell out any more money on houseplants! Plants and plant cuttings make great gifts for friends which is why we always make sure to take a few cuttings from each of our new plants.
The other reason why many plant parents choose to propagate their plant is that it’s either too long or becoming very leggy. Pruning your plant encourages bushier growth and is a great way to cut back that winter growth which can often be straggly or leggy. But instead of simply throwing away those special cuttings, why not propagate them and start a whole new mother plant.
If you notice that your plant is starting to look a little ill, then you may choose to propagate the healthy part of the plant to save it. We always recommend that you first try to figure out what’s causing the issue and see if you can fix it (it’ll also help prevent you from doing the same to your new plants). But if the issue is just getting worse, then the best thing to do is cut off the healthy vines and use those to grow new plants.
What tools will I need?
Let’s start off with the easy bit. It’s really important to make sure you have all the things you need before taking that first plant cutting.
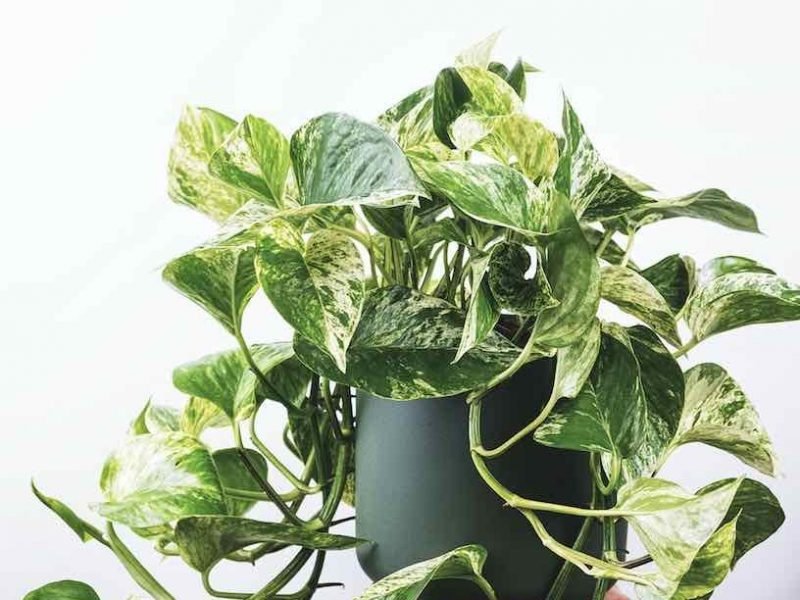
Healthy and mature Devil’s Ivy plant
Clean, sharp scissors/shears
Spare pot(s) with drainage holes
Fresh soil and water
Newspaper or plastic sheet if propagating indoors
What are the different methods I can use to propagate a Devil’s Ivy plant?
The most common method of propagation is through stem cuttings. As long as you have a few nodes on each of the cuttings, this is a really successful way to create new plants.
The other method of Devil’s Ivy propagation is through layering. Note that this technique is different to air layering, and is much simpler as it means rooting your vines whilst still attached to the mother plant. Below you’ll find a detailed step by step process of each method so you can figure out what’s best for you and your plant.
How to propagate a Devil’s Ivy plant using stem cuttings
This is the most common method as it’s suitable for all maturities. So however big, small, bushy or leggy your plant is, this method can work for you! It’s also really easy and you can create several new plants just by taking a short stem cutting.
Locate a healthy vine
When taking a stem cutting you want to make sure that the part of the Devil’s Ivy plant you’re going to propagate is healthy to give you the best chance of success. Avoid using vines that are showing any signs of disease or pests as these problems will be transferred onto your new cuttings.
Ideally, each stem cutting will have several healthy nodes and leaves. A node is the joint in the stem where the root would grow out from (you will feel a slight bump running a finger down the stem). If you can, try to choose a section of the plant that already has a small aerial root stub as this means root growth will be quicker.
Make the cut
Use your tools to make a clean cut across the stem of your chosen vine, leaving at least two to three nodes per section. It can work with just one node but it’ll take a lot longer for the cutting to grow a mature root system and there is a higher risk of the cutting dying.
Top tip: Make sure your scissors/ shears are clean when making the cut to avoid passing on dirt or any infection into the cutting(s).
Fill up a container with water
Next, fill up a container with fresh temperate water to place your cuttings into. Avoid using particularly warm or cold water as this can very easily shock or burn your cutting. We like to use a transparent container when propagating a Devil’s Ivy as it not only allows you to see the cool new roots that grow out of your plant, but it’ll help you spot any issues early!
Place your cutting(s) in water
Make sure that the nodes on your stem cutting are sat directly in the water so that the roots will start to grow out from them. Place your cuttings in bright but indirect sunlight (too much direct sunlight during spring and summer can burn your cuttings and kill them).
Refresh the water every few days
One of the most important steps when propagating Devil’s Ivy plants is to refresh the water in the container regularly (every 2-3 days). This keeps the water free from bacteria.
Now just be patient!
Compared to a lot of other houseplants, Devil’s Ivy plants are fairly quick at growing roots and after a week or two, you should start to see them popping through the nodes. Don’t worry if this process takes a little longer though as it is unpredictable. As long as your cuttings are getting enough light, warmth and fresh water, you should start to see roots appearing very soon.
Plant your cuttings into fresh potting mix
Once the roots on your cutting are about 5-10 centimetres in length, you can pot them into soil! You want to use a high-quality potting mix to ensure your cuttings are getting the right balance of nutrients to encourage new healthy growth. Carefully place your cuttings a few centimetres into the soil, making sure not to damage the new roots.
Resume your usual Devil’s Ivy care routine
For the first few weeks of your cuttings living in potting mix, we recommend keeping the soil a little more moist than usual as the cuttings are used to living in water. But after a couple of weeks, you can begin to care for your new plants as you would the mother plant.
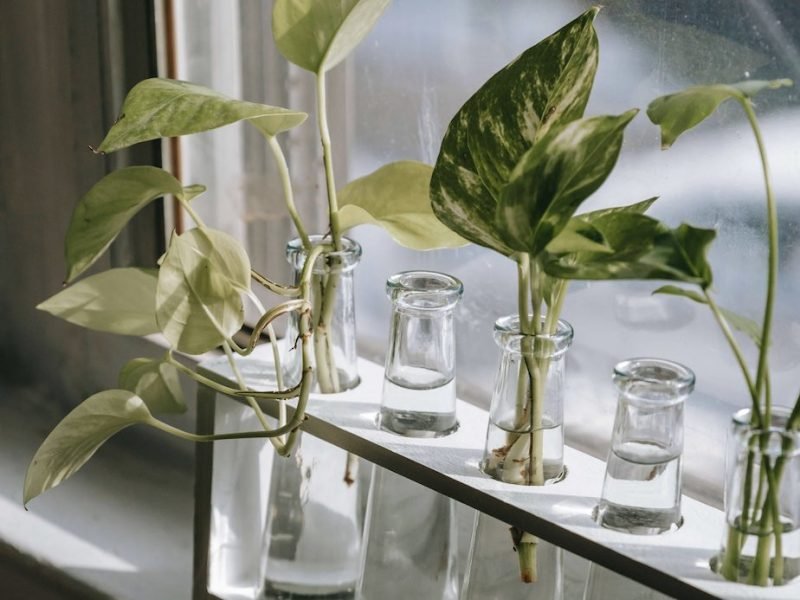
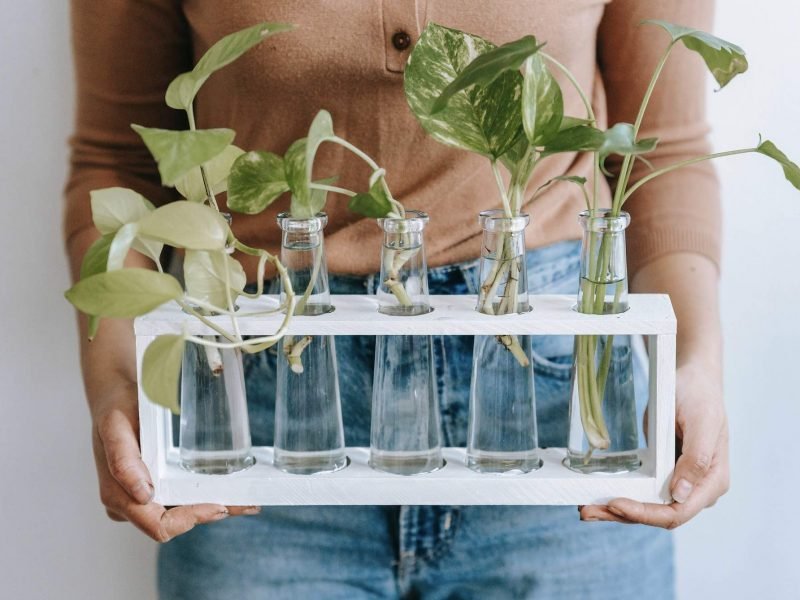
Devil’s Ivy propagation through stem cuttings in water.
How to propagate a Devil’s Ivy plant through the layering method
It’s important to know that this method is completely different to the air layering method. That one requires cutting into the stem and using a wrap of peat moss. It’s a lot more complex than the layering method.
Locate a healthy Devil’s Ivy vine
You want to make sure that you choose a healthy stem for this method as any issues will harm your chances of a successful propagation. You aren’t removing the vine from the mother plant so you can’t use this method to save a dying plant, unfortunately.
Fill a pot with fresh potting mix
Using a high-quality potting mix, fill up one of your spare pots so that the soil nearly reaches the top. Flatten it gently but don’t compress the soil.
Place the stem on top of the potting mix
Carefully place your Devil’s Ivy cutting on top of the pot. Depending on the size of the pot, you can either lay it straight across or in a zig-zag pattern. This depends on how many nodes you want touching the soil. Press in each of the nodes very slightly into the potting mix. Make sure that the stem and leaves aren’t covered by the soil but that the nodes are making contact with it.
Water the nodes
You want to keep some moisture in the top of the potting mix at all times. Not enough to rot the stem but a little bit of moisture to encourage roots to grow from your Devil’s Ivy vine. The best way to do this is by using a spray bottle.
Be patient
Now the only thing left to do is wait and continue to spray and water your Devil’s Ivy vine. It will be several weeks before anything happens above the soil. Try not to constantly check on the root growth as disturbing the stem and pulling it away from the potting mix will slow down and potentially damage root growth.
Continue normal care
Soon enough, new leaves will pop up from some of the nodes, forming their own vines. This means your Devil’s Ivy propagation has been a success and you can remove the vine from the mother plant. You can then choose if you want to separate out the sections of the stem or keep it all as one plant.
Use clear containers when propagating a Devil’s Ivy
FAQs on Devil’s Ivy propagation
Here are a few of the most common questions we find people have when looking to propagate their plants.
When’s the ideal time of year to propagate?
You want to propagate at the beginning of spring for the best chance at plenty of new growth. This will give your cuttings several months of warm and sunny weather to grow new roots and leaves.
Propagating in autumn or winter will mean that your cuttings will be trying to grow a whole new root system in the dormant period. The risk of root or leaf rot is then increased due to cold temperatures which can quickly kill your cutting if you’re unlucky.
How do I know where the node is?
It’s important that you can identify the different parts of the plant so you are able to make the right cut on your Devil’s Ivy vine. A node is where the stem and leaf joints meet. You might sometimes see very small aerial roots or stubs grow from these nodes. If there isn’t a root there yet, you may feel a little bump in the stem which indicates a node.
Is it possible to propagate a Devil’s Ivy from just a single leaf?
Unfortunately, you won’t be able to propagate your Devil’s Ivy plant by using just a single leaf. There needs to be at least one node on each cutting as this is where the root system will start growing from.
When should I fertilise my Devil’s Ivy cuttings?
It’s important that you stay away from fertiliser for at least one year. Fertilising your new plants too early can slow down root growth, cause a weak root system and can often lead to yellow sickly leaves. Fertiliser can also shock the young cuttings which can actually kill them if given in high doses.
Common problems you may encounter when propagating a Devil’s Ivy plant
Even for the most experienced plants parents, propagating houseplants doesn’t always have a 100% success rate and you may encounter some problems along the way. But don’t worry, we have learnt the hard way to make sure you can figure out what is causing various issues along the way.
Why isn’t my Devil’s Ivy cutting growing any new roots?
You should start to see roots growing on your cuttings after only a few weeks. Luckily for us, Devil’s Ivy plants develop roots a lot quicker than the majority of houseplants. But this doesn’t mean that every single cutting will stick to a rigid timeline of growth.
If you’re propagating when the temperatures in your home are quite low then this may be causing the lack of root growth. You can help speed up root growth by using a heat pad as this will warm up the area and provide the ideal environment for new growth.
Why is my Devil’s Ivy cutting turning yellow?
Watering issues are the number 1 cause of yellow leaves on Devil’s Ivy plants. This can be too much water or too little. If you have recently transferred your cuttings from water to potting mix, take it out of the pot to see if the roots are really dry and crispy or soft and mushy. Trim away the worst affected roots and adjust your watering schedule going forward.
What’s causing my cutting to go soft and mushy?
If part of the stem is turning brown and mushy then unfortunately this isn’t a good sign and means it’s starting to rot in stagnant water. Make sure you’re refreshing the water regularly (we recommend at least every 2-3 days) to prevent the growth of bad bacteria.
If it is just the leaf on your cutting that has turned soft and mushy, it probably means it was sat in the water or soggy soil for a while. Luckily, it hasn’t spread to the rest of the cutting yet which means you can simply chop off that leaf and it shouldn’t harm your chances at a successful Devil’s Ivy propagation!
Why are the new leaves much smaller?
Great news, your cutting is actually growing new leaves! But you may be left wondering why the new leaves are much smaller than that of your mother plant?
Well don’t worry, this is totally normal and is because the root system is less mature than that of the larger plant which means it can’t support the same level of growth. Give it time and slowly the new leaves will start to get bigger.
That’s it! That’s everything you need to know to successfully propagate your plant. It can be a little daunting at first to take cuttings from your incredible vines, but we promise that it’s worth the stress and the waiting.
For more information on how to care for your cuttings once they have been propagated check out our Devil’s Ivy care guide.


