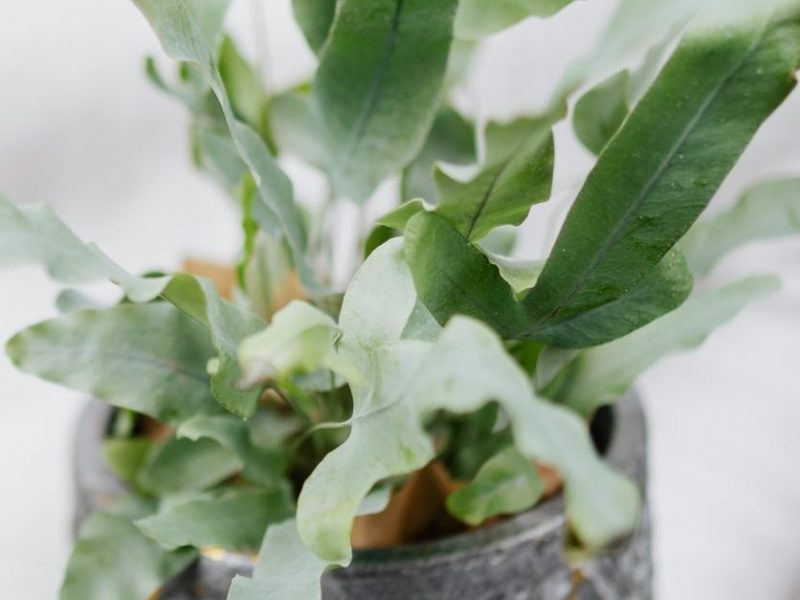
Getting their name from the way they grow on top of other plants in the wild, the Bird’s Nest Fern brings a little bit of the wilderness into your home. However, if you notice that your plant has started to develop brown leaves (or even just brown leaf tips) then it suggests something isn’t quite right with either the care your plant is receiving or the environment your Bird’s Nest Fern is in.
Below we will be going through each of the reasons why Bird’s Nest Ferns develop brown leaves so you can correctly diagnose the issue, as well as treat it and prevent it from happening again in the future.
Low humidity levels cause brown leaf tips
If your Bird’s Nest Fern has developed light brown leaf tips that are dry to touch, then it might be caused by low humidity in the room. This will dry out the tips and edges of the leaves which is unfortunately irreversible. However, there are quite a few really easy steps you can take to increase the humidity for your Bird’s Nest Ferns, some of which are free and others that take nearly no effort at all:
Mist the leaves on your Bird’s Nest Fern
This is a really good habit to get into for all of your humidity-loving plants. Use a spray bottle to mist the leaves at least a few times per week to boost the humidity.
We recommend only misting your Bird’s Nest Fern in the mornings though. Bird’s Nest Ferns are quite susceptible to leaf rot if the leaves are damp when the temperatures drop at night. So by doing it in the morning, you leave enough time for the water droplets to evaporate off the plant.
Build a pebble tray
This requires a little DIY but it’s a great solution for Bird’s Nest Ferns that have developed brown leaves due to a lack of humidity. Fill up a tray or bowl with small stones and fill it up halfway with fresh water. Place your Bird’s Nest Fern on top of the stones and the water will evaporate around your plant throughout the day.
The most important thing when making a pebble tray for your Bird’s Nest Fern is that the water doesn’t reach high enough so that the roots are sitting in water which will risk root rot.
Move to a humid room
If you have good lighting in your bathroom then we recommend moving your Bird’s Nest Fern in there. The humidity level tends to naturally be a little higher than the other rooms in your home because of the steam released from showering.
Buy a humidifier to keep a stable humidity level
If you’re worried about the lack of humidity becoming a real problem, then buying a humidifier is definitely the best option. They help to keep a nice consistent level of humidity and are super affordable too!
Underwatering can dry out the leaves
Another cause of dry brown leaves on Bird’s Nest Ferns is a lack of water. These ferns need a consistent level of moisture or they will start to dry out. As the leaves are fairly delicate in comparison to a lot of other plants, Ferns can react quite quickly to underwatering so it’s important to stay on top of your watering routine.
Take your Bird’s Nest Fern out of the pot and see how dry the potting mix feels. If it’s bone dry and the roots look crispy and wrinkled, then underwatering is the most likely culprit of the brown leaves. The best way to fix your underwatered Bird’s Nest Fern is to water your plant a little bit once a day for about a week. This will help to gradually reintroduce water without shocking your plant by changing the environment too rapidly.
We recommend investing in a moisture meter so you can make sure that the potting mix doesn’t dry out too much (it also helps with overwatering too, which we go through a little later on in this post).
Hotspots can dry out your Fern
Bird’s Nest Ferns are quite sensitive to extreme temperatures and really hot environments will dry out your Fern and cause brown leaves. Hotspots can occur next to windows that get a high level of intense direct sunshine but they can also be near radiators or heating vents. So you need to watch out for them in summer and in winter.
Make sure you are ventilating the room well and avoid putting your Bird’s Nest Fern within 1 metre of any radiators to prevent hotspots. Brown leaves won’t develop suddenly, but over time it can begin to damage your Fern.
Overwatering can also cause brown leaves
As we’ve been through before, Bird’s Nest Ferns like a nice consistent moisture level in their soil. They can deal with quite a lot more moisture than most other plant types, but will still suffer from root rot if the soil is soggy for long periods of time. This is especially common during winter, where it will take longer for the potting mix to dry out.
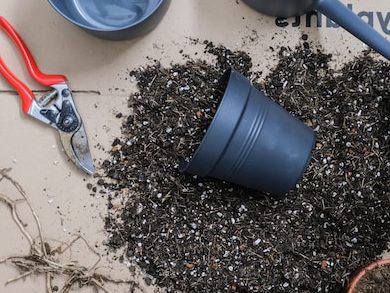
If your Bird’s Nest Fern has been overwatered your it’s best to replace the potting mix straight away rather than just sit and wait for it to dry up over time. This prevents any more damage from being done to your plant’s root system and allows your Bird’s Nest Fern to start the recovery process. Make sure to replace it with something fresh and nutrient-rich, like this one from Miracle Gro.
Going forward, make sure to keep an eye on the moisture levels in the soil to prevent more waterlogged soil from rotting the roots. Using a moisture meter will help you to do this. You could also invest in self-watering pots, like these ones from Amazon, that make sure your Bird’s Nest Fern is getting just what it needs.
Those are the 4 main factors why Bird’s Nest Ferns develop brown leaves or brown leaf tips. It’s important that you act quickly to determine what is causing the brown leaves on your Bird’s Nest Fern. The earlier that you spot and treat the problem, the more chance you have at getting your plant back to full health. A lot of people ask us whether it’s best to trim away the brown leaves or to let them fall off naturally. We always recommend trimming off the leaves that are fully brown, as this prevents your plant from wasting valuable energy on leaves that are basically dead. Trimming them away means your Bird’s Nest Fern can focus all its energy on new growth.
Check out our Bird’s Nest Fern care guide for all the information on how to best care for your plant!


