Dumb Cane plants, also often known by their Latin name Dieffenbachia, are really easy to propagate. However, it can be a little dangerous as their toxic sap can cause a whole range of issues and allergic reactions in humans and animals. So before starting the process, be sure that you are taking all the right precautions.
In this post we will guide you through the complete process; the various ways you can multiply your plant, the dos and don’ts, what tools you’ll need as well issues to look out for.
What tools you will need to propagate a Dumb Cane plant?
Let’s start off with the easy part. It’s important to make sure you have all the right tools before starting the process.
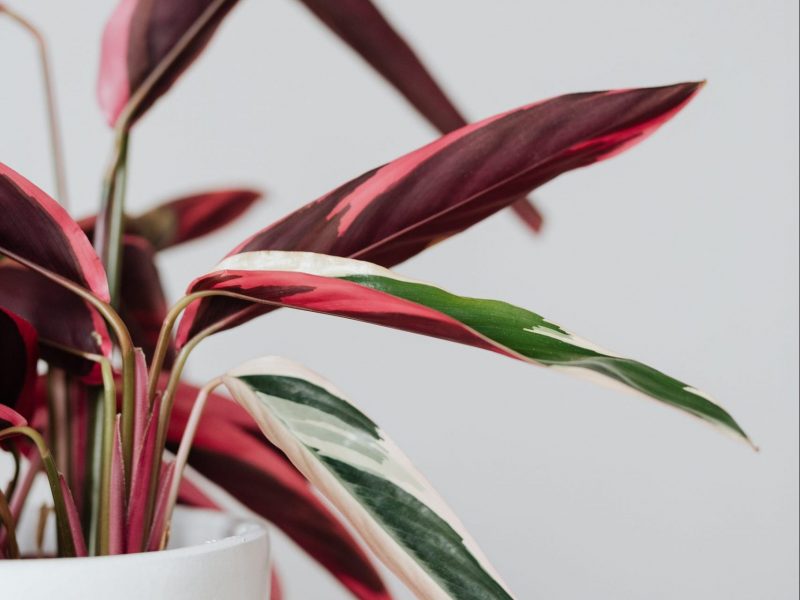
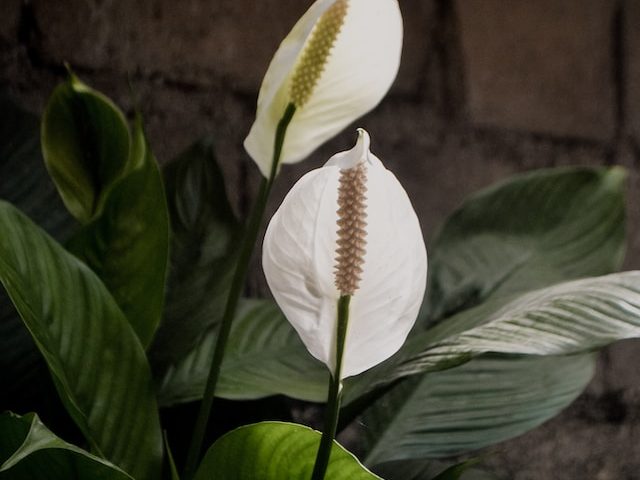
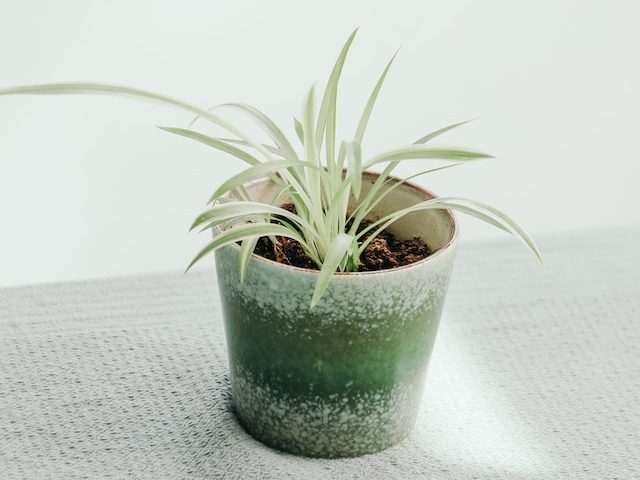
Healthy and mature Dumb Cane plant
Thick gardening gloves and protective clothing as Dumb Cane plants are very toxic to humans and pets
Sharp scissors/shears
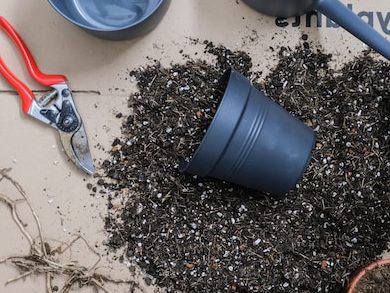
Spare pot
Fresh soil and water
Newspaper or plastic sheet
Toothpick, plastic wrap and peat moss (if you are using the air layering method)
What methods can I use to propagate my Dumb Cane plant?
There are three main methods you can use; stem cuttings (in either water or potting mix), air layering and division. Stem cuttings and division are definitely the easier methods and the ones we would recommend to relatively new plant parents.
But if you like a challenge or have done it before, the air layering method is a great option.
Below you will find a step by step guide to each method.
How to propagate a Dumb Cane plant through stem cuttings
Locate your stem cutting
When taking a stem cutting you want to make sure that the part of the plant you are cutting is healthy to give you any chance of success. You also need to make sure this section of your Dumb Cane has one or more nodes. Nodes are joints where the stem and leaves meet.
Ideally, you want to have 2-3 nodes on your stem cutting as the maturity will help with root growth.
However, if your cutting has more than 3 nodes, it will require a lot of energy to keep it alive, let alone grow new roots.
Make the stem cutting
This is the scary part! Now that you have located the section of the stem that you want to use, you need to cut it off.
Use your scissors/ shears or a knife to make the cut diagonally across the stem. A diagonal cut increases the surface area which will help root development.
You also want to make sure that the tools you’re using are clean as you don’t want to be passing on any dirt or bacteria to your cutting.
Choose how you want to grow your cuttings
At this point, you have a choice whether you want to grow your stem cutting in water or if you want to grow it straight into potting mix.
Both can be successful but we tend to go with growing in water for several weeks so you can keep an eye on root growth. Potting straight into soil can hide problems with the root system and watering routines can be trickier.
If you are choosing to go straight to potting mix, then you can skip to step 9 in this process.
Take off any lower leaves
As you will be placing your cutting in water for several weeks you want to carefully remove any leaves on the lower part of the cutting that may end up sitting in the water. They will rot if they are sat in water for a long period of time so best to cut them off now.
This step won’t apply to each and every cutting so only remove the leaves if they will end up sitting in the water.
Fill up your container with water
The next step is to fill up a container with fresh temperature water ready to place your cutting into. Make sure that the water isn’t super hot or cold as this can very quickly shock your cutting and cause it to wilt, burn or freeze.
We also tend to use transparent containers so that we can see the root growth happening. Not only is it pretty cool to watch, but it’ll mean you can spot any issues early, giving you the best chance at reviving your cutting if anything does go wrong.
Place your Dumb Cane cutting in the water
Make sure that at least one node on your cutting is fully submerged in the water as this is where the roots will grow out from.
Place your cutting in bright but indirect sunlight. Intense light will damage and burn your new cutting and will often mean your propagation won’t be a success.
Change out the water regularly
When propagating plants in water, the most important thing to be doing is keeping that water fresh. We recommend replacing it every couple of days to stop bacteria from growing.
If the water stagnates it can be quite harmful for your cutting and it’ll also start to smell which will be unpleasant for you too!
Be patient
Now that you’ve gotten into the routine of switching out the water regularly, all you need to do is wait for roots to grow!
Don’t worry if this process takes several weeks or months as that is totally normal! Root growth is unpredictable and there’s no set timeline so as long as your cutting is healthy and it’s in the right environment, you should start to see new roots soon.
Once the roots on your Dumb Cane cutting reach about 5-10 centimetres it’s time to move on to the next step.
Plant your cuttings into potting mix
Now it’s time to pot your cuttings in fresh posing soil. Make sure you never reuse potting mix as it can accidentally transfer pests or diseases onto your plant.
We also recommend using a high-quality potting mix to make sure your new plant gets the right nutrient balance.
Once your cutting is in its new home, continue your usual Dumb Cane care routine.
How to propagate a Dumb Cane plant through division
You can only use this method if your Dumb Cane has several stems growing in the same pot. If your plant is less mature and has only one offshoot, then you must use either the stem cutting or air layering methods.
Locate the various offshoots
When looking for a part of the plant to divide it will become very obvious if there are various offshoots/stems. They will be completely separate and leaves will grow out from each of the stems. They will also grow completely separately out of the soil.
Take your plant out of the pot
In order to separate out the different sections of your Dumb Cane plant, you’ll need to take it out of the pot.
Remember to wear protective gloves and clothing to avoid coming into contact with any of the poisonous sap.
Shake off the potting mix around the roots so you can see the natural divisions within your plant.
Separate the sections
You may have to trim off the odd root if they aren’t detangling easily but you should be able to carefully pull the sections apart from each other.
It’s ok if you have to slice around the plant a little to separate them but just make sure that each part of the plant has a substantial amount of the root system.
Place in water or fresh potting mix
Pot the main Dumb Cane plant back into its pot (or downsize if you have taken a lot away from the plant) and decide whether you want to place the new plant in water first or straight into potting mix. This depends on the size of the division and the maturity of its root system. If the divided section has quite mature roots then it will be fine growing in potting mix straight away.
Make sure you use a fresh, high-quality potting mix so your new plant gets all the nutrients it needs.
Continue normal care
Now that your new Dumb Cane plant is happily in its new home with plenty of fresh potting mix, your propagation is complete!
How to propagate a Dumb Cane plant through air layering
This method can be a little trickier and fiddlier but if you’re after a challenge and aren’t super fussed if it turns out to be unsuccessful, we really recommend giving this method a go.
Locate a healthy stem
When choosing the air layering method you want to make sure you are using a healthy, mature and strong part of the stem.
Avoid any part of the plant that is yellow, brown or showing signs of pests/sunburn etc.
Make a vertical incision into the stem
Using a clean knife make a vertical cut into the stem of your Dumb Cane that is a couple of inches long (this is why you need to choose one of the strongest and most mature stems).
Make sure you only go about halfway through the stem, it’s important you don’t slice all the way through to the other side.
Open up the incision
We recommend inserting a toothpick into the centre of the incision to hold it open. This can be a little fiddly as you don’t want to poke all the way through the stem.
The toothpick will keep the incision open and this is where the new root growth will start.
Attach damp peat moss to the side of the incision
You want to tie a lump of peat moss around the stem covering the incision. Make sure the peat moss stays damp but not soggy at all times. The best way to do this is by misting the top and bottom. Use brown string, plant ties or garden wire to secure the peat moss to the stem.
Wrap up the peat moss
You want to wrap a piece of plastic wrap around the peat moss and stem. Wrap it firmly around the stem but still leaving some air pockets around the peat moss. This will help it breathe and allow you to mist it occasionally to keep it a little damp.
Once you see a new root you can cut off the stem
After several weeks you should start to see new roots growing out of the peat moss.
Once you see this you can slice the cutting off your Dumb Cane plant, remove the film and pot the cutting into fresh potting mix.
Handle your new cutting with care as the fresh roots will be delicate and easily damaged.
Dumb Cane Propagation FAQs
What’s the best time of year to propagate a Dumb Cane plant?
Make sure that any wintery cold weather is behind you so that your cuttings are growing in warmer brighter months.
This is especially true for the stem cuttings and air layering methods which take a lot longer and need warmth and sunshine to develop an entirely new root system.
Propagating with these methods during autumn and winter can increase the risk of leaf and root rot.
The division method, however, you can do in slightly less than ideal environments if you need to as the root system is already developed.
Should I use a grow light for my Dumb Cane cuttings?
Grow lights are great as they can help stimulate growth by creating the ideal environment. Grow lights are also great to use more generally on your houseplants, cuttings or seeds if they don’t get enough light so are a great investment for any plant parent.
Heat mats are also a great buy as they create a nice warm environment that helps speed up root growth.
What is a node?
It’s important that you are able to identify the different parts of the plant so you know where to make the cut. A node is where the stem and leaf joints meet.
Without a node, you won’t have any chance of a successful propagation as there is nowhere for the roots to form. Ideally, you’re looking to take a cutting with 2-3 nodes and leaves on it.
Can I propagate my Dumb Cane from a single leaf?
Unfortunately, you aren’t able to use single leaf cutting. There needs to be at least one node so that roots can start to form. If you try to grow a leaf on its own, it’ll wilt and die pretty quickly as it cannot take in any moisture or nutrients.
Why do I need to wear protective gear when propagating a Dumb Cane plant?
Dumb Cane plants are really toxic to both humans and animals as the sap from inside the plant can cause a range of stomach and vocal issues (hence their name). Yes, if you or your animal ingests part of the plant, you may not be able to speak for a while…. So we recommend being very very careful around them, making sure you wear gloves and protective gear to stop yourself from coming into contact with any of the toxins.
Common problems when propagating Dumb Cane plants
If you keep an eye on your cuttings and plants, you’ll be able to spot the warning signs early and with a little bit of our help, you should be able to revive your cutting.
Why is my Dumb Cane cutting turning mushy?
If you spot that your cutting is turning brown and mushy then unfortunately this isn’t a good sign. Most commonly this happens due to the cutting rotting in stagnant water. You want to make sure you are regularly refreshing the water every few days so that it doesn’t encourage the growth of bacteria.
Why are the new leaves on my Dumb Cane cutting small?
If your cutting is starting to grow new leaves but they are much smaller than the leaves on the mother plant don’t worry at all.
This is completely natural and simply due to the root system being less mature than that of the larger plant. As the root system matures, it will be able to support the growth of much larger leaves but you shouldn’t expect growth to be the same straightaway.
Give it time and slowly the new leaves will start to get bigger and you can trim away the smaller leaves to encourage new healthy growth.
Why is my Dumb Cane cutting turning yellow?
If the leaves on your cutting are turning yellow then it may be due to too much direct sunlight which has burnt or scorched the leaves.
If you have recently moved your cutting from water to potting mix take it out of the pot and see if you can spot a problem with the roots as yellow leaves can be caused by overwatering.
As your new plant will be a lot smaller than your mother plant it won’t need nearly as much water so adjust your watering habits accordingly.
There is a lot of waiting on roots which can feel like forever but with the right care and the ideal environment, you shouldn’t have too many problems.
Check out our full Dumb Cane Care Guide that has all the information on how to continue care for your cutting once it has matured.