

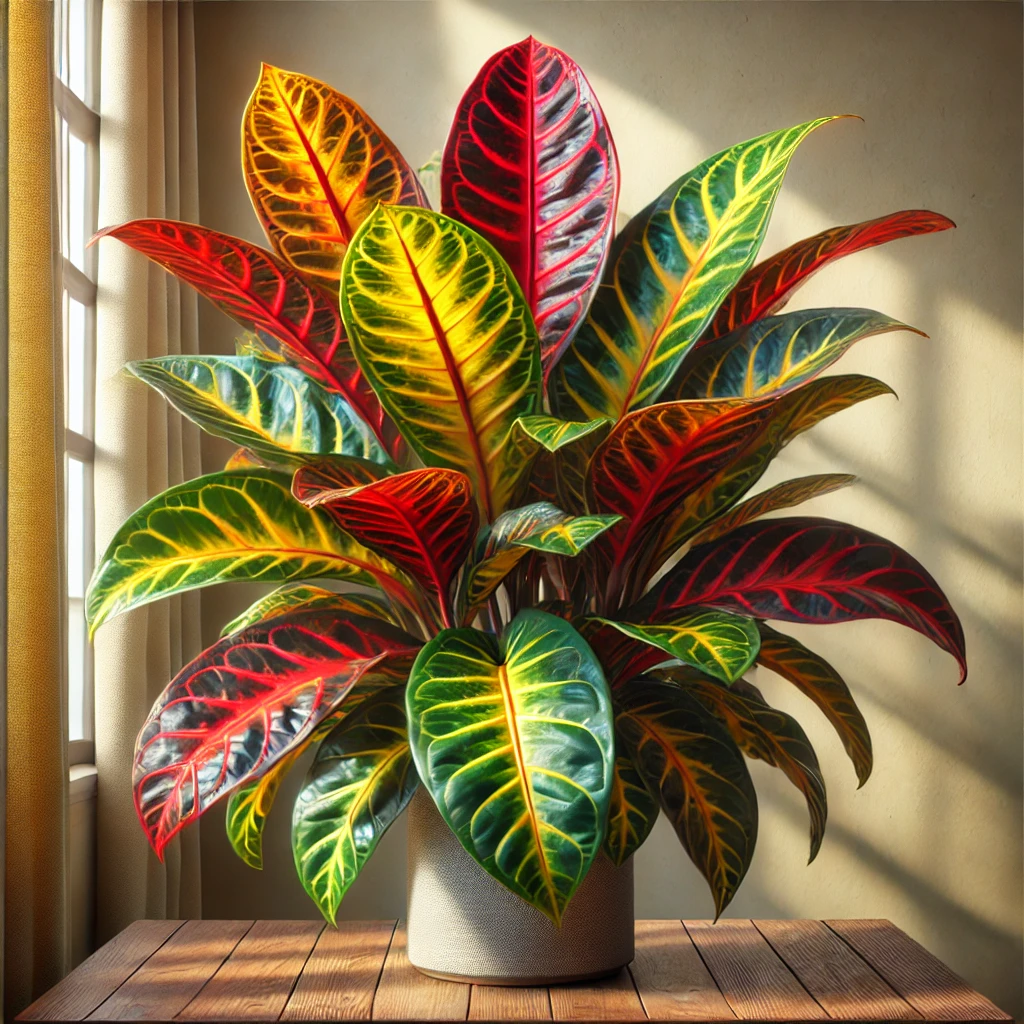
Basic Croton Plant Care
One thing that is really unique about Croton Plants is that they are genetically unstable. This means that all plants look slightly unique. Below you will find our complete Croton Plant care guide with all the information and tips you need to help your plant thrive.
Bright Indirect Light
I love the sunshine but too much direct light will damage my leaves.Water Moderately
I don’t like my soil to be too dry or too soggy. Little and often is what I’m after.Medium Humidity
Please make sure the air isn’t too dry, otherwise I won’t be a happy plant.Potting Soil
I need soil specifically for indoor plants as it retains the right amount of water.Detailed Croton Plant Care Information
Whether you’re looking to make sure your Croton Plant is in it’s perfect conditions, or looking to see if one could work for your space. We’ve got you covered.
Croton Plants love bright, indirect light
Keep the soil evenly moist
Croton Plants need a warm environment
Only fertilise in the growing season
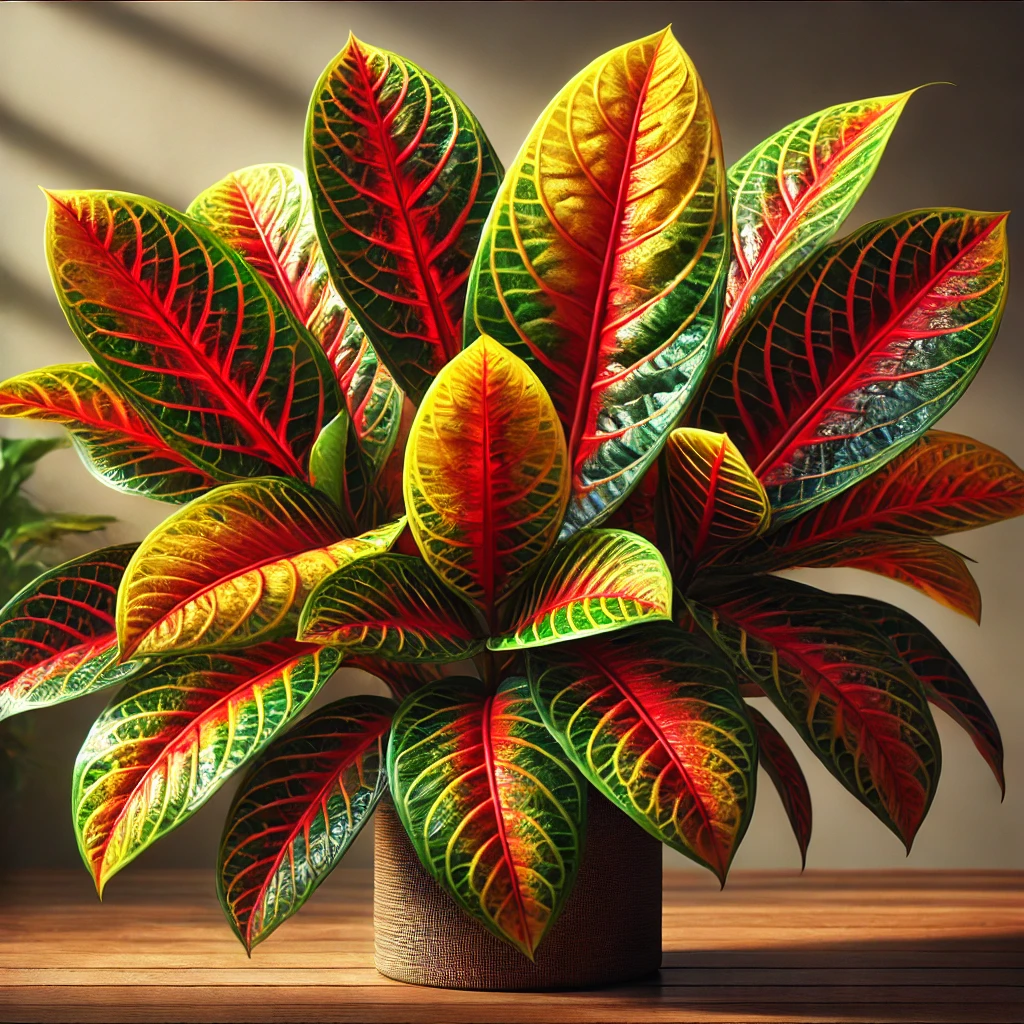
Leaf colours depend on sunlight levels
Repot your Croton Plant in spring
Mist your Croton Plant to avoid pests
Croton Plants are mildly toxic to pets
Propagate your Croton Plant using a stem cutting
Croton Plant FAQs
Quick and simple answers to the most common questions we see about the Croton Plant.
How much light does a Croton Plant need?
How often should I water my Croton Plant?
Is the Croton Plant toxic?
Are Croton Plants easy to care for?
Croton Plant Care Starter Kit
We’ve put together this great little starter kit that includes all of the equipment and information you’ll need to take proper care of your Croton Plant.


Common Problems with your Croton Plant
Here are some common issues that you might run into. It’s important to diagnose any issues early to give your plant the best chance of bouncing back.
Why is my Croton Plant dropping leaves?
Why are the leaves on my Croton Plant dull and lacking colour?
Simple Croton Plant Care Requirements
It sometimes helps to take caring for your plants back to the basics, here’s the key considerations that you should take into account when caring for your Codiaeum variegatum.
These simple points should give you all you need to keep your plant happy and healthy for years to come.
| Common Name | Croton Plant |
| Latin Name | Codiaeum variegatum |
| Light | Bright Indirect Light |
| Water | Water Moderately |
| Humidity | Medium Humidity |
| Soil Type | Potting Soil |


