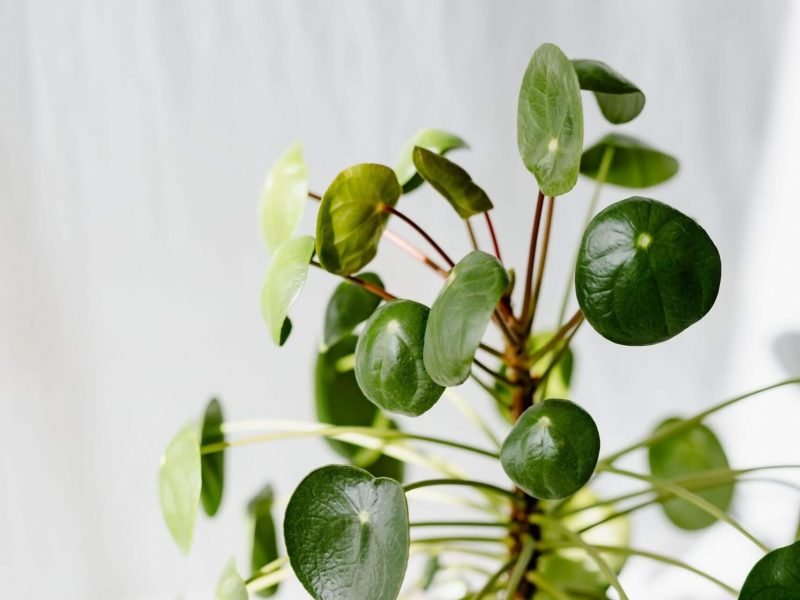
Chinese Money Plants, also known by their latin name Pilea, are one of the easiest plants to propagate. So much so that many people call it the Pass On Plant because they make the perfect gift for friends and family. There is only really one successful method and that is through the growth of babies/pups. These can either grow directly off the stem or as offshoots under the soil which pop up next to the mother plant.
Pilea plants after propagation

Why propagate a Pilea Peperomioides?
Before we get started you might be wondering why it’s beneficial to propagate your plant? Well here are a few good reasons:
Create more plants for free!
This will multiply your plant collection without needing to spend any more money! They also make great gifts for friends and family if your home is already overflowing with plants.
To save a dying plant
If you accidentally overwatered, over-fertilised or mistreated your plant and it has started to die, sometimes the best way to save it is by taking the healthy pups off the mother plant.
To avoid your Pilea becoming root-bound.
When more and more pups start to grow out from the mother plant, the whole plant will become pot bound very quickly. There will be a lack of nutrients for the plant and will stunt growth if not removed.
To make your plant fit its environment.
If your Pilea has become too big for your space or you simply want to prune the shape a little then propagating the pups you cut off is a great way to stop them from going to waste.
Mature Pilea plants are easy to propagate

How to propagate a Pilea peperomioides through cuttings
Taking cuttings of Pilea pups is the only way to propagate your plant with high chances of success. The only downside to this method is that not all plants will have pups growing off them if they aren’t mature plants. But it shouldn’t take too long before your plant starts to grow offshoots so just be a little patient and make sure your Pilea is getting the right care.
It’s always exciting when we see the first signs of a little pups popping up from the soil or stem and our first instinct might be to remove it straight away. However, you need to sit tight for a little while to allow the pup to strengthen and grow about 5-7cm tall with several leaves before starting to think about separating it from the mother plant. If you repot the pup too early, chances are it won’t survive on its own for very long as the roots won’t have fully developed.
Propagating a Pilea through pups

Locate a healthy Pilea pup
When taking a cutting you want to make sure that the pup is healthy to give you the best chance of success. Avoid any sign of disease or pests as this will hinder healthy growth.
Take your plant out of its pot
In order to cut the pup from the mother plant we recommend taking the mother plant out of its pot and remove the potting mix around the pup. This means you can take a longer cutting and include some of the roots if it has started to grow any.
Make the cut
You want to use clean scissors/ shears or a knife to make the cut to avoid passing on dirt or any infection to the cuttings. Use your tools to make a clean cut across the stem. Try to make the cut as close to the mother plant as possible. Avoid breaking it off or tugging at the pup as this can damage the main stem.
Fill up your container with water
Next, you want to fill up a glass with fresh temperate water to place your Pilea pup(s) into. Make sure the water isn’t super cold or hot as this will shock or burn the cutting and weaken your chances at a successful propagation.
It’s best to use purified water so the levels of chlorine and fluoride aren’t as high as in the water straight out of the tap as Pilea plants can be a little sensitive to this. A great way to do this naturally is to leave the water out for 24 hours to allow the chemicals to evaporate. You can also use filtered water or collected rainwater to avoid this sensitivity.
Place your cuttings in water
Make sure that the water is covering about half of the cutting to boost root growth. Keep all of the leaves out of the water as they will start to rot. Place your glass in bright but indirect sunlight. Intense light will damage the cutting and prevent a successful propagation.
Change out the water regularly
One of the most important steps in the Pilea propagation process is to switch out the water in your glass regularly. You want to be doing this every 2-3 days. This keeps the water free from bacteria and stops it from stagnating which is harmful to your cutting. Stagnant water will also start to smell so it’s something you really want to avoid.
Be patient
Luckily Pilea plants are one of the quicker plants when it comes to growing roots. After a couple of weeks, you should start to see some thin roots growing from your pups. Timing can be a little unpredictable though and depends a lot on your cutting and its environment so just make sure your pups are getting enough light, warmth and fresh water and you should start to see roots soon.
Plant your cuttings into fresh potting mix
Keep an eye on root growth and when your pup’s roots are several inches long you can pot them into soil! We recommend using a high-quality potting mix to make sure your new plants are getting the right mix and level of nutrients. Carefully place your cuttings a few centimetres into the soil, making sure not to damage the newly formed roots as they will be very delicate at this stage.
Resume usual plant care
For the first few weeks of your new plants living in potting mix, we recommend keeping the soil a little more moist than usual. This is because your cuttings are used to living in water and will need some time to adapt. But after a few weeks, you can go back to regular Pilea care and soon those pups will be mature enough to grow offshoots of their own – and the cycle starts again!
Use sharp scissors to cut off your Pilea baby

A Pilea pup cutting

Pilea Propagation FAQs
Here’s some answers to the most common questions we get on this subject, hopefully something here can help!
Can I propagate my Pilea from a single leaf?
There are some rumours that people have been successful in propagating their Pilea from a single leaf. However, we have never had any luck with it so we can’t recommend that you try. What usually happens is the leaf looks healthy for a week or so sat in water or potting mix but then droops and turns brown without any signs of root growth.
Can I reuse my old potting mix when I propagate my Pilea?
Re-using potting mix from other houseplants is a big no-no. There can be a lot of unwanted things hiding in your soil without you realising such as pests or bacteria. So reusing potting mix can easily transfer these pests or diseases from one plant to another. We always recommend using fresh potting mix for new plants to reduce the risk of transmission as the last thing you want is more unhealthy dying plants!
How long does it take for my cuttings to grow roots?
Pilea propagation is one of the quicker ones and you should start to see roots growing after only a few weeks. But it can be unpredictable so make sure you are changing the water out frequently and giving your cuttings the right amount of light and warmth.
What’s the best time of year to propagate?
We always recommend starting in the spring. This will give your new cuttings plenty of warm summer months to grow their roots and new leaves.
What soil should I use when propagating a Pilea?
When propagating Pilea plants, always use a well-draining potting mix. Make sure it contains perlite as this is what aids drainage and stops your plant from suffering from root rot which is especially important when the roots are so delicate.
Should I use a rooting gel or powder when propagating?
Using rooting hormone in the form of gel or powder is completely optional. You can have great success without it but they work to stimulate root growth on new cuttings, not only speeding up the process but also producing stronger roots.
Can I use a grow light for my Pilea cuttings?
Grow lights are great to use as they provide ideal light conditions for young seeds and cuttings to boost growth. If you don’t have much light in your home then they will definitely help with growth. You can also use LED grow lights on more mature plants over autumn and winter when they don’t get as much light so are a great investment for any plant parent!
Why is it important to use clean tools when propagating?
It’s important to clean your tools before and after contact with any plant to stop cross-contamination between your plants. Scissors, knives and shears can transfer pests and diseases across plants without you knowing.
Another crucial reason to get in the habit of clean your tools after touching plants is that many houseplants are toxic. Therefore you want to make sure that there is no trace of the plant on your tools as this can be harmful to you and anyone who might come into contact with your tools.
How often do I need to change out the water when propagating in water?
It’s really important that you change out the water every 2-3 days. This prevents the water from stagnating and harming your new leaf cutting.
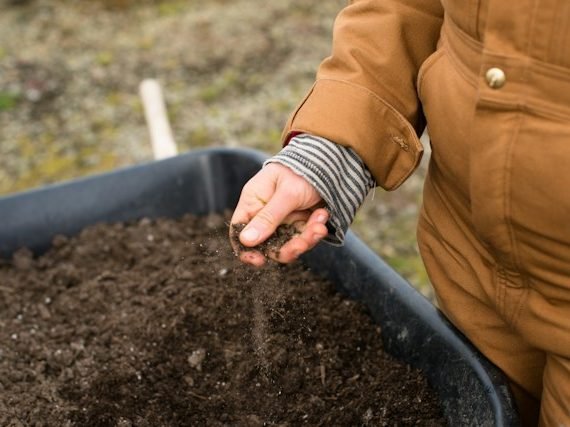
Make sure to use high quality mix when propagating your Pilea plant

Common problems when propagating Pilea Peperomioides
Propagating plants doesn’t always have a 100% success rate and you may encounter some problems along the way. But don’t worry, below we have all the main problems you may face so you can figure out what is causing these problems to arise and hopefully solve them before it kills your plant cuttings.
Why isn’t my Pilea cutting growing roots?
Patience is the number one thing you need as it’s not an exact science and root growth is unpredictable. Sometimes you will see roots growing after only a few days, other times it can take several months for healthy roots to grow. As long as your cutting is getting the right care, and isn’t turning yellow, brown or mushy then you should expect to see roots growing soon!
Why is my Pilea cutting losing leaves?
If you find that your pup has lost a leaf after separating it from the main plant I wouldn’t worry too much at first. Your little plant cutting has gone through quite a lot of stress being repotted so this might just be a natural indication of this. However, if your Pilea plant is losing several of its leaves weeks after being repotted it may be a sign that it is unhappy in its environment.
Why is my cutting turning mushy?
If the stem of your plant cutting has started to turn soft and mushy then chances are it is rotting in the water. Unfortunately, it is often too late to save that part of the cutting once it is soft so we recommend trimming it away and starting again with the healthy part of the cutting.
Make sure you are changing out the water regularly. Another way to combat this is to allow the cuttings to callous over a little by leaving them out of water for a day or two after cutting. This should hopefully prevent leaf and stem rot.
Why is there a weird film on my cuttings in water?
It’s totally normal for a slightly slimy layer to form around your cutting and its roots when sat in water. This is totally normal and you don’t need to worry about it too much. We recommend giving your cutting a quick rinse each time you change out the water to remove this but it shouldn’t harm your chances of a success propagation so long as you are regularly switching out the water.


