A Complete Guide To Nerve Plant Propagation
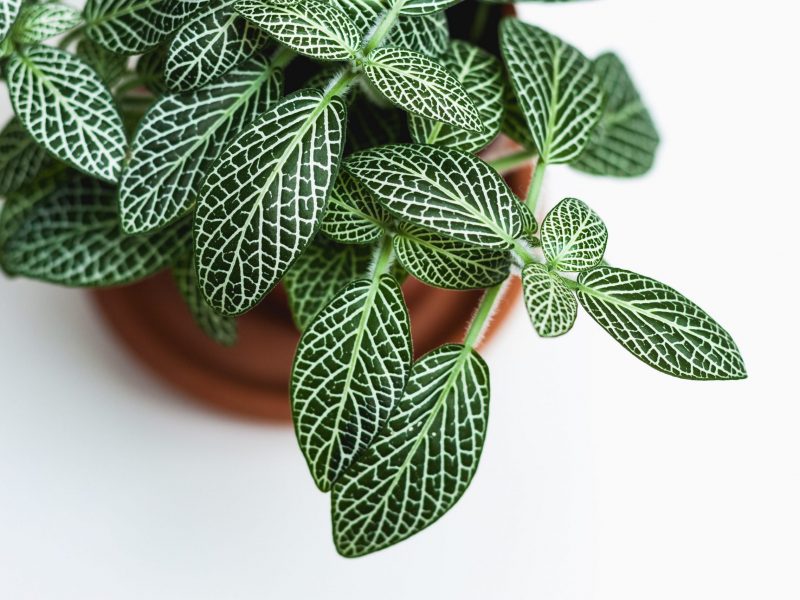
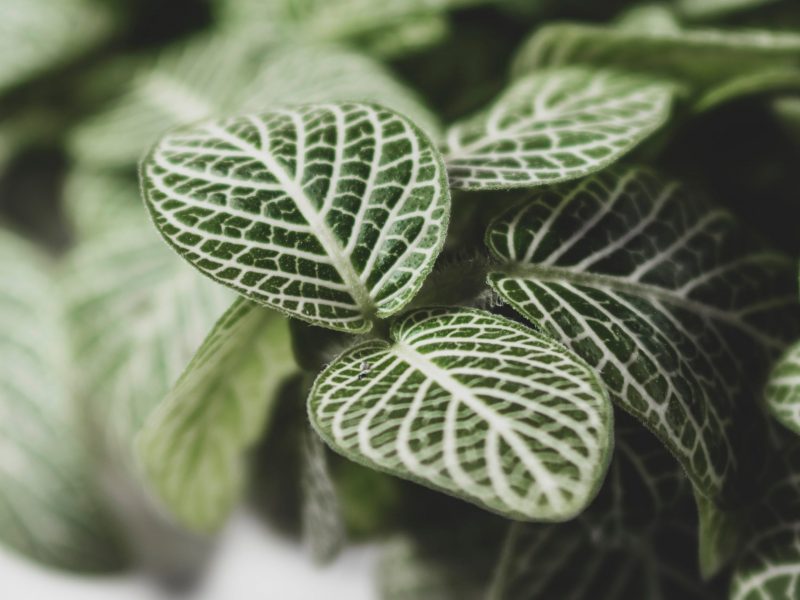
Loved for their array of colours, the Nerve Plant has shot up the houseplant popularity rankings in the past few years and we totally understand why. Although their care requirements may be a little fussier than some other plant types, propagating Nerve Plants couldn’t be easier!
Below, we will go through the main method of Nerve Plant propagation as well as tips and advice to help you along the way.
Nerve Plant Propagation Methods
There is one main method to propagate Nerve Plants and that is through stem cuttings. You can also choose to use the division method which we will also outline below, but it’s worth noting that you’ll need a bushier, more mature plant for this.
How to propagate a Nerve Plant through stem cuttings
Step 1: Locate healthy stems
When choosing a part of the plant to propagate you need to make sure that the part of the plant you’re cutting is healthy to give you any chance of success. Avoid any sign of disease or pests as they will be transferred onto your new cuttings and will normally mean your propagation won’t work.
You want to look for longer stems to choose as cuttings if possible as these will have greater success and are easier to work with.
Step 2: Make the cut(s)
How many cuttings you take is up to you and depends both on how many new plants you want to grow and how bushy your mother Nerve Plant is. Make sure the tools you use are clean to avoid passing any dirt or bacteria onto both the main plant and the cutting. Oh and never rip off the stems, always cut them properly as you don’t want to damage the stems.
Step 3: Fill a container with fresh water
Avoid particularly hot or cold water as you don’t want to shock or burn your Nerve Plant cuttings as they are quite sensitive having just been removed from the mother plant.
Step 4: Place your cuttings in water
You want about one third of the cutting to be in the water, any more and you risk the stem cutting rotting. Then place your glass in bright but indirect sunlight making sure it doesn’t receive any direct sunlight which can burn and dry out the young cutting.
Step 5: Continue to refresh the water regularly
This will prevent the water in your Nerve Plant propagation station from stagnating and harming your cutting.
Step 6: Wait, wait wait
Luckily, you don’t have to be too patient with Nerve Plant cuttings as you should start to see some roots growing after a week or two. This process is unpredictable though so be prepared to wait a while in some cases.
Step 7: Transfer your cuttings to soil
Once the roots on your Nerve Plant cutting are a few inches long, it’s time to pot them into soil! Handle your cuttings with care as the roots will be very very delicate.
Step 8: Your Nerve Plant propagation is complete
You can now begin to care for your new plants as you were the mother plant!
Nerve Plant Propagation Through Division
The benefit of this method is that you’ll have multiple Nerve Plant in a matter of minutes! It’s also the less risky method as each new plant will already have an established root system. However, the downside is that you do need to take a chunk of your mother plant so isn’t suitable for more mature plants. Below you’ll find the step by step for this method to follow along with:
Step 1: Remove your mother Nerve Plant from its pot
Before tugging at the plant, check the bottom of the pot to see if the roots are growing out of the drainage holes. If so, carefully untangle these as otherwise, they will rip off as you remove the pot and you want to keep as much of the root system intact for this method.
Step 2: Loosen the soil from the root system
A good way to do this is carefully run your fingers through the roots, shaking them to remove the soil. This will allow you to see the various divisions of your plants and you can start to think about how you want to divide your plant up.
Step 3: Separate your Nerve Plant into sections
It’s important to sure that each section has a substantial amount of mature roots to aid a successful Nerve Plant propagation. But exactly how you want to divide your plant is up to you!
Step 4: Pot your plants
Place your mother plant back in its pot (or into a smaller pot if you have taken a lot away from it). Then pot your new divisions into fresh potting mix, lightly compressing the soil to keep them upright.
Step 5: Continue normal Nerve Plant care
As your cutting is now in fresh potting mix you can care for it as you would your other Nerve Plant. Do keep a close eye on both your new plant and your mother plant over the next few weeks to make sure that everything is OK.
Nerve Plant Propagation FAQs
Is it possible to propagate individual leaf cuttings on a Nerve Plant?
Whilst it technically can be possible to propagate a leaf cutting, the survival and success rates are very low so we don’t often recommend it. Stem cuttings and the division methods are a lot safer and lead to incredible results.
Will the stem cuttings look like my mother Nerve Plant?
Yes, using stem cuttings with Nerve Plants means that the new plants will have the same colour as the mother plant.
What time of year should I propagate my Nerve Plant?
Spring is the best time to take cuttings as the warm summery months ahead will aid root growth. However, if you are looking to use the division method, you can do this whenever as the root system is already established.
We hope you have found this guide to Nerve Plant propagation useful. It’s a lot quicker than most other plant types and you’ll find your stem cuttings growing roots in no time with the right care and environment.
To learn more about how to nurture your cuttings after propagation, check out our Nerve Plant care guide.


