Overwatering is very easy to do because it is hard to know exactly how much water your Monstera needs as there are so many factors at play. From sunlight levels, to the time of year and even how long your heating is on. If you fear you may have overwatered your Monstera then try not to worry. If you catch the problem fairly early, your plant won’t die on you suddenly. Even if there is only one healthy leaf left, there is still hope.
Signs of an overwatered monstera:
You want to be really sure that your Monstera is overwatered before you take steps to fix it. Here are the most common signs to look out for:
- Yellow/ brown leaves
- Mushy leaves that are soft to touch
- Musty smell coming from the soil
- Water droplets on the leaves (paired with one or more of the above)
How to fix your overwatered Monstera plant
Step 1: Remove from pot
The first step to fixing your Monstera is to 100% make sure that is has been dramatically overwatered. You want to carefully take it out of its pot so you can inspect the root system and see how damaged the plant is. Because overwatering causes root rot, the problems will start below the soil and will only start to show on the leaves a few days/ weeks later.
Step 2: Remove the potting soil
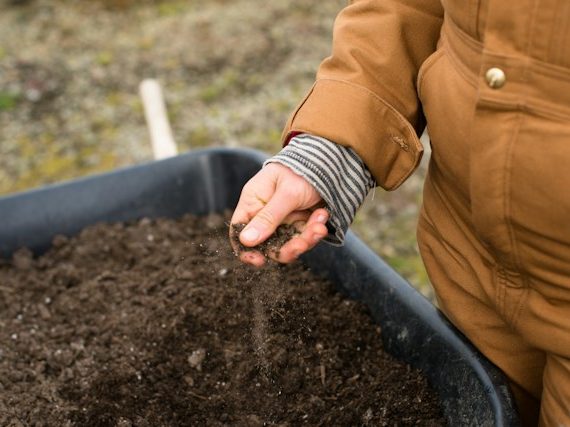
If the soil is waterlogged then you will need to remove it and replace with fresh dry mix. Carefully remove as much as you can from the root system to it can begin to recover. The best way to do this is to carefully loosen the roots and run your fingers through them shaking them gently.
Step 3: Trim off rotten parts of the plant
Now that you have removed most of the old waterlogged soil you should be able to see the root system better. We recommend trimming away all of the rotten roots and dead leaves on your Monstera. This will encourage your plant to produce new healthy growth. You don’t want your Monstera to waste energy trying to keep the dying roots and leaves alive. As long as there is around 40% of the original root system in tact, your plant should recover fine.
Step 4: Replace with new potting soil
Now that only the healthy parts of the root system remain, it’s time to put your Monstera back in its pot. There are two things to look out for when replacing the potting mix. Firstly, you want to make sure the pot has good drainage holes. This will hopefully decrease the risk of overwatering in the future. You can also place a few stones at the bottom of the pot which will aid drainage and stop the holes being blocked by clumpy soil. And secondly, you want to use a well draining potting mix. Choose one with perlite in as this aids with drainage and aeration of the soil.
Put a few handfuls of potting mix at the bottom of the pot before placing your Monstera back in the pot. This gives it space to grow into.
Step 5: Make sure it’s in the right spot
Before returning to normal care, it’s important to take a look and see whether the spot your Monstera is in is actually a good one. Overwatering can be really easily done when your plant isn’t getting enough light, or the temperature is too cold. These factors mean your plant won’t take up as much water and the soil will stay quite soggy.
Monsteras need bright, indirect sunlight as well as a warm room and humid air. You can find out more about the ideal spot for your plant in our Monstera care guide.
Step 6: Reintroduce watering slowly
You want to be really careful when reintroducing watering. The root system is still quite sensitive and will be recovering from the shock. But don’t be afraid to give it water as underwatering can cause a whole load of issues too!
Step 7: Check moisture levels
The best way to prevent overwatering your Monstera again in future is to regularly check the moisture in the soil before watering. We recommend a few different methods which all work really well. Firstly the finger test where you check how damp the top of the soil feels. Secondly, the lift test where you see how heavy your plant feels (not great for mature Monsteras so be careful!).
Lastly, the moisture meter method which is the most trustworthy way to know how moist the soil is. They are affordable little devices that you put into the soil and it gives a reading. We recommend this one from Amazon.
Step 8: Hope for the best
If you have followed all the steps so far then there is a good chance that your Monstera will survive the overwatering. But there is an element of just crossing your fingers and hoping for the best. Keep an eye on any changes that happen over the next few weeks in case there are any more signs of unhappiness but more often than not your Monstera will recover well and produce growth pretty soon!
Those are the key steps to fix an overwatered Monstera. Once it has fully recovered continue to keep an eye on how much water you are giving it to avoid the problem happening again. We have a full 34 page chapter to watering in our downloadable ebook if you want to learn more.


