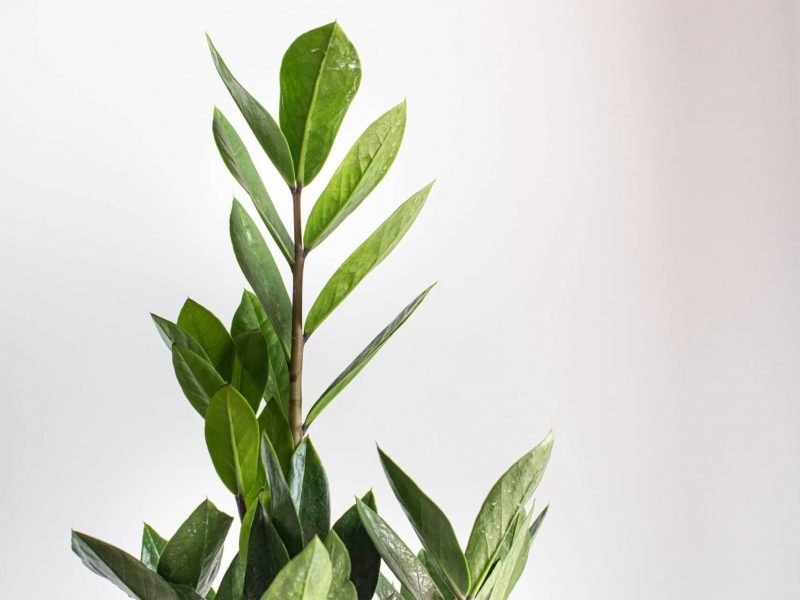
ZZ Plants are one of the easiest houseplants to care for, and are actually really easy to propagate too! They might not look it, but there are several simple different ways you can do it which we will cover each one in this post. We will also cover what tools you’ll need, step by step methods, issues you may face and all of our top tips.
Why propagate a ZZ Plant?
Lots of people want to simply multiply the number of plants you have without actually having to buy any more. Who can say no to free plants?! Plant cuttings also make great gifts for friends.
Another reason why many plant parents choose to take cutting from their plants is because it outgrows the space. But instead of simply throwing away those cuttings, why not propagate them and start a whole new mother plant.
You may also want to propagate your plant if it’s starting to die and you are unable to revive it. Just be careful that the bit of the plant that you are using is healthy and pest-free. Otherwise, the illness or pests will transfer onto your new plant.
What tools will I need to propagate my ZZ Plant?
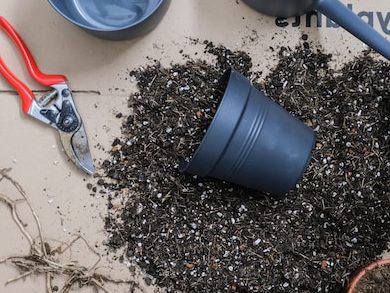
Let’s start off with the easy part. It’s important to make sure you have all the right things before taking the first cutting!
Healthy and mature ZZ Plant
Sharp scissors/shears
Spare pot(s)
Fresh soil and water
Newspaper or plastic sheet
What methods can I use?
There are three main methods of propagation you can use; stem cuttings, leaf cuttings and divisions. Stem cuttings and leaf cuttings are quite a slow one for ZZ Plants and division can only be done every so often as these plants are generally slow growers. If you are completely new to this then we recommend starting off with division. Below you will find a step by step guide to each method.
How to propagate a ZZ Plant through the stem cutting method
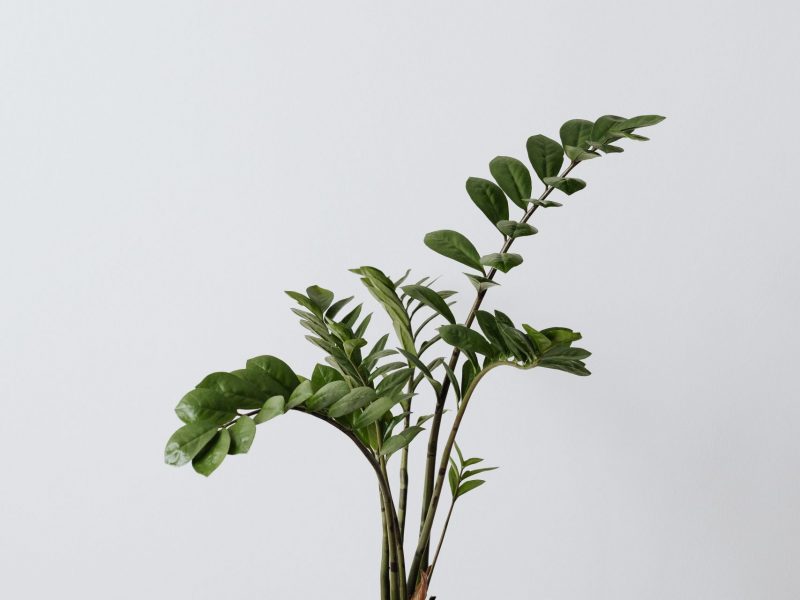
This is a pretty easy method of propagation that doesn’t require too much effort, but it can be a slow process.
Locate a healthy ZZ Plant stem
When taking a stem cutting you want to make sure that the part of the plant you are using is healthy.
Make the cut
You want to use clean scissors/ shears or a knife to make the cut to avoid passing on dirt or any infection to the plant. Use your tools to make a clean cut at the base of the plant. If you can, cut across your plant in a diagonal way. This increase the surface area of the cutting for the rhizome and roots to grow.
Take off any lower leaves
As you will be placing your cutting in water for several weeks you want to carefully remove any leaves on the lower part of the cutting that may end up sitting in the water. They will rot if they are sat in water for a long period of time so best to cut them off now. Usually, ZZ Plant stems have a long bit before the leaves appear and if you have cut close to the base of the plant there shouldn’t be too many leaves in the water.
Fill up your container with water
Next, you want to fill up a glass with fresh temperate water to place your cutting into. Make sure the water isn’t super cold or hot as this will shock or burn the cutting and may cause it to die. It’s best to use purified water so the levels of chlorine and fluoride aren’t as high as in the water straight out of the tap but if that’s not possible don’t worry as ZZ Plants aren’t as sensitive to tap water chemicals as other houseplants.
Place your cutting(s) in water
Make sure that the bottom quarter of the stem cutting is sat in the water so that the roots and rhizome will start to grow out from them. Place your glass in bright but indirect sunlight. Intense light will damage the cutting.
Change the water out regularly
It’s super important that you keep the water fresh so we recommend switching it out twice a week. This stops the water from stagnating as this is the perfect breeding ground for harmful bacteria to grow. Stagnant water will also start to smell pretty bad so definitely something you want to avoid.
Be patient
Now that your stem cutting is in water and you are in the habit of changing it out frequently, all there is left to do is wait. Your stem cutting will start to grow a large round rhizome out of the bottom. This is where ZZ Plants store water which means they don’t need to be watered often. Roots will also start to grow out of the cutting but be prepared to wait a month or two before you see proper growth forming.
Plant your cuttings into fresh potting mix
After a few months, your stem cutting should have roots and a small rhizome and it will be ready to be pot into fresh potting mix. We recommend using a high-quality potting mix to aid with drainage and aeration and ensure your new plant gets all the nutrients it needs. Carefully place your cutting into the mix making sure not to damage the delicate newly formed roots and continue regular care.
How to propagate a ZZ Plant using leaf cuttings
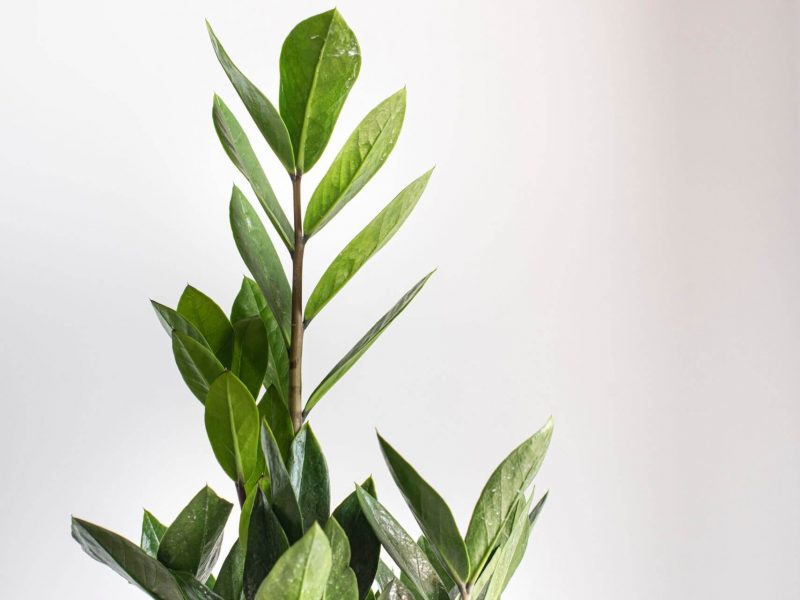
The reason that so many plant parents love propagating ZZ Plants is that you can do it from just a single leaf, unlike most other houseplants.
Locate a few healthy leaves
When taking leaf cuttings you want to make sure that the part of the plant you are cutting is healthy to give you any chance of success. Avoid any sign of disease or pests as they will be transferred onto your new cuttings.
You can try to propagate leaves that have naturally fallen off but you will have more success with healthy leaves that you cut off.
Make the cuts
Use clean scissors to cut off one or several leaves (several leaves gives you more of a chance that at least one will be successful). Make sure your tools are clean to avoid passing on any bad bacteria or pests to your cutting or mother plant.
Choose how to grow your leaf cuttings
It’s at this stage you need to decide between two methods of growing leaf cuttings. You can either grow your cuttings in fresh water or straight into potting mix.
If you choose to grow them in water then we recommend using shot glasses to keep the leaves upright. Place the leaf facing down so that the part which was attached to the stem is sat in water. You want the water to cover about one third of the leaf but no more. If too much of the leaf is covered in water then it may cause the leaf to rot.
If you choose to grow in potting mix, use a high-quality well-draining mix to help with drainage. Place the leaves into the soil as you would the water and press the soil around them to that they stand up straight.
Be patient
Now all there is left to do is wait and occasionally add water and check in on your cuttings. It will take several weeks or even months for roots to start to grow. The most important thing is that you don’t try and check root growth every few days by pulling the cutting out to inspect it. This can damage the cutting and stop any future growth.
Enjoy your new plants
After a few months, you may start to see roots growing out from your leaf cutting and this will eventually turn into a full mother plant. This is a great sign and shows that your efforts have been a success. Continue caring for your new plants and in no time you should start to see even more new growth appearing.
How to propagate a ZZ Plant through division of the mother plant
This method is probably the quickest and most likely to be successful, so if you have an existing healthy plant this is your best choice!
Take your plant out of its pot
In order to locate the various sections and separate them into two or more individual plants, you will need to take your plant out of the pot so you can divide the root system. ZZ Plants are pretty hardy and have strong stems which means you can pull your plant out of the pot by gripping onto the stems. Shake off the potting mix around the roots to uncover the various rhizomes. A good way to loosen the soil is to run your fingers through the roots to start to separate them.
Locate the various rhizomes on your plant
When looking for a part of the plant to divide it will become very obvious that each leaf on your ZZ Plant has a large round rhizome attached to the root system. These should separate themselves really easily and you can bunch groups together to form new plants.
Separate the rhizomes
You may have to trim off the odd root if they aren’t detangling easily but you should be able to carefully pull the rhizomes apart from each other. It’s ok if you have to slice around the plant a little to separate them but just make sure that each part of the plant has a substantial amount of the root system.
Place in water or fresh potting mix
Pot the main mother plant back into its original pot (or downsize to a smaller pot if you have taken away a large amount of the plant). Now you need to and decide whether you need to place any of the rhizomes in water first or straight into potting mix. This will depend on the size and maturity of the root system. If the offshoot has quite mature roots then it will be totally fine growing in potting mix already. However, if you have separated the rhizome from a lot of the roots then we recommend placing that section into water as a middle step.
Continue normal care
If your cutting is now in fresh potting mix then you can care for it as you would your mother plant. If it is in water first you want to refresh that water every couple of days and repot into potting mix once the roots have matured a little.
ZZ Plant Propagation FAQs
Using stem or leaf cuttings can be a little trickier as it will take a while but you shouldn’t have too many issues if you know the basics.
What’s the best time of year to propagate a ZZ Plant?
Spring will give you the best chance at a successful propagation. Make sure that any wintery cold weather is behind you so that your cuttings are growing in warmer brighter months. Because it is such a slow process you’ll want to make the most of all of warm weather.
Starting in autumn or winter will mean that your cuttings will be trying to grow in the dormant period and you won’t see much happening as growth rate will be very slow. This increases the risk of root or leaf rot which can kill your ZZ Plant cutting.
Do I need to use a rooting gel or powder when propagating my ZZ Plant?
Whilst it is not essential, you can use rooting gels or powders to increase the success rate. Rooting hormone products stimulate root growth on new cuttings, not only speeding up the process but also producing stronger roots. As it’s quite a slow process, this can be a good way to speed it up a little.
Rooting hormone comes in 3 types: powder, liquid or gel. When using a powder rooting hormone you dip the end of your stem or leaf cutting into water and then into the powder before planting directly into fresh potting mix. The moisture helps the powder to stick to the cutting. You only want to cover the bottom section of the cutting.
What is a rhizome?
ZZ Plants don’t need a lot of water because they have these rhizomes as well as roots which is where they store their water. Rhizomes are bulbs that grow at the bottom of each leaf. They look a little bit like potatoes and get pretty big which means repotting your plant frequently is important.
Can I use a grow light for my ZZ Plant cuttings?
Grow lights are great to use when propagating houseplants as they provide ideal light conditions for young seeds and cuttings.
Grow lights can also be used more generally on your mature houseplants if they don’t get enough light in autumn and winter so are a great investment for any plant parent.
Why is it important to use clean tools when propagating?
It’s important to clean your tools before and after contact with a plant to stop any cross-contamination between your plants. Scissors and shears can transfer pests and diseases across plants that you might not even realise are there.
Another crucial reason to clean your tools after touching the plant is that many houseplants are toxic, including the ZZ Plant. Therefore you want to make sure that there is no trace of the plant on your tools as this can be harmful to you and anyone who might come into contact with your tools.
Can I propagate a ZZ Plant from a single leaf?
Yes, you can propagate your ZZ Plant plant using just a leaf. Roots will start to grow out of the stem end of the leaf and you can grow it either in soil or water. You can find the step by step process of how to propagate your ZZ Plant through leaf cuttings above.
Do I need to fertilise my ZZ Plant cuttings?
We never recommend fertilising your cuttings until they are around 1 year old. It can actually slow down new root growth as you are providing nutrients straight to the plant. Fertilising such young plants can also shock them and cause various issues such as yellow leaves and small growth so hold off the feed for a while.
However, if you have used the division method then you can fertilise after a month or so. This is because the root system is already mature.
Common problems when propagating a ZZ Plant
As these plants are really slow growers, roots and new leaves won’t appear for a month or two. This can be quite a long time for problems to develop so it’s important you keep an eye on your cuttings and know what signs to look out for which may suggest a problem.
Why isn’t my ZZ cutting growing roots?
This isn’t the quickest thing in the world and it can take several weeks or even months for there to be any sign of new roots. As long as you are changing out the water regularly and keeping the plant in a nice warm environment you should start to see new roots eventually. If you want to try and speed up the process you can use rooting gel which encourages quicker growth but it’s not always going to give you the results you are after.
If you are trying to do this when the temperatures aren’t super high in your home then this may be the cause of the lack of growth. You can help to speed up root growth by using a heat pad that you place underneath your cuttings. This warms up the area and provides an ideal environment for new growth.
Why is my cutting turning mushy?
If your ZZ Plant cutting is turning brown and mushy then unfortunately this isn’t a good sign. This is usually due to the cutting rotting in stagnant water. You want to make sure you are regularly refreshing the water (every other day) so that it doesn’t encourage bacteria. We recommend trimming away the mushy parts of the cutting and hoping that it can still recover and grow roots. If the leaf is mushy then there isn’t much chance of saving it.
Why is my ZZ Plant cutting yellow?
If the leaves on your cutting are turning yellow then it may be due to too much direct sunlight which has burnt or scorched the leaves. Root rot can also be a problem as these plants really don’t need much water so inspect the roots closely. If you have recently moved your cutting from water to potting mix take it out of the pot and see if you can spot a problem with the roots.


