Fishbone Cactus
Introduction to the Fishbone Cactus
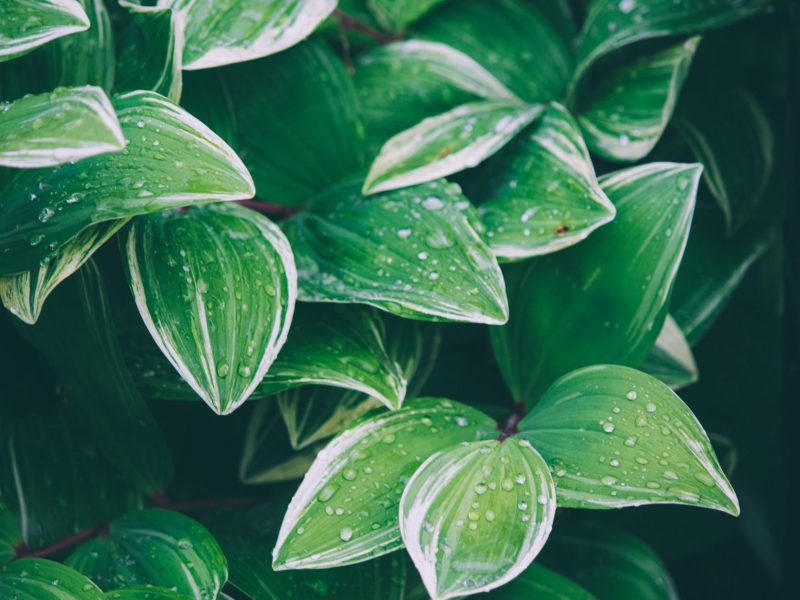
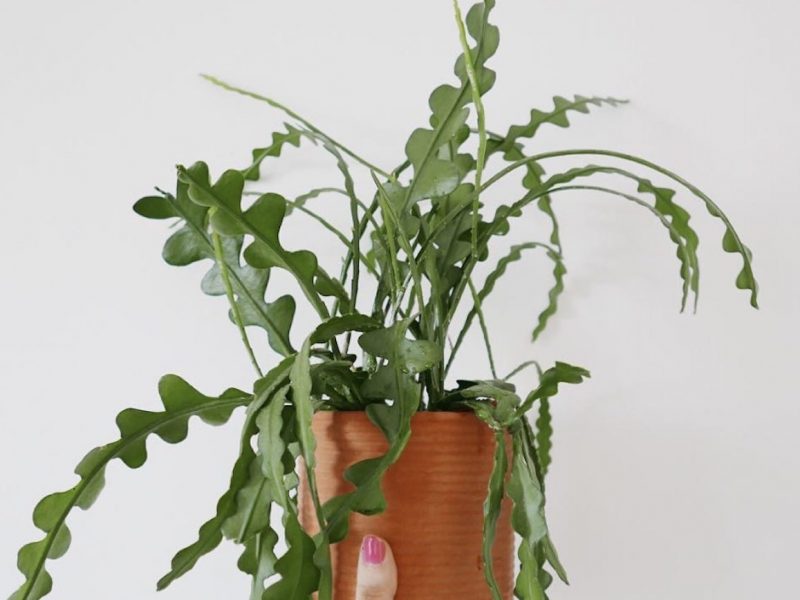
The Fishbone Cactus, scientifically known as Epiphyllum anguliger, is characterised by its zig-zag patterned leaves, which bear a striking resemblance to a fish skeleton (hence the name). Originating from the tropical rainforests of Mexico, this unique species brings a touch of the exotic to any indoor space.
Unlike the stereotypical desert-dwelling cacti, the Fishbone Cactus prefers a more humid environment. It’s an epiphytic species, meaning it naturally grows on other trees (host plants) rather than in the soil. This characteristic contributes to its hardy nature and relative ease of care, making it a great choice for novice and experienced plant enthusiasts alike.
The Ideal Light Level for your Fishbone Cactus
Ensuring that your Fishbone Cactus is exposed to the correct light level is an important aspect of its care. This tropical cactus typically thrives under indirect but bright light.
Indirect Light: Unlike many desert-dwelling cacti, the Fishbone Cactus isn’t a sun worshipper. Rather than basking in the full sun, it prefers filtered or indirect light. Placing it near a north or east-facing window often works well.
Bright but not direct: Even though the Fishbone Cactus enjoys brightness, direct sunlight can scorch its leaves, especially during summer when the sun is hot and intense. If you notice any browning or yellowing, it might be a sign that your cactus is getting too much direct sunlight.
Watering Techniques for a Fishbone Cactus
This intriguing cactus, with its wavy, fishbone-like appearance, thrives best with the correct moisture levels and the ideal amount might not quite be what you think…
When to Water your Fishbone Cactus
The Fishbone Cactus enjoys a good drink, however, its watering schedule is a balancing act. During the growing season (spring and summer), your Fishbone Cactus needs regular watering. Once the top 1-2 inches of soil is dry, it’s time to water again. In the rest periods (autumn and winter), reduce the watering frequency significantly.
How to Water your Fishbone Cactus
Watering your Fishbone Cactus isn’t about simply adding water to the pot. The technique can make a significant difference to your cactus’s health. Here’s the optimal method:
- Fill a container with water.
- Place the cactus pot in the water, letting it absorb from the bottom up.
- Wait until the top of the soil is wet, then remove the pot from the water.
- Let it drain thoroughly before placing it back in its usual spot.
Remember, overwatering is a common pitfall with all types of cacti. If the Fishbone Cactus is left standing in water, its roots may rot as they are extremely thin and delicate. This is why it’s so important to always ensure proper drainage to prevent this as much as possible.
Water Quality and Your Fishbone Cactus
The quality and hardness of water can impact the health of your Fishbone Cactus. Tap water often contains chemicals that can harm your plant, particularly the roots. If possible, consider using rainwater, distilled water, or filtered water for your Fishbone Cactus to avoid chemical buildup in the soil.
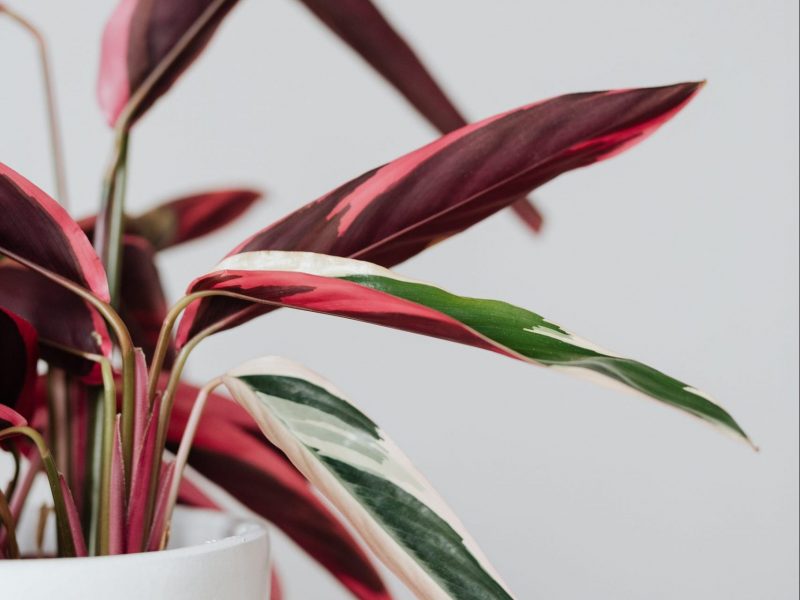
Fishbone Cactus Leaves

Fertilizing Your Fishbone Cactus: Tips and Tricks
Caring for a Fishbone Cactus isn’t just about watering and light management. Fertilization plays a pivotal role in its growth and overall health and is something that is very commonly forgotten. Often plant parents can be a little afraid of fertilizing but as long as you are careful and follow the right methods, it really shouldn’t be something to be scared of.
The Right Fertilizer for Your Fishbone Cactus
First things first, you need to get the right fertilizer. The ideal type is a balanced, water-soluble houseplant fertilizer. However, cacti-specific fertilizers with low nitrogen content can also work wonders so look out for these in your local garden center.
When to Fertilize
Unlike other houseplants, the Fishbone Cactus doesn’t require frequent fertilizing. You only need to feed it during the active growing season, which is typically between spring and summer. Fertilize once a month during this period, and you’ll be rewarded with healthy luscious growth.
How to Fertilize
Fertilizing your Fishbone Cactus is a breeze. Simply dilute your chosen liquid fertilizer to half the strength recommended on the packaging. Apply the diluted mix to the soil, ensuring it’s evenly distributed.
While there are other types of fertilizer such as pellets and sticks, water fertilizer helps you regulate the amount a little better. It also allows you to cut out fertilizing completely whereas you would have to replace the entire potting mix if you chose to fertilize using pellets but had accidentally done it too much.
Avoiding Fertilizer Burn
Over-fertilization can lead to a condition called ‘fertilizer burn’. Watch out for signs like discoloration and wilting (particularly yellow spots and patches). To prevent this, always ensure your plant has been thoroughly watered before you apply any fertilizer. This will help the soil absorb the nutrients without causing harm to the plant.
Extra Tips
- Refrain from fertilizing in winter. This is a dormant period for the Fishbone Cactus, and fertilization can be quite damaging so hold off entirely during the colder, darker months of the year.
- Use room temperature water for dilution. Cold water can shock the plant and hinder nutrient absorption and hot water can burn the roots.
- Alternate between fertilizing and watering sessions. This ensures the plant won’t get overwhelmed with nutrients and water at the same time.
Temperature and Humidity Requirements for a Fishbone Cactus
Luckily for everyone, the Fishbone Cactus is a highly adaptable plant that thrives in a variety of temperature and humidity conditions. However, it does have certain preferences that can help it really flourish. Below we have included a brief outline of the ideal levels:
Temperature Requirements
Originating from the tropical forests of Mexico, the Fishbone Cactus prefers warmer temperatures. It can tolerate a temperature range between 15°C to 32°C. However, the optimum temperature for this exotic beauty is between 21°C and 27°C.
It’s really important to avoid extreme temperatures for this plant (and any others) as it can cause a whole host of issues from brown leaves to leaf drop. Things to look out for are cracks in windows and external doors, air conditioning or heating units, radiators and cookers.
Winter Care
During the winter months, the Fishbone Cactus can endure cooler conditions, as long as it doesn’t drop below 10°C. It’s crucial to protect this hardy plant from frost, as prolonged exposure can cause severe damage.
Humidity Requirements
In its natural habitat, the Fishbone Cactus thrives in high humidity. However, it can adapt to average home humidity levels. If you notice the edges of the leaves turning brown, this could be a sign that the humidity is too low. To increase humidity, you could place the pot on a tray filled with pebbles and water, ensuring the pot does not sit directly in the water.
The Ideal Soil Mix for Your Fishbone Cactus
Choosing the perfect soil mix for your Fishbone Cactus (Epiphyllum anguliger) can be a bit confusing. The plant is native to the rainforests of Mexico, and it’s used to growing in the nooks and crannies of tree barks or rocks. This means it prefers well-draining soil that can replicate its natural habitat.
Components of an Ideal Fishbone Cactus Soil Mix
- Orchid bark: Fishbone cacti are epiphytic plants, which means they enjoy the same type of bark-based soil that orchids do. A good portion of orchid bark in your soil mix can be very beneficial.
- Coarse sand: Adding some coarse sand can improve the drainage of the soil mix. This ensures that water doesn’t stay too long around the roots, preventing root rot.
- Peat moss or coconut coir: Both of these materials help to retain a small amount of moisture while also improving the soil’s aeration.
- Perlite: This is used to further enhance the soil’s drainage capacity. A handful of perlite goes a long way in promoting root health.
A Quick DIY Recipe for Fishbone Cactus Soil Mix
- Combine 1 part orchid bark, 1 part coarse sand, 1 part peat moss or coconut coir, and 1 part perlite in a large bucket.
- Mix the components thoroughly until they are well incorporated.
- Before potting your Fishbone Cactus, ensure the pot has adequate drainage holes at the bottom. This is crucial for preventing water from sitting at the bottom of the pot, which can lead to root rot.
- Fill the pot with the soil mixture, then plant your cactus. Make sure the roots are entirely covered with soil.
If you would rather by a pre-mixed bag of soil for your Fishbone Cactus that will absolutely suffice as long as you choose a well-draining mix. Look out for ones that already include perlite as that will help a lot with drainage.
Pruning the Fishbone Cactus: A Step-by-Step Guide
Pruning your Fishbone Cactus is an essential part of its care and maintenance. Regular trimming not only helps to maintain the plant’s unique shape but also encourages healthier growth moving forward.
Identifying the Need to Prune
Typically, a plant with yellowing or wilting leaves will benefit from a trim to remove the dying or dead sections. But it’s not just a suffering Fishbone Cactus that needs pruning as pruning can also help to shape your plant to fit more into the required space.
Tools Needed
The right tools can make the pruning process easier and more effective. A sharp, clean pair of pruning shears or scissors is the primary necessity. A pair of gloves can also be handy to protect your hands from the thin spikes.
Pruning Process
Pruning can be quite intimidating for many as the idea of chopping parts off your plant is scary. However, if done right, pruning isn’t anything to be nervous about! Here are the steps to follow:
- Sanitise your tools: Begin by cleaning your pruning shears with rubbing alcohol to prevent the spread of disease or pests.
- Identify the sections to prune: Look for any discoloured, diseased, or overgrown sections of the cactus.
- Make the cut: Make a clean cut at the base of the stem. Be sure to not leave any stubs behind as they can cause disease. This is because these small stubs will get quite soggy if you are top watering and this exposes them to a lot more risk of leaf rot.
Top tip: Always prune your Fishbone Cactus sparingly. Too much pruning can stress the plant and inhibit growth. After pruning, give the plant time to heal before you water it again.
Post Pruning Care
After pruning, your Fishbone Cactus will need extra care. Ensure it receives adequate sunlight and water. However, avoid overwatering as it can lead to root rot if your plant is already a little bit stressed out. A balance needs to be maintained for the plant to thrive.
Leaf cuttings on a Fishbone Cactus

Propagating Your Fishbone Cactus: Everything You Need to Know
The Basics of Fishbone Cactus Propagation
Propagation involves producing new plants from the parent plant. With Fishbone Cacti, this typically involves using stem cuttings. This method is generally successful as the leaves grow roots fairly quickly when removed from the mother plant.
Step-by-Step Propagation Guide
- Choose a healthy Fishbone Cactus stem for cutting. It should be robust, free from disease or damage, and ideally, between 10cm and 15cm in length.
- Use a clean, sharp knife to make your cut. Aim to cut at a 45-degree angle for optimal success.
- Allow the cutting to callous over. This means leaving it in a dry, shaded area for a few days until a hardened layer forms over the cut area.
- Prepare your potting mix. A well-draining cactus or succulent mix is essential to prevent root rot.
- Plant your cutting. Place the calloused end of your cutting into the mix, ensuring it stands upright. Water lightly and place in a warm, well-lit area.
- Now you wait! Growth can be slow, and it may take several weeks before new roots and shoots start to appear.
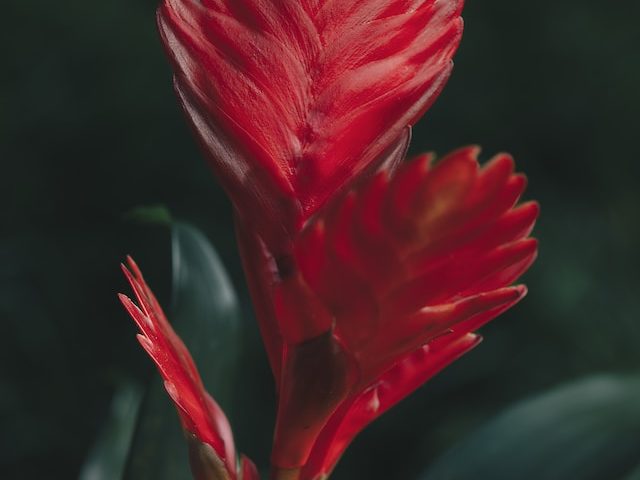
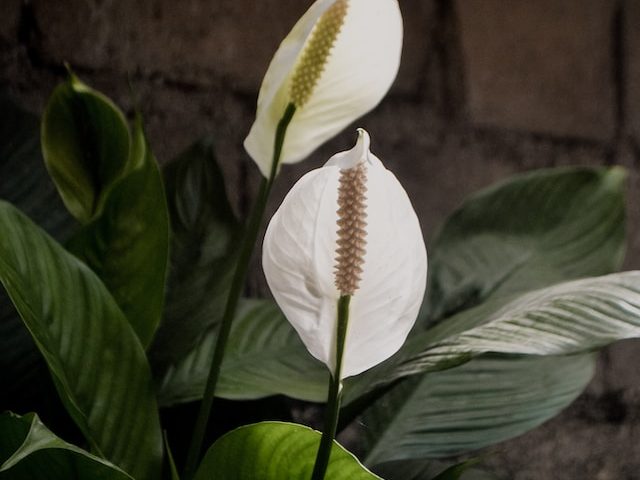
Flowers on a Fishbone Cactus
Among the plant’s most striking traits is its blooming phase. The Fishbone Cactus produces large, fragrant, night-blooming flowers. These luminescent blooms are typically white or yellow and can reach an impressive 15cm in diameter on mature plants.
Flower Development
Interestingly, the Fishbone Cactus blooms only at night, its flowers closing with the rise of the sun. The flowers are ephemeral, lasting only a single night. They begin to open as the sun sets and are fully bloomed by midnight.
The Role of Pollinators
The nocturnal blooming of the Fishbone Cactus is a strategic adaptation to attract its primary pollinators: nocturnal creatures like moths and bats. The cactus’s flowers emit a strong, sweet scent to lure these creatures. The bright white colour of the flowers also aids in attracting these night-time pollinators.
Encouraging Flowering
Want to see your Fishbone Cactus in full bloom? There are a few key steps to encourage flowering. First, make sure your cactus is getting plenty of indirect light. Next, maintain a good watering schedule – not too dry and not too wet. Lastly, provide a balanced, diluted fertiliser during the growing season.
It’s important to note however that Fishbone Cacti don’t bloom super often and it can take many years for it to start producing any flowers!
Cleaning your Fishbone Cactus
There are two main reasons why you need to add cleaning into your care routine. Firstly, if there is a thin layer of dust across the leaves, it will actually limit the amount of sunlight that your plant is able to absorb. The second reason is slightly more aesthetic as dusty leaves can look dull and bland.
Method 1: Dusting the leaves
The first step in the cleaning process is dusting off your Fishbone Cactus. Over time, your plant might accumulate dust, which can hinder its ability to photosynthesise at the same levels. Therefore, it’s vital to regularly give it a mild dusting with a soft-bristled brush. Cloths don’t work so well for Fishbone Cacti as they have thin little spikes which will attach themselves to the cloth. Instead, a small brush will work best (we have had a lot of success with a soft paintbrush).
Method 2: Washing your plant
Everyone once in a while you may want to bathe your Fishbone Cactus to remove any long-standing dust in areas difficult to reach with your brush when dusting. Ideally, this should be done 2-3 times a year. Place your Fishbone Cactus in a bowl of water for about 10 minutes and allow it to drip dry before placing it back in its usual spot.
We recommend only bathing your plant in the morning so that there is enough time for the leaves to dry off before nightfall.
Top tip: Never use any leaf shine products on your Fishbone Cactus as they can actually damage the leaves. They are sold on the premise that they will make your leaves sparkle but they actually contain very strong chemicals that can strip off the thin coating across the leaves on your Fishbone Cactus and leave them dull and patchy.
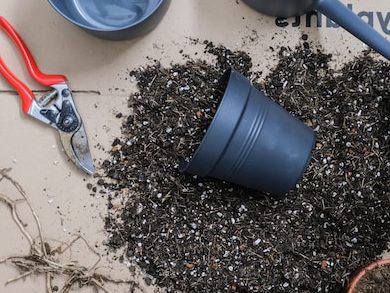
Repotting your Fishbone Cactus
When to repot?
Generally, it’s best to repot your Fishbone Cactus in the early spring. This time is perfect because it aligns with the start of your plant’s natural growth period. But, how do you know when repotting is necessary? If you notice the roots are peeking out of the drainage holes, it’s time for a new home for your plant.
The Repotting Process
-
- Choose the Right Pot: Opt for a pot that’s about two inches larger than the existing one. If you choose a pot that is a lot larger it can lead to issues such as root rot and plant instability. Ensure it has good drainage (drainage holes or made from permeable material).
- Prepare the New Soil: A well-draining cactus mix, combined with perlite or coarse sand, works best.
- Remove the plant: Gently remove the Fishbone Cactus from its current pot. Be careful not to damage the roots but don’t worry if one or two break off, that’s normal and shouldn’t impact your plant’s health.
- Root Inspection: Check the roots for any signs of rot or disease. If you find any, trim them using a sanitized knife.
- Planting: Place your Fishbone Cactus in the new pot and backfill with soil. Make sure the plant is firm in its place but not too compact.
- Water deeply: Make sure to water your plant deeply straight after repotting as this will help the soil to level out and help your plant start recovering from the stress of repotting.
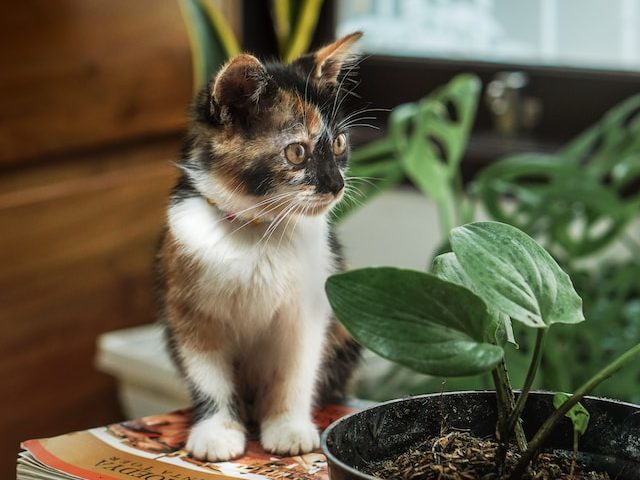
Toxicity of the Fishbone Cactus
You’ll be pleased to know that the Fishbone Cactus is non-toxic to pets and humans.
However, it’s still essential to practice caution. Although the plant itself is non-toxic, it’s always best to prevent animals from nibbling on it or children from swallowing parts of it. Not because it’s poisonous, but because it can still cause minor digestive discomfort as they have very thin spikes across the leaves.
Here are some tips to keep your Fishbone Cactus and your loved ones safe:
- Keep the plant at a height: Position your Fishbone Cactus on a high shelf or in a hanging basket, out of reach from curious hands or paws.
- Create a plant-safe zone: Dedicate specific areas in your home for your plants, away from areas frequented by pets or children.
Common Problems and How to Solve Them: A Troubleshooting Guide
Even the most diligent cactus caretaker can encounter a few hiccups along the way. The Fishbone cactus, while largely fuss-free, does have its share of common problems. But as long as you know what to look for and you act as soon as you see any sign of trouble, you should be able to bring your plant back to full health.
Why has my Fishbone Cactus turned very dry?
If you notice the leaves on your Fishbone Cactus are starting to become quite dry and crispy, it is probably due to underwatering. Although this plant is a cactus type, it actually requires more water than others. Your first instinct may be to drown your plant to overcompensate for the lack of water but this can actually shock your plant and cause more damage. Instead, slowly reintroduce watering for your Fishbone Cactus over a week or two and it should rectify the issue.
In future, we recommend using a moisture meter to make sure that you don’t leave it too long between waterings.
Why are my Fishbone Cactus' leaves turning brown and dark?
Dark patches on your Fishbone Cactus indicate leaf burn. This occurs when your plant has spent too much time in direct sunlight. Cut away the burnt leaves and place your plant in a shadier spot. Fishbone Cacti adapt well to medium light levels due to their flat leaves.
Why is there white growth on my Fishbone Cactus?
White patches on your Fishbone Cactus are a sign that it is suffering from a mealybug infestation. Wipe the leaves clean with a damp cloth and treat your plant with an insecticide. Fishbone Cacti plants are quite resistant to pests unless their care or environment isn’t ideal so make sure that you are following the care guide above to prevent another infestation.
Why isn't my Fishbone Cactus growing flowers?
Occasionally, a Fishbone Cactus will start to develop pink and purple flowers but this is very unpredictable. A lack of flowers on its own doesn’t suggest that anything is wrong but if you do want to encourage growth, then make sure your plant is getting a few hours here and there of direct sunlight.
It’s also worth noting that even when your Fishbone Cactus does produce the odd flower, these won’t last long and will wilt in a day or two.
Why is the flower on my Fishbone Cactus dying?
It’s perfectly normal for the flowers on a Fishbone Cactus to wilt and die after only a few days. There is nothing you can do to get them to hang around for longer, unfortunately.
Why isn’t my Fishbone Cactus growing?
Stunted growth is another common problem but remember that it’s only an issue if it’s happening in spring and summer. Your plant is dormant during autumn and winter so don’t expect new growth during this time.
If it is displaying signs of stunted growth in spring and summer, this may be due to insufficient light or it is rootbound. If a lack of sunlight is the issue, move your cactus to a brighter location, but ensure it’s indirect light to avoid scorching the leaves. However, if your plant is getting plenty of bright, indirect sunlight then your plant may be rootbound and its current root system cannot sustain more growth. Remove your plant from its pot to inspect the root system and repot to a larger pot if necessary.