Although Ponytail Palms can be quite forgiving when it comes to their care and environment, this doesn’t mean they are immune to all issues. If your Ponytail Palm is showing signs that it might be dying, then it’s vital you act quickly to correctly diagnose the issue and make the needed changes.
Below we will be going through each of the potential reasons why your Ponytail Palm is dying, alongside tips on how to make the right diagnosis, treat the issue and also prevent it from happening again in future.
Lack of sunlight can cause a dying Ponytail Palm
If your Ponytail Palm has been growing in darker areas of your home, then you probably need to adjust the light levels to revive it. Leggy or stunted growth is a classic sign of a lack of sunlight and you might even find your Palm growing towards the sunlight.
It’s important that you monitor the light levels around your home and how they change throughout the day. Your Ponytail Palm might be getting the right amount of light in the morning, but much too much in the evening for example.
The light level will also dramatically change throughout the year, so if you’ve found a great spot for your Ponytail Palm in summer, it may mean it’s not getting enough light in winter and might start dying as a result. To monitor the light level, and to be sure your Ponytail Palm is getting the right amount, use a light meter.
If you have established that your Ponytail Palm is dying due to lack of sunlight, you’ll want to move it to an area in your home that gets more sunlight. However, be careful not to move it to direct sunlight as this will cause a whole range of other issues for your Ponytail Palm.
However, if there isn’t a better spot in your home to help revive your dying Ponytail Palm, then it’s not all lost. We recommend purchasing a LED light to encourage new healthy growth. They are also great for your other houseplants if they don’t get as much light during winter or can be used when growing seeds/cuttings so are a great investment for every plant parent.
A dying Ponytail Palm can also indicate overwatering
Overwatering is one of the most common causes of problems across all houseplant types. This is why we usually start with it as the first port of call when looking for a problem. Ponytail Palms don’t like sitting in puddles of water for long periods of time and as they are a type of succulent plant, they need their potting mix to dry out between waterings. If this doesn’t happen it can cause damage to the root system and mean your Ponytail Palm will lose leaves, and become droopy and soft.
To figure out if overwatering is the reason your Ponytail Palm is dying, check the moisture levels in the potting mix immediately. You can do this either by using a
moisture meter, the chopstick method or by removing your plant from its pot. If the soil is quite waterlogged and clumpy then replace it with fresh dry mix which will allow the plant to start to recover. If you do remove your Ponytail Palm from its pot then you also want to look out for black or dark brown mushy roots and trim these off.
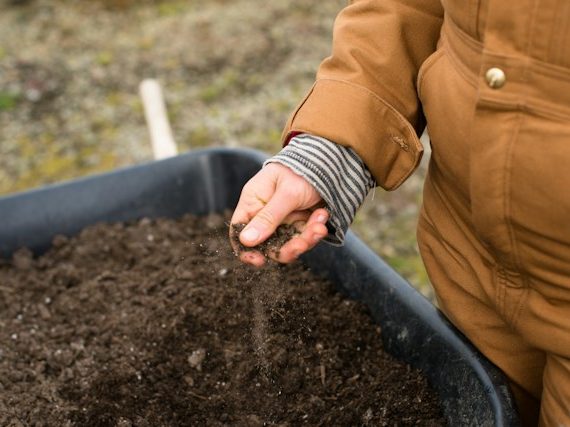
To prevent your Ponytail Palm from dying due to overwatering in the long term, you want to cut back on how frequently you are watering it. Make sure that the potting mix has fully dried out before watering again.
Cold temperatures can also cause a dying Ponytail Palm
Another potential factor that may be causing your Ponytail Palm to begin dying is extreme temperatures, in particular cold air and consistent drafts. As they are tropical plants, Ponytail Palms need warm environments to really thrive and can get quite shocked and damaged by drafts coming in from outside or air conditioning vents.
Whilst you might never feel the cold air coming through cracks in doors and windows, if your plant is right next to a small stream of cold air it can really harm your plant during winter, causing it to freeze and start dying. Whilst this issue won’t kill your Palm from one day to the next, over time it will start to cause issues.
Make sure that you draft-proof any windows or doors that are close to your Ponytail Palm (as well as any heat-loving tropical plants) and trim off any dry or damaged leaves.
You may be over-fertilizing your Ponytail Palm
This is a really easy thing to do with Ponytail Palms because you might think it’s fine to use the standard houseplant fertiliser diluted into the water, or added to the potting mix in pellets or sticks. However, Ponytail Palms really don’t need much fertiliser and an excess might be why it’s dying.
The reason that overfertilization is so harmful to a Ponytail Palm is that the excess forms around the roots, starving them of needed oxygen, nutrients and moisture from the soil.
To solve the issue, flush out the soil or remove the fertilizer sticks. If you have used pellets then it’s best to replace the entire potting mix with fresh mix to allow your dying Ponytail Palm to begin the recovery process.
Moving forward, hold back fertilizing for about a year and then continue very lightly if you choose to. Ponytail Palms really don’t need much fertilizer and will thrive without it.
Pest infestation might be what’s behind your dying Ponytail Palm
Although it’s rare for indoor-only plants to develop a pest infestation, it’s definitely worth checking over as the impact can be devastating. Over time pests can suck on the leaves of your plant, suffocating them which slowly kills your Ponytail Palm.
To diagnose the issue, look out for pests or signs of their existence on your plant. These include yellow or brown spots across the leaves, holes in the leaves, white powder or webbing and, of course, actual insects on the leaves.
If you spot a pest infestation on your dying Ponytail Palm the first thing you need to do is isolate your plant from any others in the room. Make sure it is at least 1 metre away from any other plants as pests can spread if the leaves are close. Then you want to wash down your plant and treat it with an insecticidal spray.
If you have caught the issue relatively early then you should be able to curb the infestation and revive your dying Ponytail Palm. However, if the issue progresses for some time, you might need to say goodbye to your plant to minimize the risk of pests spreading across your entire urban jungle.
Those are the most common reasons why a Ponytail Palm might be dying. The key to solving the issue quickly is catching the problem as early as possible. This is why we always recommend that plant parents conduct regular checkups on their houseplants to look for any early warning signs.
Doing this gives you the best chance of spotting the issue before it has progressed too far. Then, once you’ve made the necessary adjustments to either your care routine or your Ponytail Palm’s environment, monitor your plant daily to ensure it’s no longer showing new signs of it dying.
To learn more about how to keep your plant thriving, check out our
Ponytail Palm care guide.


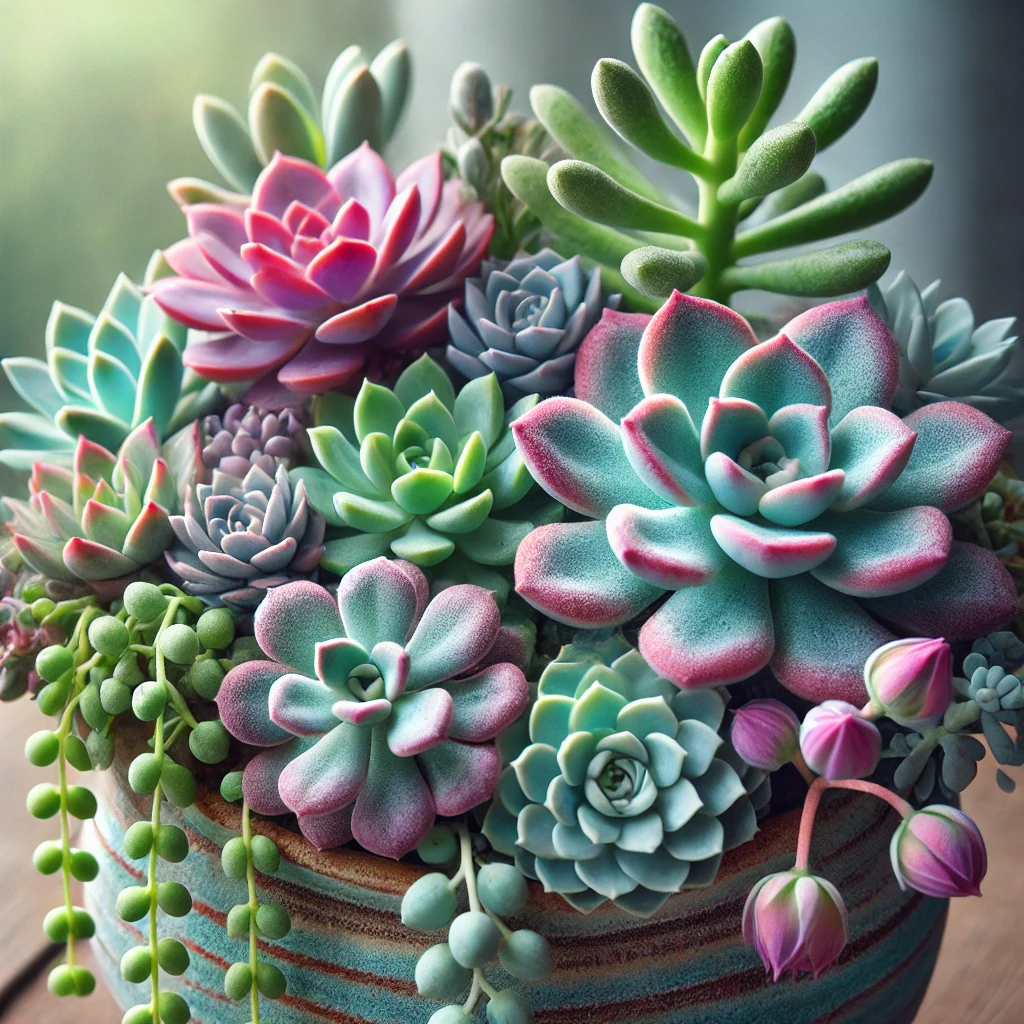
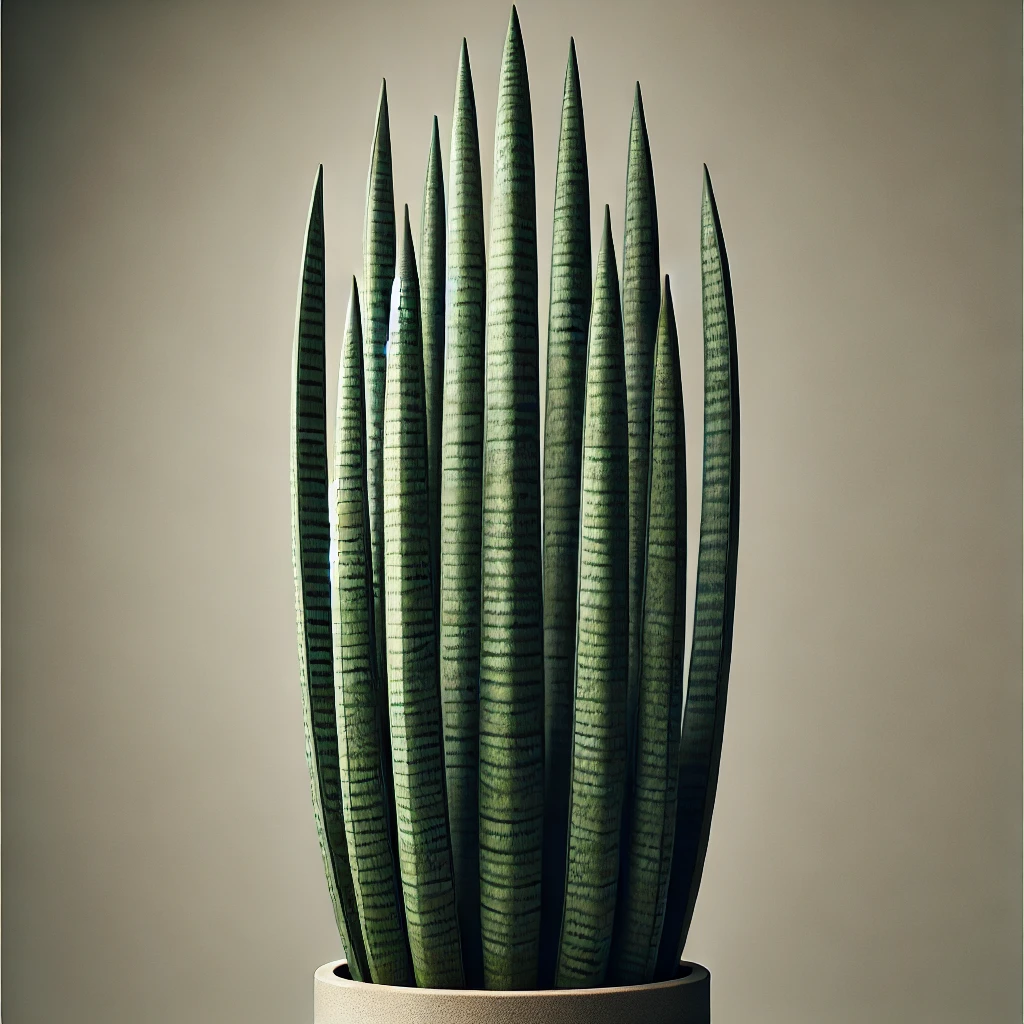 This low maintenance succulent plant is great for beginner or busy plant parents as they don’t need much tending to and will grow in most environments! However, just because Sansevieria Fernwood plants are low maintenance, this doesn’t mean they are immune to the most common problems that most plants face. If the care routine or environment isn’t right then they will start to develop issues from brown or yellow leaves, as well as your Sansevieria Fernwood drooping down entirely.
In this post, we will go through some of the most common problems that Sansevieria Fernwood plants suffer from as well as the right ways to fix the issue and tips to stop it from hurting your plant more in future.
This low maintenance succulent plant is great for beginner or busy plant parents as they don’t need much tending to and will grow in most environments! However, just because Sansevieria Fernwood plants are low maintenance, this doesn’t mean they are immune to the most common problems that most plants face. If the care routine or environment isn’t right then they will start to develop issues from brown or yellow leaves, as well as your Sansevieria Fernwood drooping down entirely.
In this post, we will go through some of the most common problems that Sansevieria Fernwood plants suffer from as well as the right ways to fix the issue and tips to stop it from hurting your plant more in future.