Building a home safe for our pets is top of the priority list and ensuring our houseplants aren’t toxic or harmful to them is a key component of that. If you’ve landed on this page then you’re likely wondering whether Pothos Plants are toxic to dogs. The short answer is yes, they are toxic but that doesn’t mean you aren’t able to have a Pothos around your home.
In this article, we’ll explain how toxic these plants are for dogs, what to do if your dog ingests part of the plant and give you some alternatives if you’re looking for dog-safe houseplants.
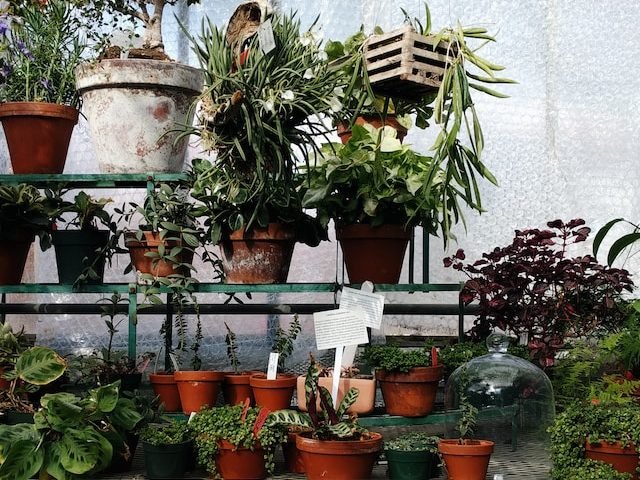
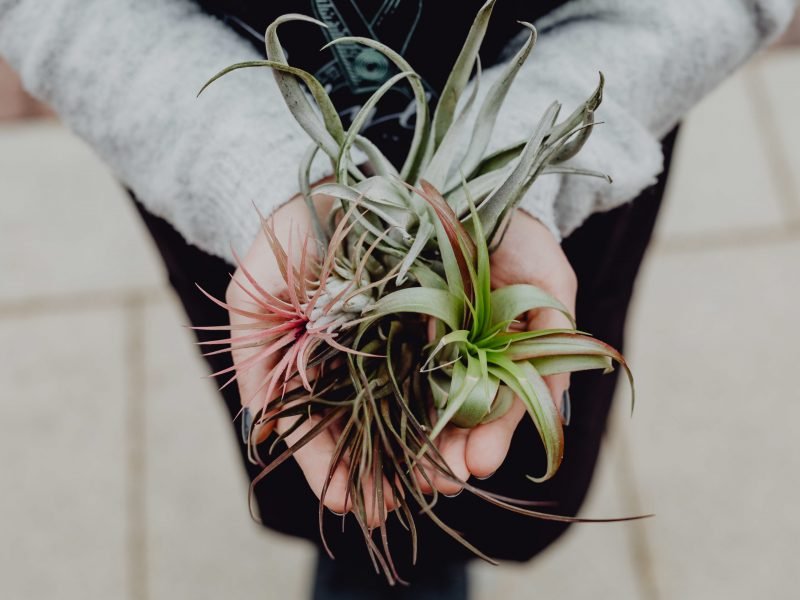
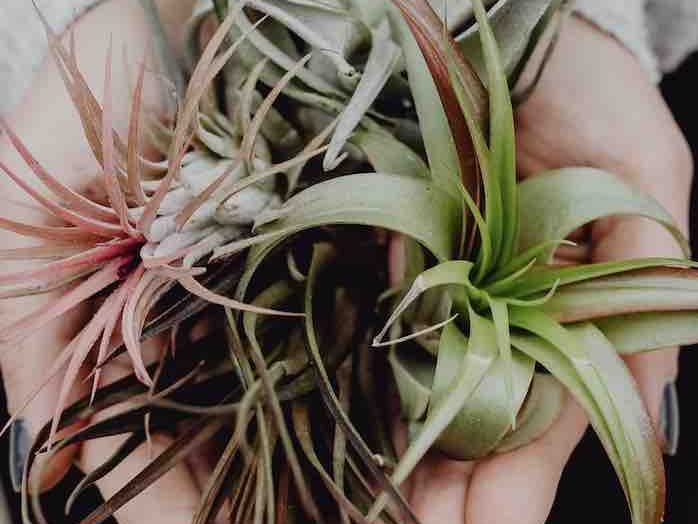
Pothos Plants are some of the most beautiful and popular houseplants around. Their long cascading vines and heart-shaped leaves make them pretty special. There is also such a wide variety of different Pothos Plants which means you can fill your home with these beauties, whilst still having a real variety of plants around. However, all varieties of Pothos Plants are toxic and can therefore be dangerous for dogs.
It’s not uncommon for houseplants to be toxic and unsafe for dogs. Most of the time, they are only dangerous when ingested and even then to real varying degrees. Some only cause mild stomach upset but others can have more serious consequences.
What makes Pothos Plants toxic to dogs?
Pothos Plants contain insoluble calcium oxalate crystals in both the leaves and the vines. Because they are insoluble, they do not dissolve when they come into contact with moisture in the mouth. Instead, these crystals can cut the inner mouth and throat tissue.
These crystals can also cause burning and irritation in the mouth, throat and stomach and can in more severe cases cause vomiting and temporary difficult swallowing.
In terms of severity, it is highly unlikely that digesting part of a Pothos Plant will kill your dog but it can cause a lot of discomfort. The severity also depends on how much of the plant is ingested and the size of your dog. If they only took a small nibble, then it’s likely they might not display any symptoms. However, if they have ingested a large part of the plant, then this can be more serious.
What are the symptoms if my dog eats a Pothos plant?
The first symptom after ingesting part of a Pothos plant is likely difficulty breathing and panting. Alongside this, there may be other signs of distress such as barking, whining and pawing at the face.
You may also find that there is swelling around the face, mouth and throat. After a couple of minutes, it can move on to vomiting. This may seem scary but vomiting at this stage is good as it hopefully removes some of the toxins.
Over the next week or two, you might find that your dog has a reduced appetite and may also show signs of dehydration which can be quite severe if not brought to a vet. You might need an IV to reverse the dehydration.
What should I do if my dog has ingested a Pothos Plant?
If your dog has only taken a very small nibble from your Pothos Plant then they will likely display no symptoms. However, you may choose to take them to the vet for a check-up just to be sure.
However, if they have ingested a large part of the plant, they will likely display symptoms pretty quickly. We recommend taking your dog to a veterinarian straight away.
It’s important to inform the vet of how much your dog has ingested, when this occurred and the symptoms your dog has already displayed. This will help them find the right course of treatment. Often they will give your dog an IV to help with the dehydration but they may also choose to evacuate your dog’s stomach to give them almost instant relief.
How to prevent your dog from eating your Pothos Plant
Put your Pothos Plant out of reach
The best way to prevent your dog from eating part of your Pothos Plant is to place it out of reach. Although this can be tricky as they cascade downwards, placing your Pothos high up means your dog won’t be able to reach it. You’ll also want to make sure you prune your plant regularly to ensure it doesn’t reach the ground.
If your dog isn’t allowed in certain rooms of your home, then it can be a good idea to place your Pothos plant in there!
By doing this, it also means that you’re able to have other slightly toxic houseplants in your home without needing to worry that your furry friend might want to see what they taste like…
Incorporate this into their training routine
It’s also super important that you incorporate houseplant training into your dog’s routine. Using positive or negative reinforcement can be a great way to teach your dog not to eat or nibble at your plants.
We recommend doing this with safe houseplants though to reduce the risk of your pooch eating anything toxic whilst they are learning.
Remove from home
The ultimate way to prevent your dog from consuming any part of your Pothos Plant is to not have any in your home at all. Although it can be sad to say goodbye to your plants, there are plenty of dog-safe houseplants out there to fill up your home.
Gifting your Pothos Plant to non-pet owners is a great way to find your plant a new home or if you’d like to make some money off it, you can easily sell your plants online.
Alternative, dog-friendly houseplants
If you want to replace your Pothos Plant and other toxic houseplants, then you’ll be very happy to know that there are some gorgeous plants that are totally safe for your pets. Whilst this doesn’t mean you should be actively encouraging them to eat your plants, it does remove some of the worries for the rare occasion it might happen.
Spider Plants
Spider Plants are the perfect plant for a houseplant beginner as they are super easy to care for, grow pretty quickly, and produce an abundance of spider babies which can be propagated in seconds.
The best thing about Spider Plants (apart from the fact they are dog safe) is that you would really have to try to kill them as they adapt to and survive in most environments and don’t mind being a little neglected.
Find out more in our Spider Plant care guide.
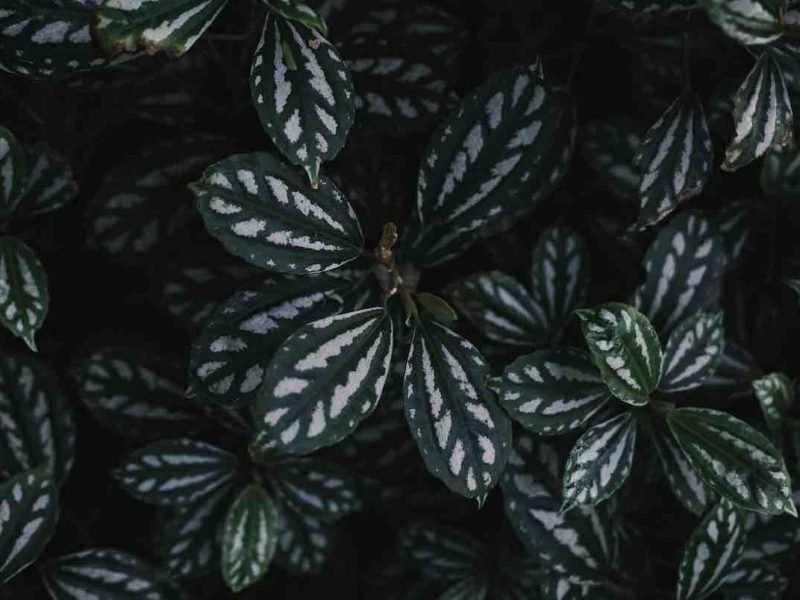
Prayer Plants
Native to the tropical rainforests of Brazil, the Prayer Plant is loved for its variegated leaves with intricate vein patterns. You can easily spot a Prayer Plant by its leaf undersides as shades of deep red are revealed when the plant’s leaves curl up at night, bringing a splash of colour to your home.
There are several varieties of Prayer Plants that all look ever so slightly different but they are all completely dog safe which is great. The most common variety is the tri-colour which has red-veined leaves but you’ll sometimes see varieties with silver patches or dark green splashes.
Learn more about them in our Prayer Plant care guide.
Kentia Palm
Kentia Palms are pretty hardy plants that can stand environments that many other houseplants wouldn’t be able to, making them quite easy to care for. They can grow up to 40 feet outdoors but will rarely get over 13 feet when kept indoors.
The good news is that they are completely safe and non-toxic, so they are perfect to create a dog-friendly environment that still feels like an urban jungle.
Find out more about what these plants need in our Kentia Palm care guide.
String of Hearts
Looking for a cascading plant to fill the Pothos-shaped hole in your home? Well, the String of Hearts is for you.
You don’t get much more unique than their cute little speckled heart-shaped leaves. The other thing we love about the String of Hearts is that it’s such a fast grower over the spring and summer months, you’ll blink and there will be two new leaves popping out somewhere.
The String of Hearts is a semi-succulent plant meaning they don’t need much water, otherwise, it’ll cause their delicate shallow leaves to rot pretty quickly. Oh, and because they have such shallow roots, you won’t need to repot for a very very long time.
It makes the perfect plant for hanging down shelving, and because it’s dog friendly, you don’t need to worry about it ever becoming too long!
Find out more in our String of Hearts care guide.
Looking for more non-toxic houseplants to replace your Pothos with? Check out our favourites in our list of dog-safe houseplants.
Frequently Asked Questions
What part of the Pothos Plant is toxic to dogs?
Both the stems and the leaves contain insoluble calcium oxalate crystals which are toxic to dogs when ingested. They can cause mouth, throat and stomach irritation as well as vomiting and in rare cases, neurological issues. It is very rare for a Pothos Plant to cause death.
What happens if my dog eats part of a Pothos Plant?
If your dog has ingested a large amount of the plant, then it can cause vomiting, swelling and stomach irritation along with a decreased appetite. However, if your dog has only eaten a very small part of a leaf for example, then it’s likely they won’t suffer from any symptoms as a result.
Can Pothos Plants make my dog sick?
Yes, Pothos Plants are toxic but only when ingested. They contain insoluble calcium oxalate crystals which can cause vomiting and stomach irritation. We advise you to take your dog to the vet if they ingest part of a Pothos Plant and are displaying symptoms.
What are the symptoms of Pothos plant toxicity in dogs?
The most common symptoms after a dog has ingested part of a Pothos Plant are: swelling of the mouth, panting, whining, vomiting and a decreased appetite. If your dog is vomiting after ingesting the plant, then this is a good sign as it removes a lot of the toxins from the stomach and can help reduce the side effects from here on forward.
Are all Pothos varieties toxic to dogs?
Unfortunately yes, all varieties of Pothos Plants are toxic to dogs. They can cause symptoms such as vomiting, panting, swelling of the face and mouth and a decreased appetite. We recommend taking your dog to the vet if they display symptoms.
How much of the Pothos plant does a dog have to ingest to become sick?
If your dog ingests only a small part of the plant, then it’s likely they won’t get sick. However, eating large chunks of the leaves or vines can cause severe illness. We recommend taking your dog straight to the vet if they have ingested a large part of the plant, or if they are showing any symptoms.
Can Pothos plant toxicity be fatal to dogs?
Whilst it can happen, it is very unlikely that Pothos plant toxicity is fatal to a dog.
Are there any long-term health effects if my dog ingests Pothos plant?
If treated straight away, most of the symptoms will disappear after 24 hours. You may find that your dog’s appetite is reduced for a week or two after ingesting part of a Pothos plant but should return to normal after this period.
We hope that this guide to Pothos Plants and their toxicity to dogs has been useful. We always encourage you to err on the side of caution when it comes to your pets ingesting parts of toxic plants (or even large quantities of non-toxic plants).
It’s always best to be on the safe side and have your pet looked over by a veterinarian if they have eaten part of the plant as some of the side effects can be pretty serious.
Moving forward, if your dog is often in the habit of nibbling on your plants, then you will want to move these out of reach or remove them from your home altogether.