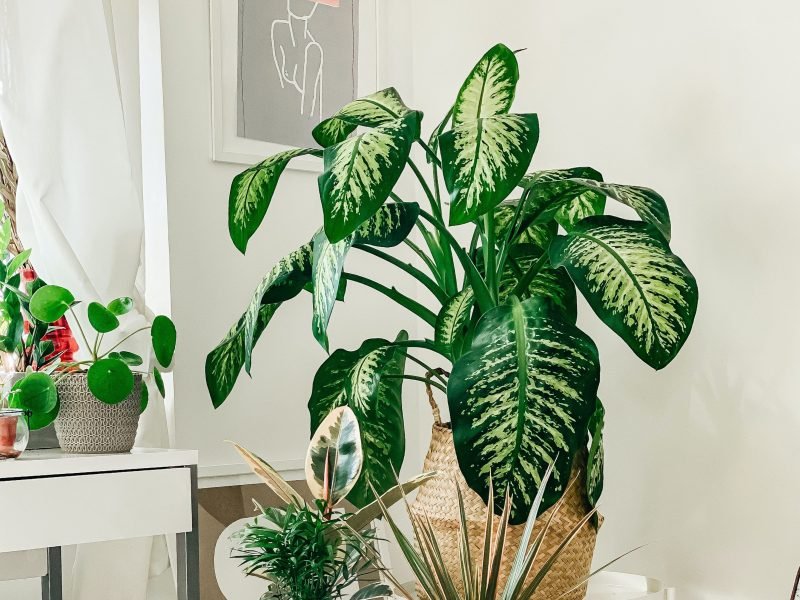
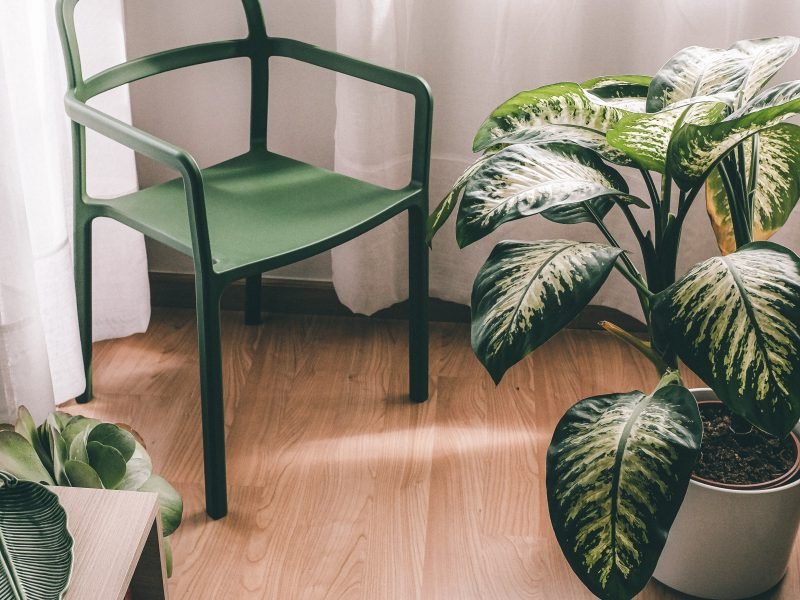
Large Dumb Cane Plant
Introduction to Dumb Cane Plants
The Dumb Cane plant, scientifically known as Dieffenbachia, is a strikingly beautiful houseplant appreciated for its lush, vibrant foliage. Native to the tropical regions of Central and South America, this plant has been a favorite among indoor gardeners for its ability to thrive in less-than-ideal conditions.
However, as beautiful as they may be, the reason that it has the name Dumb Cane is actually because the sap can cause intense swelling of the throat if ingested, which can leave humans and pets temporarily unable to speak.
Understanding the Anatomy of Dumb Cane Plants
To effectively care for your Dumb Cane plant, also known as Dieffenbachia, it’s crucial to understand its anatomy. This knowledge will help you identify signs of health or distress in your plant.
Stem
The stem of the Dieffenbachia is thick and sturdy. It grows upright and is often banded with marks leftover from old leaf bases. When assessing the health of your plant, make sure the stem is firm. A soft or mushy stem can indicate overwatering or a root disease so check in regularly with your plant while wearing gloves to protect yourself as the Dumb Cane is toxic.
Leaves
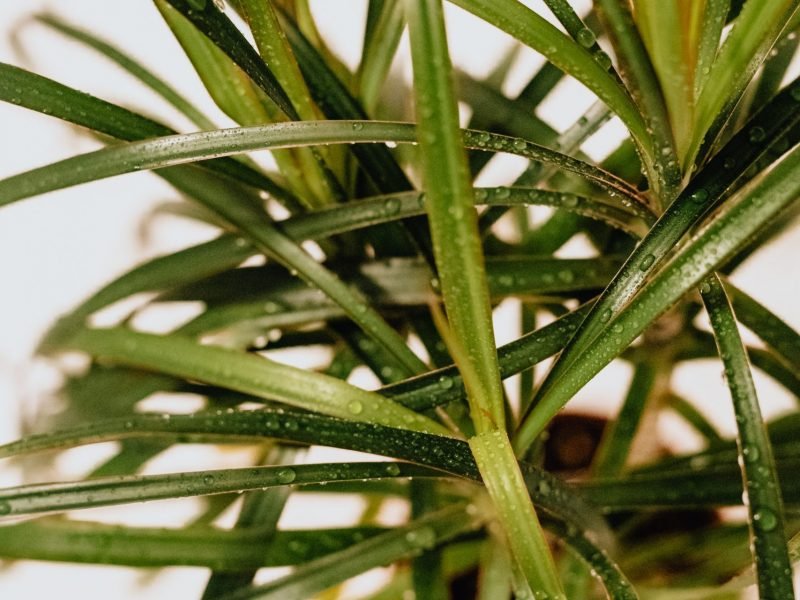
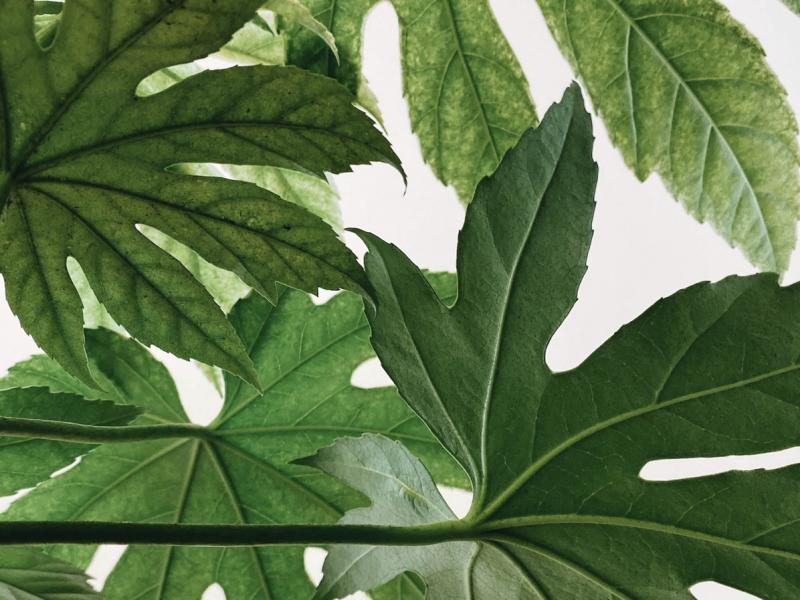
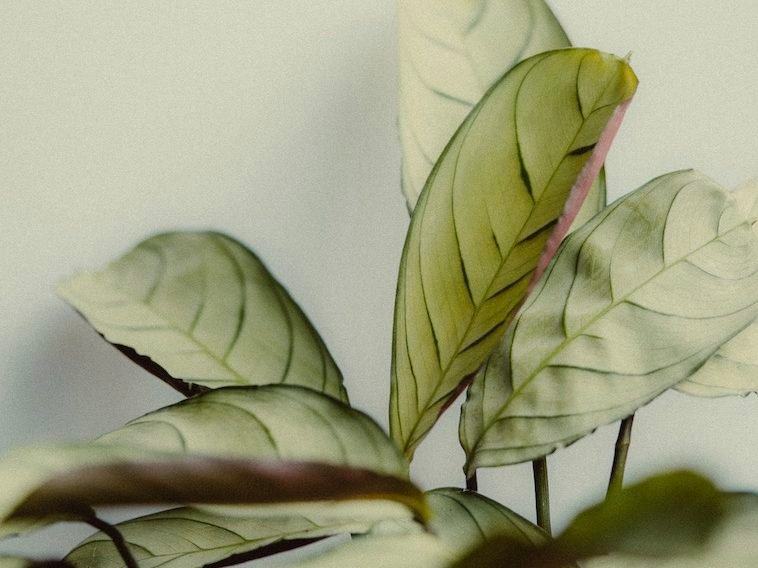
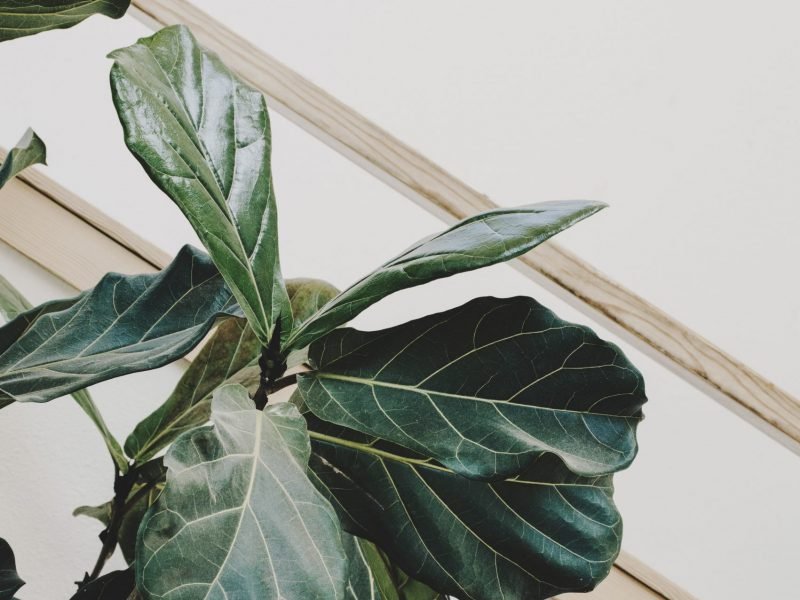
One of the most distinctive features of the Dumb Cane plant is its vibrant, patterned leaves. These large leaves are oval or elongated in shape, with variegated green and white, or yellow patterns. The edges of the leaves should be smooth and intact but if you notice the edges turning yellow or getting brown, it could be a sign of inadequate watering or poor lighting conditions so definitely look into any potential issues immediately.
Roots
The roots of a healthy Dieffenbachia should be firm and white or light brown. If the roots are dark brown, slimy, or have a foul smell, the plant may be suffering from root rot caused by overwatering. Always remember to check the roots when you repot or notice signs of distress in your plant and don’t let the soil become waterlogged.
Flowers
While not as common as in other houseplants, your Dumb Cane plant can produce flowers which are usually small, white spathes. Although pretty, these flowers divert energy from the plant. If your plant is not in optimal health, it might be beneficial to remove any flowers to allow the plant to focus on growth and recovery.
Light Requirements for Dumb Cane Plants
These tropical plants are accustomed to the dappled light of the forest floor, so direct sunlight could be too harsh for them. However, they also need enough light to thrive and showcase their beautiful variegated leaves.
Indirect Light is Best
Indirect light is your Dumb Cane’s best friend. Place your plant near a window that receives plenty of light, but out of the direct sun’s reach. East or North-facing windows are often ideal (for those in the northern hemisphere). This lighting condition will help your Dumb Cane grow without risking sunburn to the leaves.
What if I Don’t Have Enough Natural Light?
If you’re dealing with a low-light situation, don’t worry, your Dumb Cane can adapt quite well to some lower-light environments. Although it’s important to know that growth may be slower and the vibrant leaf colors might fade. Alternatively, you can supplement natural light with a grow light. Just remember to place it at a distance so it doesn’t burn the plant.
Signs Your Dumb Cane Needs More Light
Do you suspect your plant might not be getting enough light? Be on the lookout for these signs:
- Leggy growth: This is when your plant appears to be “reaching out” for light.
- Loss of variegation: If the leaves lose their attractive pattern and become a solid green, it’s a sign that your plant needs more light.
What Happens If Your Plant Gets Too Much Light?
Too much direct light can scorch your Dumb Cane Plant’s leaves, leaving brown or yellow spots or large patches if the issue is severe. If you notice this, move your plant to a location with more shade or filtered light.
Watering Techniques for Dumb Cane Plants
Check the Moisture Level
It’s crucial to always check the moisture level of the soil before watering. Dumb Cane plants prefer their soil to be slightly dry rather than excessively wet and soggy. If the top inch of the soil has dried out (and you are top watering your plant), it’s an indication that it’s time to water your plant.
Saturate The Soil
When you water your Dumb Cane plant, ensure to saturate the soil thoroughly. Pour water slowly onto the soil until it starts to drain from the bottom of the pot. This method ensures that the water reaches the roots, which will promote healthier growth and more stability.
Drain Excess Water
Be sure to drain any excess water that collects in the saucer as standing water can lead to root rot, a condition that can severely harm or even kill your plant. Always aim for moist, not waterlogged, soil.
Avoid Overwatering
Despite your best intentions, overwatering is a common mistake that can hinder the growth of your Dumb Cane plant. Too much water can lead to yellowing leaves and root rot. If you do overwater your plant, the best thing to do is replace the soil and remove as much of the soggy soil from around the root system. Don’t wait for it to dry out unless you are in a particularly hot climate as this risks irreversible issues.
Top tip: Always use room-temperature water for your Dumb Cane plant. Cold water can shock the plant, resulting in droopy leaves.
Humidity and Temperature for Dumb Cane Plants
For your Dumb Cane plant to flourish, maintaining a suitable environment is crucial. This primarily involves careful monitoring of your plant’s temperature and humidity levels which is often forgotten by plant parents.
Temperature
The ideal temperature range for Dumb Cane plants is between 60 and 75 degrees Fahrenheit. It’s crucial to note that this tropical plant does not tolerate cold drafts or temperatures below 50 degrees Fahrenheit well. A sudden drop in temperature can lead to leaf drop and potentially damage the plant as the cells in the leaves can begin to freeze and die.
Humidity
As tropical plants, Dumb Canes thrive in high humidity levels. A relative humidity level of about 60% is ideal for these plants. However, they can tolerate lower humidity levels, but you may notice the odd brown leaf tip or edge as a result.
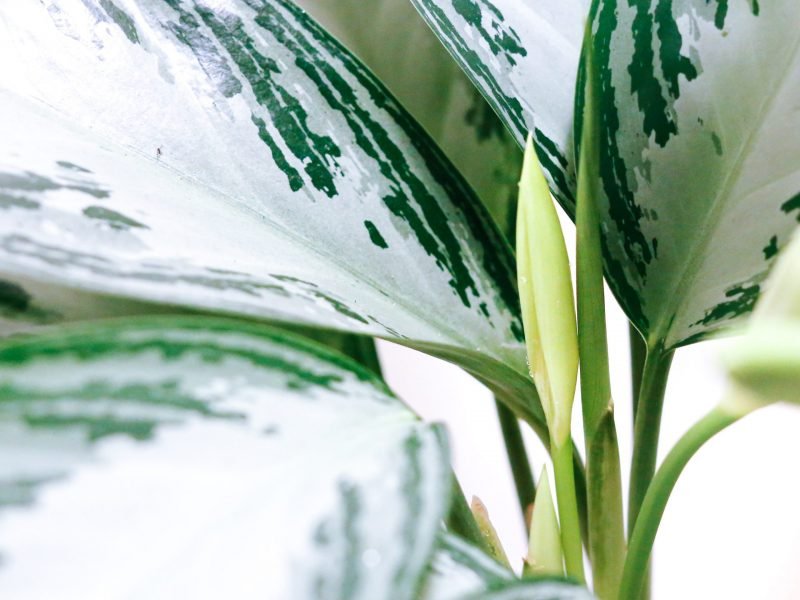
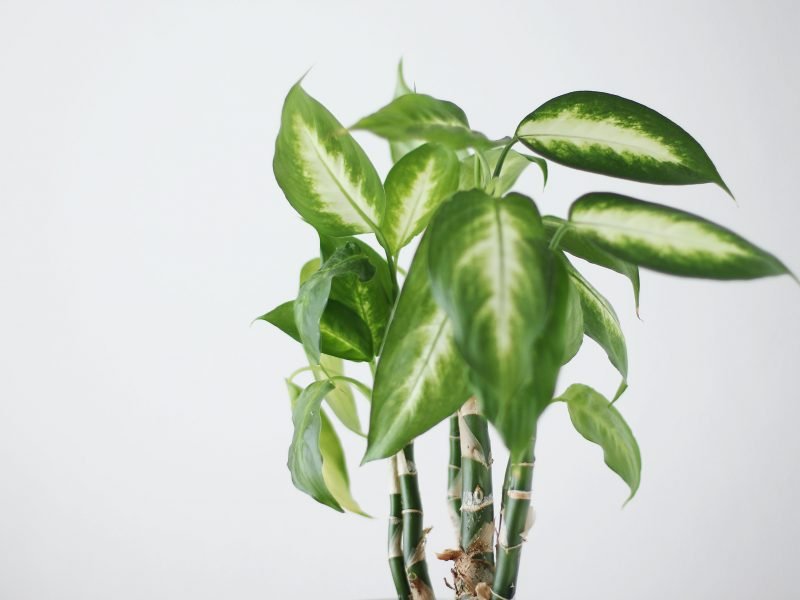
Young Dieffenbachia Plant
Fertilization of Dumb Cane Plants
Feeding your Dumb Cane Plant (Dieffenbachia) is a crucial aspect of its overall care. These tropical beauties thrive when given the right nutrition, which comes in the form of a well-balanced fertilizer.
What type of fertilizer should I use?
Opt for a balanced, water-soluble fertilizer with equal parts Nitrogen (N), Phosphorous (P), and Potassium (K), such as a 20-20-20 formula. This will provide the optimum nutrients for foliage growth and overall plant health.
When should I fertilize my Dumb Cane Plant?
Schedule fertilization during the growing season, which typically spans from spring to early fall. During this period, apply fertilizer to your Dieffenbachia every four to six weeks. In the dormant winter months, stop fertilizing completely as your plant will be in a dormant phase and won’t be producing any new growth. Fertilizing during this time can actually do more damage than good.
How to apply fertilizer?
- Water your plant thoroughly before fertilizing. This helps to prevent fertilizer burn.
- Prepare your fertilizer solution as per the package instructions.
- Slowly pour the fertilizer over the soil, making sure it’s distributed evenly.
Note: Always avoid getting fertilizer on the plant’s leaves as it can cause damage.
Pruning Your Dumb Cane Plant
Pruning is an essential aspect of caring for your Dumb Cane plant. It not only keeps your plant looking healthy and attractive but also promotes better growth so we highly recommend that you find a place for it in your regular plant care routine.
When to Prune
Typically, you should prune your Dumb Cane plant when you notice leggy growth, yellowing leaves, or when the plant becomes too tall for your space. Remember, pruning isn’t just a cosmetic process – it’s part of the plant’s health regimen.
If you are pruning for aesthetic reasons then the best time to do this is in early spring, right before your plant begins to grow new leaves.
Tools Needed
Before you begin, make sure you have a pair of clean, sharp pruning shears. Dull or dirty tools can damage your plant and introduce diseases. Also, always wear gloves when handling your Dumb Cane plant, as its sap can be very irritating to the skin.
Pruning Steps
- Identify the parts to prune: Look for dead, yellowing, or leggy stems and decide how you want to shape your plant.
- Make your cuts: Cut at an angle, just above a leaf node.
- Dispose of the cuttings: Don’t leave them on top of the soil as they can attract pests.
Top tip: After pruning, give your plant a good watering and place it in a spot with bright, indirect light to aid recovery.
Repotting your Dieffenbachia
Why should you repot your Dieffenbachia?
Your Dumb Cane, or Dieffenbachia, might need a new pot for several reasons. The most common is that the plant simply outgrows its current pot. You’ll know this is the case when you see roots growing out of the drainage holes or out of the top of the pot. A plant that’s too large for its pot can become root-bound, which can hinder its ability to grow new leaves and stems and can also impact its general overall health.
When should you repot your Dieffenbachia?
The best time to repot your Dumb Cane is in the spring, when the plant is starting a new growth period. However, if your plant is seriously root-bound, don’t hesitate to repot it regardless of the season.
Steps to repot your Dieffenbachia
- Choose the right pot: Select a pot that’s 1-2 inches larger in diameter than the current one. Ensure it has good drainage in the form of drainage holes.
- Prepare the new pot: Place a layer of fresh potting mix at the bottom of the new pot.
- Remove the plant: Carefully remove the Dieffenbachia from its current pot. Be gentle to avoid damaging the roots.
- Place the plant in the new pot: Position the plant in the center of the new pot. The top of the root ball should be about 1 inch below the rim of the pot.
- Fill the pot with potting mix: Fill in around the plant with fresh potting mix, pressing it down lightly. Remember, good potting mix promotes root health.
- Water the plant: After repotting, water the plant thoroughly. This helps to settle the plant and the potting mix.
- Place the plant in appropriate light: Put the newly repotted plant in indirect light. Avoid direct sunlight as it can cause the leaves to burn.
Is the Dumb Cane Plant toxic?
Yes, it’s important to note that the Dumb Cane Plant is toxic. This is due to the presence of calcium oxalate crystals located within the plant’s tissues.
Effects of toxicity:
- Humans: In humans, ingestion or even touching can lead to symptoms such as a burning sensation in the mouth and throat, excessive drooling, difficulty in swallowing, and nausea. In severe cases, it may even, in severe cases, cause temporary speech loss – hence the name ‘Dumb Cane’.
- Pets: Pets, particularly cats and dogs, may also experience similar symptoms. Should they come into contact with the plant, immediate veterinary care is strongly advised.
Keep your Dumb Cane Plant out of reach of children and pets at all times to ensure their safety.
Cleaning your Dieffenbachia
Keeping your Dieffenbachia clean is an integral part of its care. Not only does this boost the aesthetic appeal of the plant, but it also contributes to its overall health. Let’s delve into some easy steps that you can follow to keep your Dumb Cane plant clean and thriving.
The Importance of Cleaning
The primary reason for cleaning your Dieffenbachia is to ensure proper photosynthesis. Dust and grime on the leaves can obstruct light absorption, hindering this vital process. Regular cleaning also allows you to closely monitor the plant for pests or disease signs.
There are also, of course, aesthetic reasons why regular cleaning is a good idea as it makes the leaves look a lot brighter and fresher!
Materials Needed
- Soft cloth: A soft cloth is ideal for wiping the leaves without causing any damage.
- Mild soap: A mild soap solution can effectively remove dirt and grime, ensuring your plant remains healthy. Avoid all other chemicals as these can damage the leaves.
- Water: You’ll need water to moisten your cloth and rinse off the soap solution.
Cleaning Steps
- Moisten the soft cloth with clean water.
- Add a few drops of mild soap to the cloth.
- Gently wipe each leaf’s surface, taking care not to apply too much pressure that might damage them.
- Rinse the cloth with clean water and wipe the soap off the leaves.
- Gently dry the leaves with a clean cloth or allow them to air dry in a shaded area if they aren’t dripping wet.
Dumb Cane Plant
Common Pests and Diseases of Dumb Cane Plants
Even with the best care, your Dumb Cane Plant may sometimes encounter issues with pests and diseases, it can happen to the most experienced horticulturists so don’t worry! Below, we’ll cover the most common problems and some solutions to keep your plant healthy and thriving.
Common Pests
Dumb Cane Plants can attract a variety of pests, including:
- Spider Mites: These tiny creatures can cause your plant’s leaves to turn yellow and fall off. To get rid of them, wash your plant with a mild dish soap and water solution or neem oil to treat a large infestation.
- Mealybugs: These white, cottony pests suck the sap from your plants, causing them to wilt. They can be removed using a cotton swab dipped in rubbing alcohol.
- Scale: Scale insects can cause leaf yellowing and leaf drop. They can be managed by wiping the leaves with a solution of water and mild dish soap.
Common Diseases
Dumb Cane Plants are prone to a few diseases, such as:
- Root Rot: If your plant’s leaves are turning yellow and the plant is wilting, it may be suffering from root rot. This is usually caused by overwatering or getting the leaves wet when you water. To treat it, let the soil dry out completely before watering again and use a watering can with a narrow spout to avoid splashing the leaves.
- Leaf Spot: This is caused by a fungal infection. If you notice brown spots on your plant’s leaves, it might have this disease. Remove the affected leaves and avoid overwatering to prevent further spread.
Remember, prevention is always better than cure when it comes to plant care. Regularly check your Dumb Cane Plant for signs of pests or diseases, and take action immediately if you notice something wrong.
Common Problems with your Dumb Cane
Why is my Dumb Cane plant losing leaves?
If your Dumb Cane is losing leaves at the bottom of the plant, it may be due to colder temperatures. Try to move your Dumb Cane to a warmer part of your home away from drafty doors and windows.
Why has my Dumb Cane plant got brown leaf tips?
If you notice the tips of your Dumb Cane are turning brown and crispy, this is often due to watering issues. Check the moisture of the soil regularly and adjust your watering schedule accordingly.
Why are my Dumb Cane’s leaves drooping?
Drooping leaves on your Dieffenbachia are probably caused by underwatering. Dumb Cane plants like to have slightly moist soil so try and adjust your watering schedule a little.
There are yellow leaves on my Dumb Cane
If the odd leaf at the bottom of your Dumb Cane plant is yellowing, don’t be alarmed as that is often due to natural ageing. However, if your whole Dumb Cane plant is turning yellow, there might be a bigger problem occurring such as underwatering or a pest infestation.
Why are my Dumb Cane’s leaves curling?
Curling leaves on Dumb Cane Plants can have several different causes. It may be due to underwatering, over-fertilisation or temperature changes so check out its environment and adjust care accordingly. Alternatively, it may be due to a pest infestation, most commonly spider mites. We recommend giving your Dumb Cane plant a shower and replacing the soil immediately.