Green Velvet Alocasia
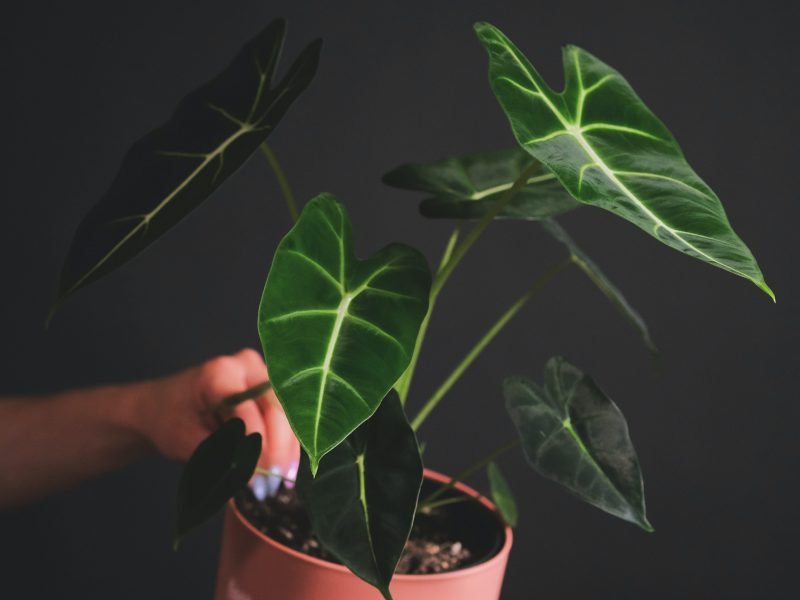
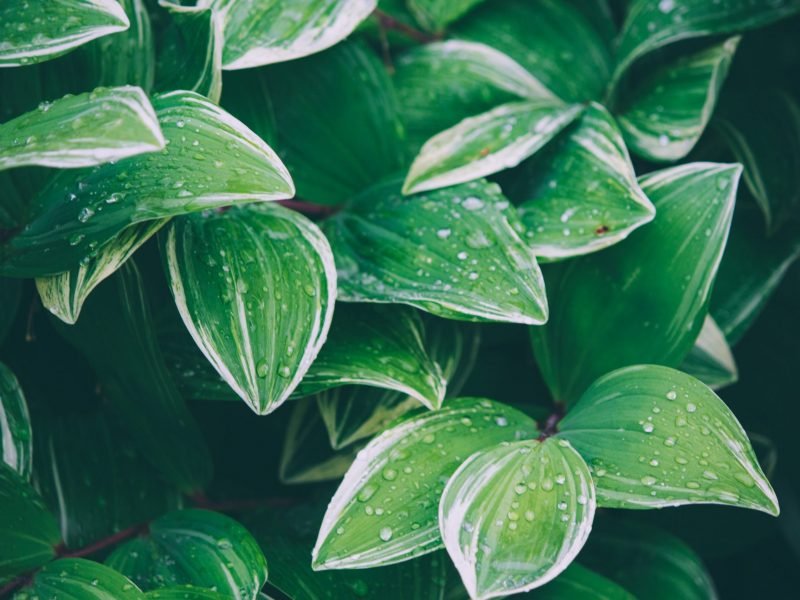
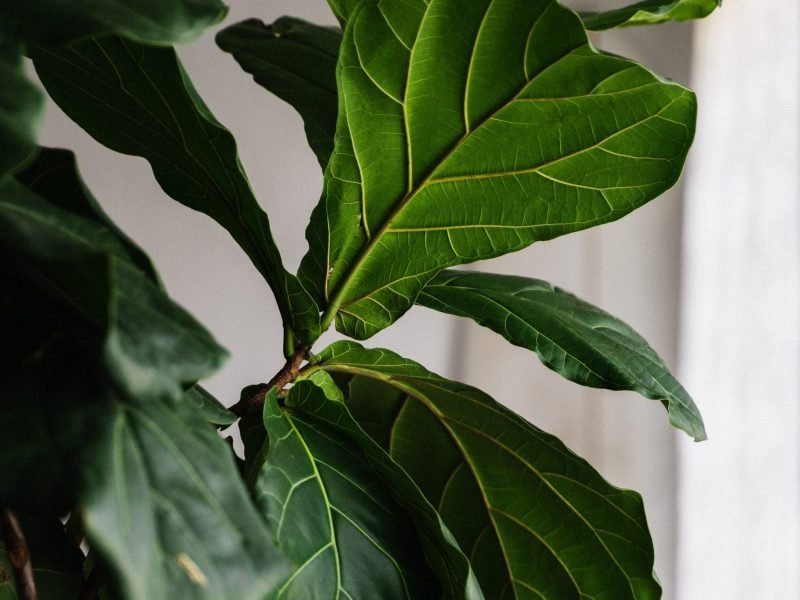
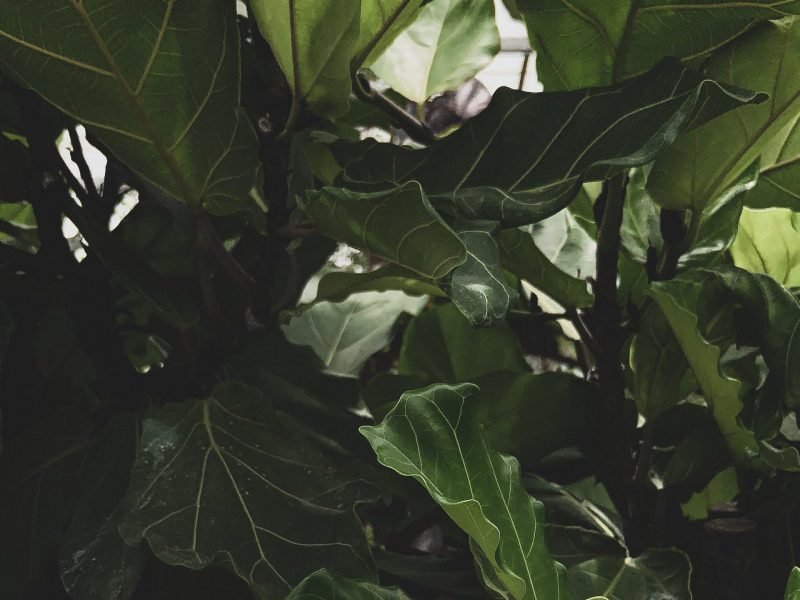
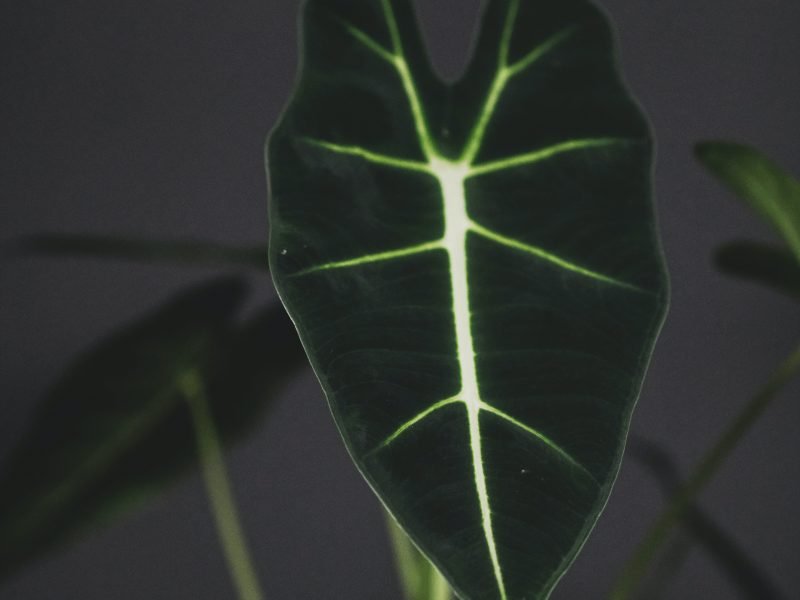
Native to the tropical rainforests of South East Asia, the Green Velvet Alocasia (also known as the Alocasia Frydek) is one of the most beautiful Alocasia varieties. With dark green soft velvety leaves and creamy white veins that almost look as though they are glowing.
How to Care for a Green Velvet Alocasia
Although we wouldn’t recommend them to a beginner plant parent, they aren’t the most difficult plant to care for. There are a few things to watch out for to prevent some issues from cropping up, mainly light level, temperature and humidity.
You want to ensure that your Alocasia has enough bright but indirect sunlight while keeping them away from intense direct light during summer. This can not only dry out your plant and cause brown leaves, but it can scorch and burn the leaves, leaving irreversible yellow patches across the leaves.
Temperature and humidity levels both need to be slightly elevated to ensure your plant thrives. So you should get into a misting routine and pick up a digital thermometer to check for any cold drafts around your plant. But more on that later as below we will give you a complete overview as well as a detailed breakdown of everything you need to know to care for a Green Velvet Alocasia.
Green Velvet Alocasia Overview
Origin: South East Asia
Latin Name: Alocasia micholitziana ‘Frydek’
Common Name(s): Alocasia Frydek, Green Velvet Alocasia
Plant Family: Araceae
Difficulty Level: Medium
Appearance: Tropical plant with soft dark green velvety leaves that feature creamy white veins
Height and Size: 3 feet in height at maturity
Growth Rate: Moderate
Flowering: Occasionally may grow a white spadix flower covered by a pale green spathe
Pruning: Prune old foliage, but otherwise no pruning is necessary
Cleaning: Regular dusting
Light Requirements: Bright, indirect light
Water Requirements: Moderate watering but cut back over winter
Best Soil: Balance well-draining with water-retention qualities
Ideal temperature: 65-85°F (18-29°C)
Fertilizing Routine: Apply a well-balanced fertilizer every 4-6 weeks during spring and summer
Ideal Humidity Level: 50-60% humidity
Propagation: By division of the mother plant.
Repotting Frequency: Repot every 1-2 years
Toxicity: Toxic to pets and humans if ingested
Risk of Pests: Rare but some risk of fungus gnats, spider mites, scale insects, mealybugs and thrips.
Common Problems: yellow leaves, brown leaves and drooping stems.
Origin of a Green Velvet Alocasia
Native to the tropical rainforests of South East Asia, the Green Velvet Alocasia used to be quite tricky and expensive to get hold of. However, over the past few years, their increase in popularity has meant cultivation of these plants has increased and they are slightly more available in plant shops and nurseries around the world.
The origin and native environment are very important when considering the best environment and care routine for your plant as you want to mimic some of the factors that are found there. As the Alocasia Frydek is native to tropical areas, higher humidity and warmer temperatures will help them thrive.
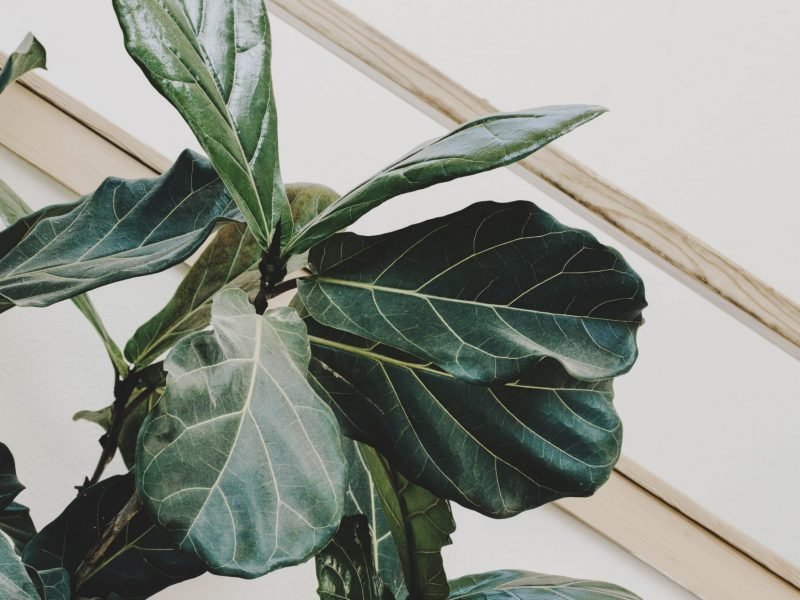
Green Velvet Alocasia Appearance
Alocasia varieties in general are known and loved for their heart/arrow-shaped leaves with distinctive and contrasting veins. The Green Velvet Alocasia is extra special as its leaves are soft and velvety (hence the name).
Care Difficulty Level
Green Velvet Alocasia plants definitely aren’t the easiest to care for and may have some trouble adapting if the environment or care routine isn’t right. Make sure you find a warm spot with indirect light and get into the habit of misting your plant to prevent it from drying out.
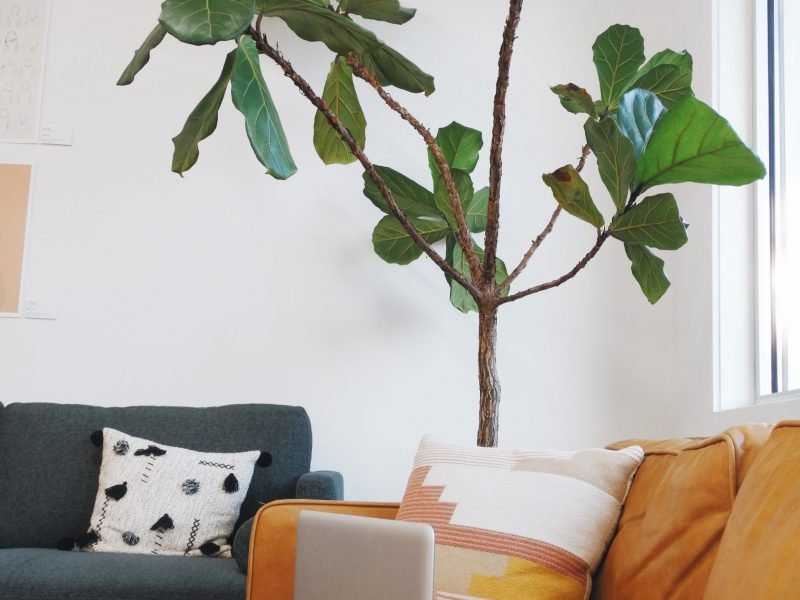
Alocasia Frydek Height and Size
They will grow to a height of around 3 feet but it can take many years to get to that stage as they aren’t particularly fast growing.
Alocasia Frydek Growth Rate
You will see several new leaves each year but overall the Green Velvet Alocasia isn’t very fast-growing. Don’t expect to see an abundance of new foliage every few weeks.
Green Velvet Alocasia Flowers
Occasionally, mature Alocasia Frydek plants will grow a few flowers during summer. The flowers are thin white spadix, surrounded by a very pale green flat spathe. They are often quite insignificant flowers and will wilt after a couple of weeks.
Pruning your Green Velvet Alocasia
Regular pruning is not required when caring for and maintaining a Green Velvet Alocasia. There are a few instances though in which you may want to get your pruning scissors out. If there are any leaves that are dead or dying (brown or yellow leaves), then it’s best to remove these from your plant as they are only wasting energy that could be used to promote new healthy growth.
You may also want to prune your plant if it has outgrown the space in your home. Although they aren’t fast-growing houseplants, pruning them can help to reshape or control the size of your plant.
Cleaning your Green Velvet Alocasia
The large flat leaves of an Alocasia Frydek are dust magnets and it’s very important that you dust them regularly. Dusting not only helps more light actually get to the leaf but it can unclog the leaves’ pores, helping your Alocasia to ‘breathe’ better. Dusting can also keep the leaves looking fresher and less dull.
Use a damp cloth to wipe the leaves gently, making sure to use your other hand to support the leaf from behind. This will help to prevent any leaf or stem damage.
If you are unable to remove the dust or dirt with just water, use a drop or two of dish soap but avoid the use of any harsh chemicals. These can strip the leaves of their velvety look and feel.
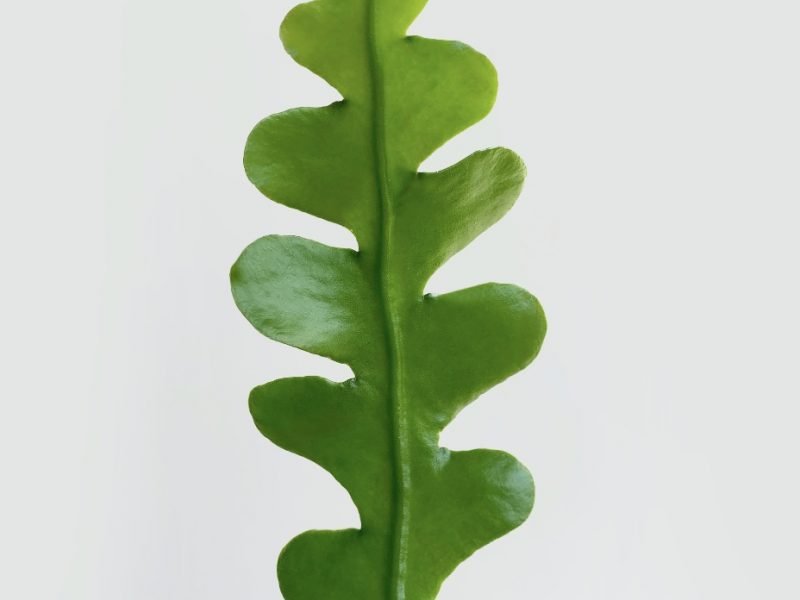
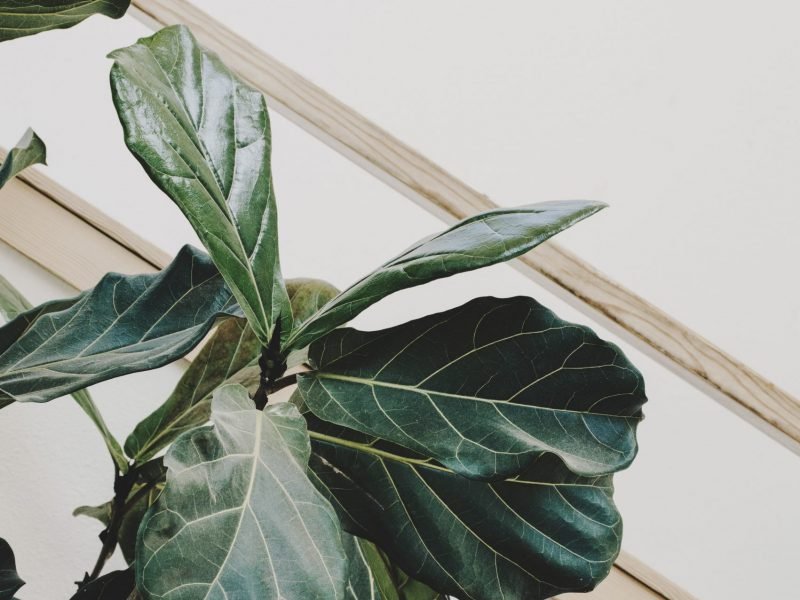
Green Velvet Alocasia Leaf
Green Velvet Alocasia Light Requirements
Bright, indirect light is best for your Green Velvet Alocasia. While they can tolerate some direct sunlight in winter (as the sun is a lot weaker and out for less of the day), direct sunlight can scorch their incredible leaves. The heat caused by direct sunlight can also generally dry out your plant and cause serious issues.
Like all Alocasias, the Frydek doesn’t tolerate low light very well. Not only can it kill your plant eventually, but it will begin by causing issues such as leggy, small growth, a lack of new leaves or brown foliage.
Water Requirements for a Green Velvet Alocasia
How much you water your Green Velvet Alocasia really depends on the season and the temperature. You want to hold off watering a lot during winter but increase the regularity during summer.
They don’t like their soil to dry out completely but also are sensitive to root rot so it might take a little while to figure out what works best for your plant.
Using a moisture meter will really help you to figure out when it’s time to water, and when to leave it a few more days. As there are so many external factors that can change how frequently they need to be watered, watering schedules don’t really work. Instead, be flexible with how much and how often you water your Alocasia Frydek and respond to environmental changes accordingly.
Top tip: to prevent waterlogged soil and root rot, it’s a good idea to remove any excess water that is still sitting in the saucer or at the bottom of the planter 20 minutes after watering. This allows enough time for your plant’s soil to absorb what it can but prevents the roots from sitting in a puddle of water.
Best Soil for a Green Velvet Alocasia
Green Velvet Alocasias need a well-draining potting mix that also has water-retention qualities. Although these things are technically the opposite of each other, they each play a role in making sure the water can easily flow through the potting mix, but doesn’t just run through straight away without allowing the roots to absorb it.
Most of the time, a standard high-quality houseplant potting mix will suffice but if it doesn’t already have it, add some extra perlite in to aid drainage and aeration of the soil.
Alocasia Frydek Temperature Requirements
Cold temperatures will be damaging to your Green Velvet Alocasia and they prefer to be in temperatures around 65-85°F (18-29°C).
You want to make sure to keep your plant away from drafty windows or external doors as the cold air from outside can over time shock and damage your plant. You also need to be careful around air conditioning units as a steady flow of cold air can also cause issues, particularly when it comes to the soil not drying out.
But it’s not just cold extremes that you have to be careful of for your Alocasia, but you should avoid hotspots too. Placing your plant too close to radiators, heating vents or cookers can be harmful, drying out and scorching your plant’s leaves.
Green Velvet Alocasia Fertilizer Requirements
Apply a well-balanced 10-10-10 fertilizer at half-strength every 4-6 weeks during spring and summer. We recommend using a water-soluble fertilizer as it gives you better control over the strength and frequency of fertilization.
The reason that you want to dilute the fertilizer to half the recommended strength is that there can be no one-fits-all amount to fertilize your plant, so it’s best to be cautious with the amount. Plant size, type, season, warmth and so many other factors play into how much you can fertilize so going off the one amount on the bottle won’t ever work.
The other thing to note when fertilizing your Green Velvet Alocasia is to cut back entirely during autumn and winter. This is the dormant phase for your plant, so fertilizing during this time can do more damage than good.
Note: fertilizing is optional and you can still see an abundance of new, healthy leaves without it. Sometimes fertilizing can just give that extra boost to promote healthy growth.
Ideal Humidity Level for your Green Velvet Alocasia
When caring for your Alocasia Frydek, it’s important to increase the humidity as they thrive in environments with a humidity level of 50-60%. If the air is too dry for your plant, then it can begin to develop brown leaf tips, edges and brown spots over time.
Boosting the humidity for your Alocasia Frydek is super simple and cheap too! The first habit to get into is to begin misting the leaves with a spray bottle a couple of times per week. You want to ideally do this in the mid-morning so that there is enough time for the water droplets to evaporate before the temperature drops overnight. Cold, damp leaves are a combination that can often lead to leaf rot.
Other methods of boosting the humidity are: showering your plant, using a pebble tray and investing in a humidifier. Another tip which involves you actually doing nothing is to move your plant into either the bathroom or your kitchen (provided the other environmental factors are right). The steam released when cooking and showering means these rooms often have a naturally higher humidity level than the rest of your home.
It’s a great idea to invest in a humidity monitor if you haven’t already as otherwise it can be pretty difficult to know if the air is too dry for your Alocasia Green Velvet. A lot of the time you can get a combo humidity monitor and thermometer which is great for plant care.
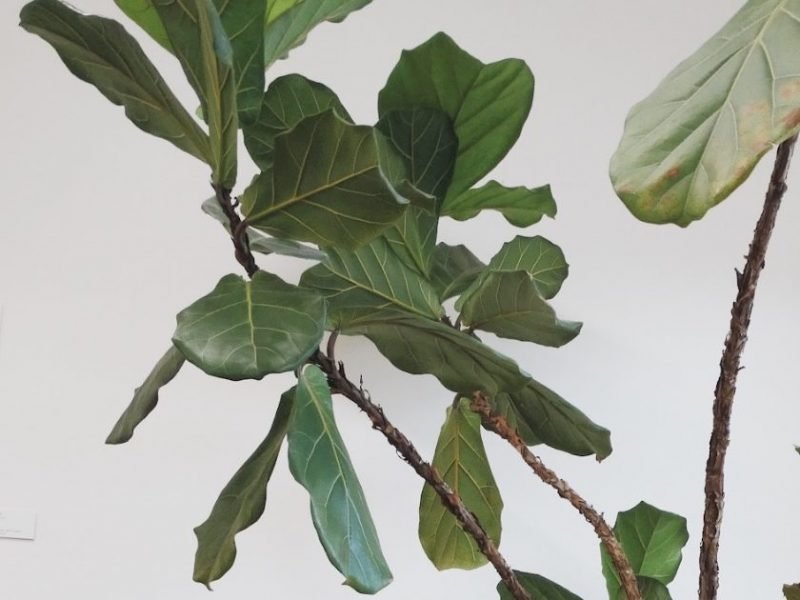
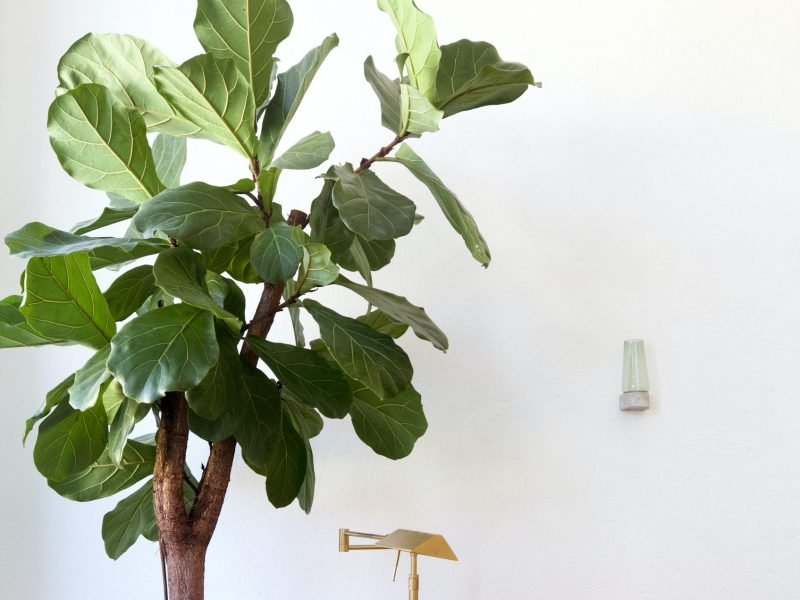
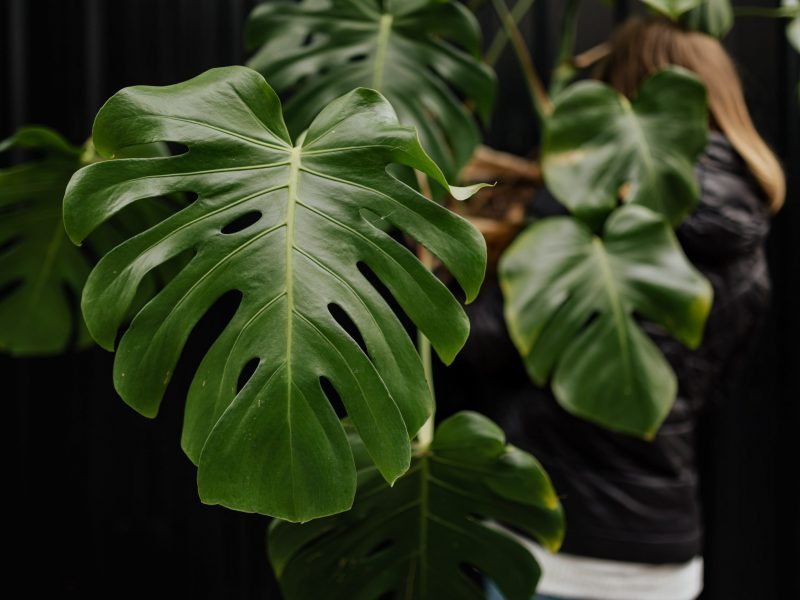
Alocasia Frydek plant

Propagating your Green Velvet Alocasia
The best way to propagate a Green Velvet Alocasia is through the division of the mother plant into several smaller plants. Make sure that each offcut has a good section of the root system to give it a good chance of survival.
If you’re looking to propagate your Alocasia Frydek then the best method to choose would be by division of a larger, more matured plant. By choosing to divide/ propagate when the plant is more mature you’re significantly more likely to have success and will also run less of a risk of damaging the existing parent plant.
The process for propagating your Green Velvet Alocasia is really quite straightforward. Start by removing any pots and excess soil, a chopstick will often make this much easier and also allow you to be more careful with the root system.
You should be able to see separate rhizomes of the plant at this point. Gently separate these as best as possible, if you need to cut them make sure to use a sharp clean blade or pair of shears.
From that point, the cuttings will simply need potting into some good quality potting mix, care for the cuttings just as you would for the more mature plants!
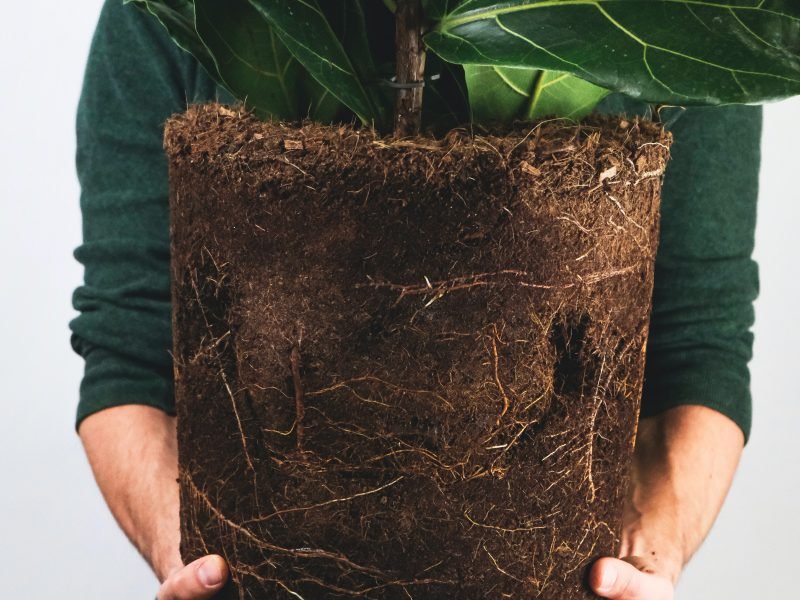
Repotting your Green Velvet Alocasia
On average, you should be repotting your Alocasia Frydek every 1-2 years. However, it’s important to look out for signs that your plant is severely rootbound.
Signs that you need to repot your Alocasia include the roots growing out of the top of the pot or out of the drainage holes, the roots being tightly coiled when removed from the pot and there not being much soil left.
Stagnant growth during spring and summer can also sometimes indicate that your plant is rootbound and needs repotting. However, there are other potential causes of this including low temperatures or light level so be sure to check over all environmental factors and inspect the root system before diagnosing the issue.
When repotting your Alocasia Green Velvet, choose a pot that is only one or two sizes up from its current pot. It can be tempting to choose a much larger pot to give it ample space to grow but this can lead to two issues.
Firstly, if the pot is much too big, the root system can become unstable and your plant can begin to droop and secondly, as there is a lot more soil, it can absorb a lot more water, which increases the risk of root rot. This is because the soil will take a lot longer to dry out.
Green Velvet Alocasia Toxicity to Humans and Pets
Alocasia Frydek are toxic to pets and humans when ingested. This is because they contain insoluble calcium oxalate crystals.
If ingested, it can cause mouth, throat and stomach irritation, vomiting and diarrhoea. Seek medical attention immediately if part of the plant has been ingested.
Treating and Preventing Pests
Although rare, it can sometimes happen that you find some unwanted visitors on your plant. This is more common if your plant has spent any time outdoors but can still occur on houseplants.
Pests such as spider mites, scale insects, thrips, fungus gnats and mealybugs can cause brown leaves, brown spots, holes in the leaves and plant death if not treated.
Make sure to give your Green Velvet Alocasia a regular check-up as treating a pest infestation early is the key to getting rid of it. Checking over the leaves will also help you spot other common problems early.
If you do spot pests on your Alocasia Frydek, isolate it from all other plants before starting treatment. Then remove the worst affected leaves, wash the whole plant down in the shower and treat it with neem oil and an insecticide for several weeks.
Green Velvet Alocasia Common Problems
Why does my Alocasia Frydek have yellow leaves?
The most common reason a Green Velvet Alocasia will develop yellow leaves is overwatering. A good way to spot this is if it starts from the lowest leaves. Check the moisture in the soil to check and replace if waterlogged. Soggy soil also gives off a damp and musty smell so get up close to your plants every now and again.
Another cause of yellow leaves on a Alocasia Frydek is direct light. During summer when the sun can be quite intense, it may be scorching the leaves which shows up as yellow patches on the leaf. The best thing to do is move your plant to a shadier spot and trim off the worst affected leaves.
Why is my Green Velvet Alocasia drooping?
There are quite a few reasons why your Green Velvet Alocasia might be drooping. We would always start off by looking at watering issues so check the soil to see if there is too much or too little moisture.
If there is no issue with how much you are watering your plant, then you might need to look at other causes for the drooping leaves. The issue might be caused by cold drafts or shock after being moved to a new spot or repotted. If the drooping leaves are caused by stress, this should resolve itself on its own after a few days. However, if cold temperatures are causing your Alocasia Frydek to droop down then you need to move it away from any drafty windows or AC vents.
The final reason that might explain why your Green Velvet Alocasia is drooping is a pest infestation. Pests can suck the nutrients from your plant which causes it to look limp and droop down. Take a good look over your plant to spot any other warning signs as pests usually cause brown leaves, holes in the leaves or white webbing across the stems.
Why does my Green Velvet Alocasia have brown leaves?
Brown leaf edges or tips on an Alocasia Frydek are often caused by a lack of humidity. An easy way to fix this is by misting the plant several times a week, using a pebble tray or investing in a humidifier.
Why is my Green Velvet Alocasia losing leaves?
It can be quite concerning to notice that your Green Velvet Alocasia is losing leaves as this usually means something isn’t quite right. Leaf drop can be caused by a range of issues, from watering problems, cold temperatures, shock, pests and even a lack of humidity if the issue goes on for long enough.
To properly diagnose the reason why your Alocasia Frydek is losing leaves, inspect the potting mix to check if there is too much or too little moisture in the soil and monitor environmental factors such as light, temperature and humidity.
The only other thing to consider is if your plant is losing leaves simply because of natural ageing. This is a normal process that happens to a lot of plants where they drop some of their oldest leaves in favour of new healthier and bigger growth.
Why does my Green Velvet Alocasia have curling leaves?
There are two main reasons why Alocasia Frydeks curl their leaves, and they both have to do with moisture: underwatering and low humidity levels. If your plant is being underwatered you might also spot light brown patches across the leaves, whereas low humidity causes browning from the leaf edges and tips inwards.
To fix an underwatered Alocasia Frydek that is curling its leaves, slowly reintroduce water rather than drowning your plant as this can cause shock. And to boost the humidity, misting the plant a few times a week should help stop the leaves from curling.