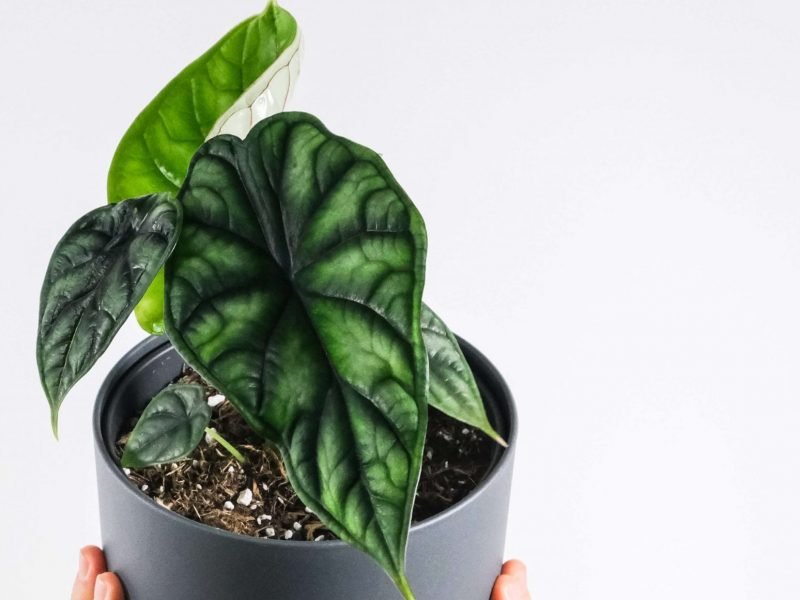
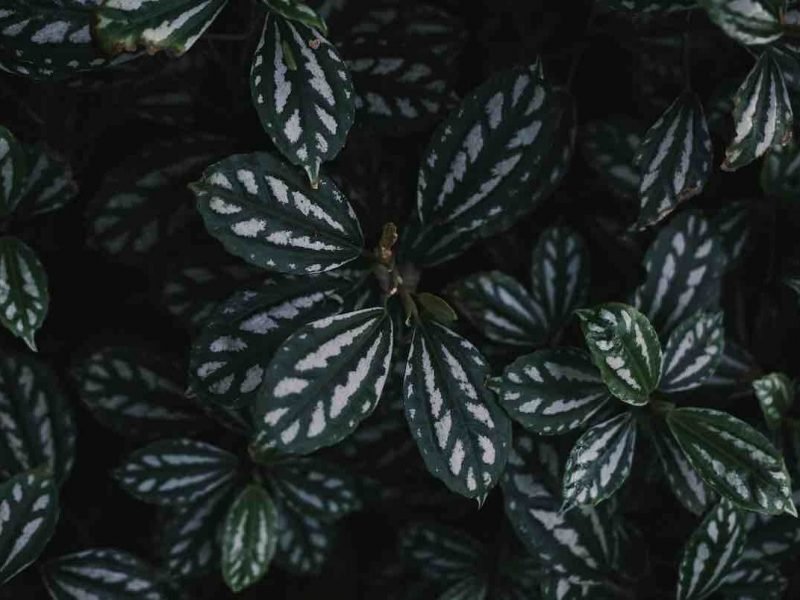
Prayer Plant
Introduction
Native to the tropical Americas, this plant is famed for its strikingly patterned leaves and unique daily movements. Although they’re tropical plants, Prayer Plants can thrive in your home regardless of where you live. This guide is designed to help you navigate the nuances of Prayer Plant care to ensure that your plant stays happy and healthy.
Why is it called the Prayer Plant?
The name is derived from its unique nocturnal routine. As sunset approaches, you’ll observe the leaves of your Prayer Plant slowly rising until they’re virtually vertical. Come dawn, the leaves will settle back to a flat position, creating a rhythmic cycle reminiscent of prayer.
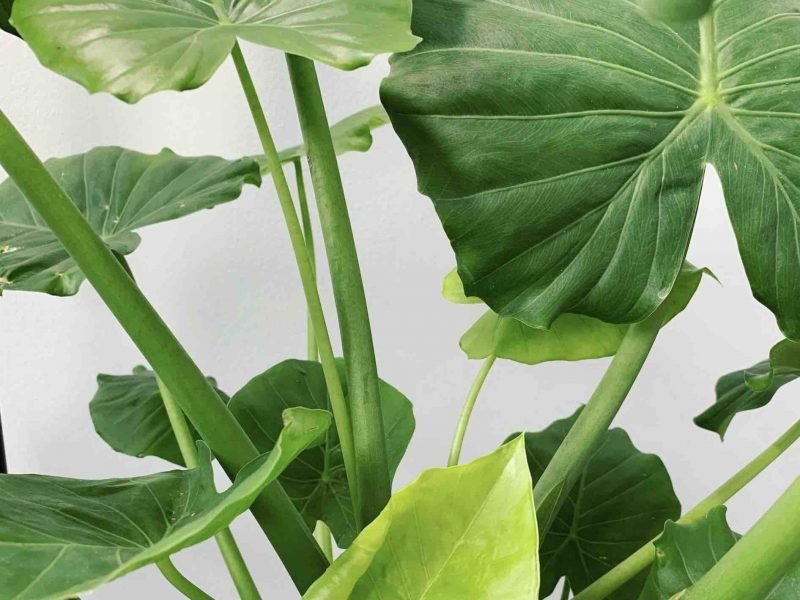
Overview of the Prayer Plant
Before diving into the specifics of Prayer Plant care, it’s helpful to understand the plant’s natural habitat and growth habits. Originating from the tropical rainforests of Central and South America, this plant is adapted to warm, humid environments with medium light levels. These conditions should be replicated as closely as possible in your home to ensure your Prayer Plant’s optimal growth.
Interestingly, Prayer Plants are not heavy feeders. They do, however, require consistent moisture and humidity. They are also sensitive to the quality of the water they receive, making them a somewhat challenging plant to care for.
Characteristics of the Prayer Plant
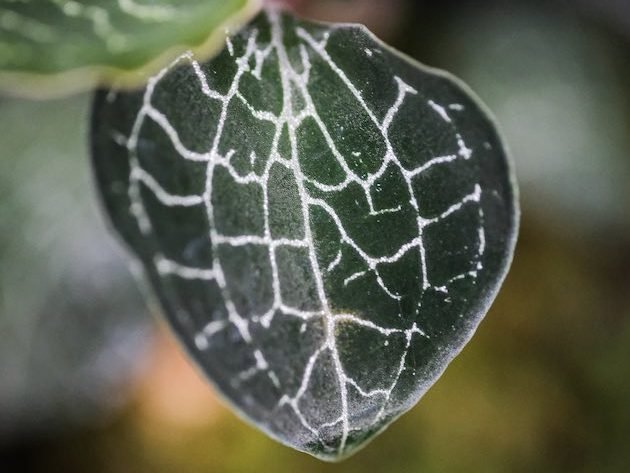
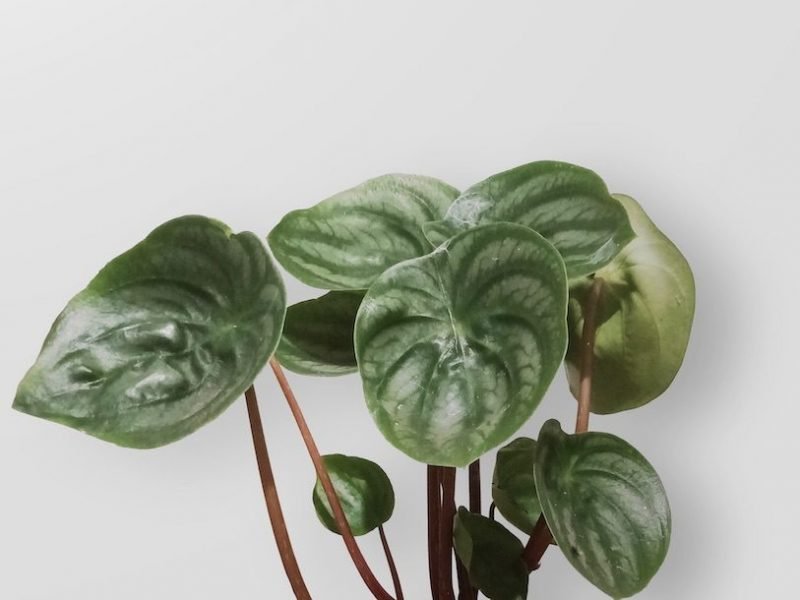
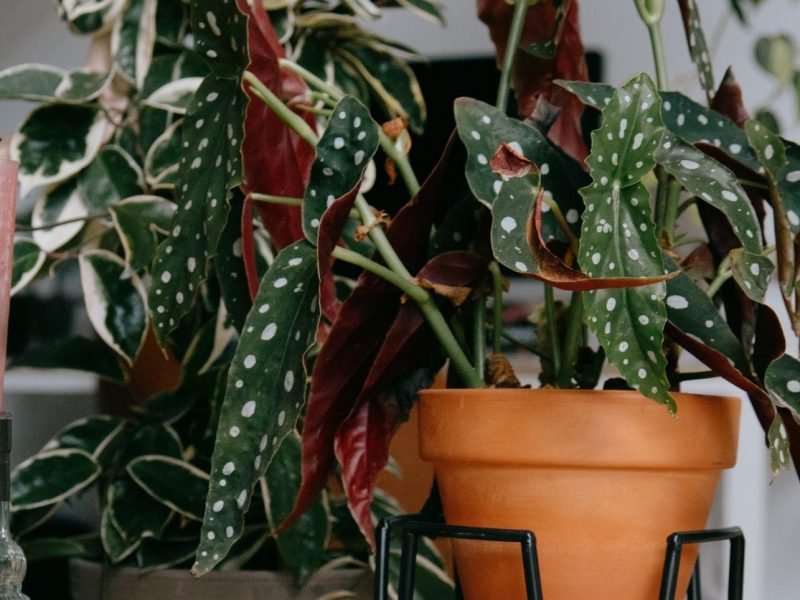
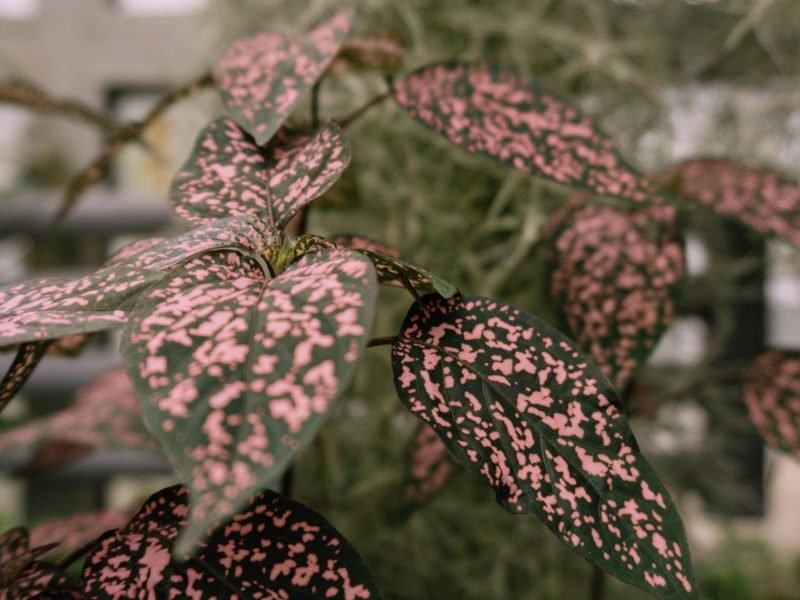
- The Prayer Plant boasts vibrant, patterned foliage in shades of green, red, pink, and white.
- It is a relatively small plant, typically growing to a height of about 30 centimetres.
- Known for its ‘nyctinastic’ movements, the leaves fold together at night, resembling hands in prayer.
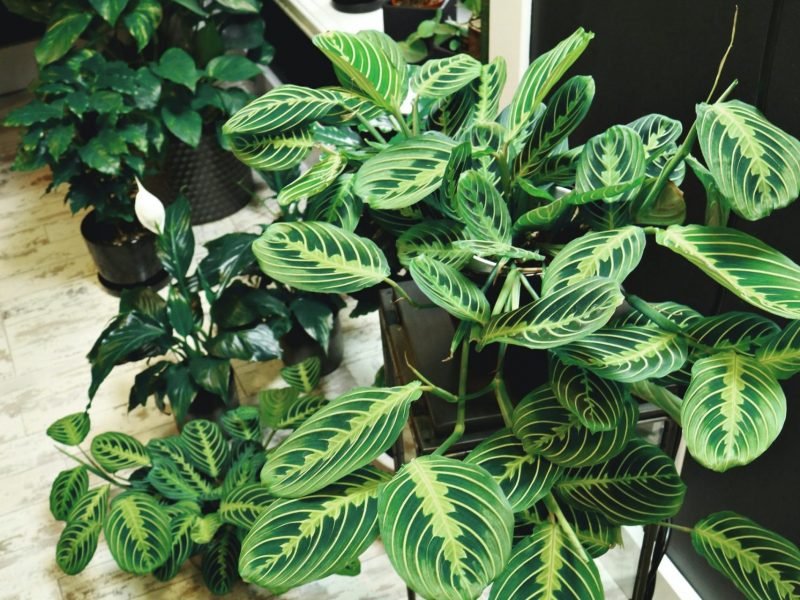
Popular Prayer Plant Varieties
The Prayer Plant family consists of several wonderful varieties, each with their unique charm. Each type is characterised by its distinct, intriguing leaf patterns and colours. Here, we delve into some of the most popular Prayer Plant varieties.
Maranta Leuconeura
This is perhaps the most common variety. Maranta Leuconeura, also named Green Prayer Plant, has dark green leaves with feathered, light-coloured lines stemming from the leaf veins. When they fold up at night, they reveal their beautiful purple undersides.
Maranta Leuconeura ‘Kerchoveana’
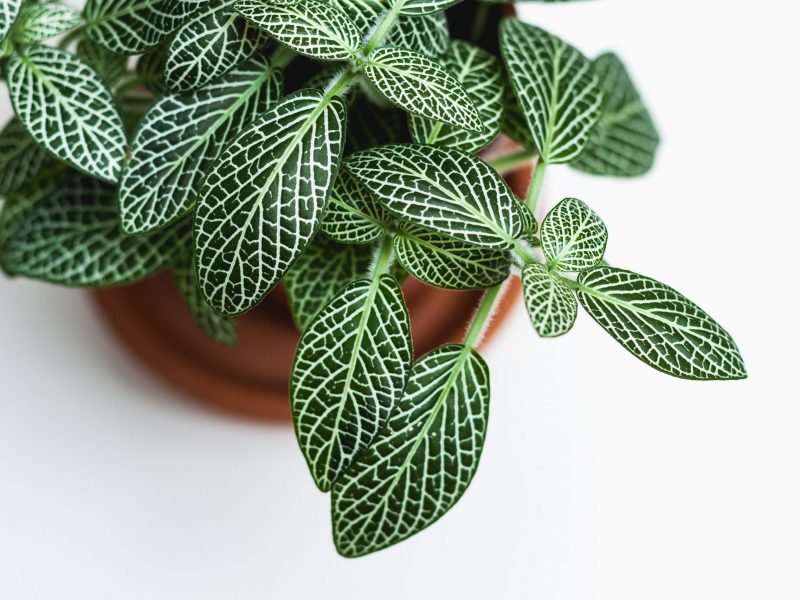
The ‘Kerchoveana’, or Rabbits Tracks, is a variety known for its light green leaves with dark blotches arranged in a herringbone pattern. The underside of the leaf is a lovely purple shade, adding to its unique aesthetic appeal.
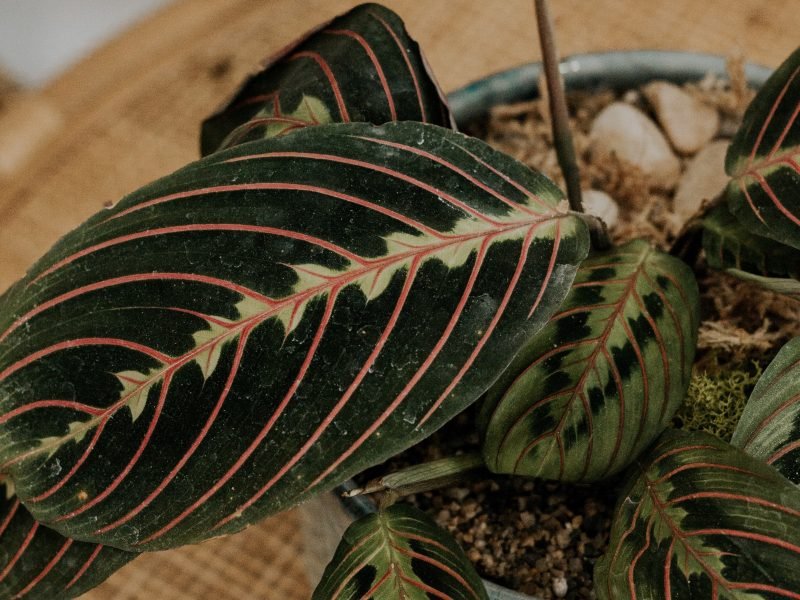
Maranta Leuconeura ‘Erythroneura’
Often referred to as Red Prayer Plant, ‘Erythroneura’ features strikingly beautiful dark green leaves with bright red veins. The intricate pattern and vibrant colours make this variety a fantastic addition to any plant collection.
Maranta Leuconeura ‘Lemon Lime’
The ‘Lemon Lime’ variety showcases light, lime-green leaves with dark green veining. When the sunlight hits, the leaves emit a stunning neon glow.
Prayer Plant
Light Requirements
Your Prayer Plant’s light requirements are vital for its healthy growth and longevity. It is a tropical plant that thrives in medium to bright, indirect light. However, be wary of direct sunlight as it can cause the leaves’ beautiful patterns to fade and even damage the plant.
Positioning: Place your Prayer Plant near a north or east-facing window. This will provide it with the consistent, indirect light it needs. A well-lit office or a room with filtered light is also a good location.
Direct Sunlight: Though your Prayer Plant enjoys bright conditions, it doesn’t mean it should be exposed to direct sunlight. Too much direct sunlight will bleach and burn its foliage. If you notice the leaves start to fade or look washed out, it may be getting too much sun.
Low light: While they can adapt and survive in lower light areas, this is not optimal. You will start to see slower or stunted growth and any new leaves may be smaller and less variegated as a result of low light levels.
Artificial Light: If natural sunlight is not available, artificial fluorescent light can be a good substitute. Keep the plant at a reasonable distance from the light source to prevent overheating.
Watering your Prayer Plant: When and How Much
Watering your Prayer Plant, involves a delicate balance that is often more difficult than with the majority of other houseplants as they are sensitive to their moisture level.
When to Water your Prayer Plant:
- Generally, the best time to water your Prayer Plant is when the top inch (about 2.5 cm) of the soil is dry. This usually happens once a week, but it can vary based on the conditions in your home.
- Be sure to check the soil often. If it’s dry and crumbly, it’s time to water. If it’s damp and clings to your finger, hold off on watering.
- Prayer Plants prefer high humidity. If your home is particularly dry, you may need to water more frequently or consider using a pebble tray or a humidifier to increase humidity levels (more on that below).
How Much to Water:
- Remember, your Prayer Plant prefers its soil to be on the damp side, but never waterlogged or soggy. Too much water can cause root rot, while too little can lead to browning leaves and a dried out plant.
When watering, aim to make the soil moist, not drenched. If water starts pooling on the surface or pouring out of the pot’s drainage holes, you’ve gone a bit too far.
Top tip: always use room-temperature water for your Prayer Plant. Cold or hot water can shock/burn the plant and lead to leaf and root damage.
Humidity Requirements
Prayer Plants thrive in environments with high humidity. Native to the tropical rainforests of Brazil, this plant is accustomed to a moist and humid climate. Therefore, maintaining the right level of humidity is crucial for its survival and growth.
Optimal Humidity Level
The ideal relative humidity for a Prayer Plant is between 50% and 60%. However, it can tolerate levels as low as 40% and as high as 80%. Below 40%, the plant may start showing signs of distress such as browning leaf tips and edges.
Method to Increase Humidity
- Misting: Spraying a fine mist of water onto the plant leaves increases the surrounding humidity. Be sure to use lukewarm water to avoid shocking the plant and mist preferably earlier in the day so the water droplets can evaporate off the leaves before it gets cooler at night.
- Humidifier: A more consistent method to increase humidity is using a humidifier. This device maintains a steady level of humidity in the surroundings without you having to lift a finger!
- Water Tray: Place a tray filled with water and pebbles beneath the plant pot. As the water evaporates, it increases the ambient humidity.
It’s important to note that overdoing humidity can lead to issues such as root rot and fungal diseases. Always observe your plant’s health and adjust the humidity levels accordingly.
Temperature Requirements
It’s not just high humidity that Prayer Plants need to thrive, but warm temperatures too. They are particularly sensitive to sudden changes in temperature as well, which can lead to wilting or even death of the plant. Therefore, maintaining the right temperature is crucial for them to survive and thrive.
Indoor Temperature
Prayer Plants prefer a consistent indoor temperature between 18-27°C (64-80°F). They can tolerate a minimum temperature of 15°C (59°F), but anything below might start to cause issues over time.
Temperature fluctuations, especially sudden drops, can cause the leaves of your Prayer Plant to curl and brown. To prevent this, avoid placing the plant near air vents, open windows or doors that may cause cold drafts.
Outdoor Temperature
If you’re planning to keep your Prayer Plant outdoors, ensure that the temperature stays above 15°C (59°F). Cold winds and frost are not friends of the Prayer Plant and can cause irreversible damage.
Monitoring and Adjusting Temperature
To ensure your plant is in the right spot, keep a thermometer nearby to monitor the temperature around your Prayer Plant. If it’s too cold, consider moving the plant to a warmer location, or use a plant heater. Conversely, if the temperature is too high, move the plant to a cooler spot, or use a fan to help reduce the temperature.
Remember, consistency is key when it comes to temperature. Changes should be gradual and within the plant’s preferred range to avoid causing stress or shock to your Prayer Plant.
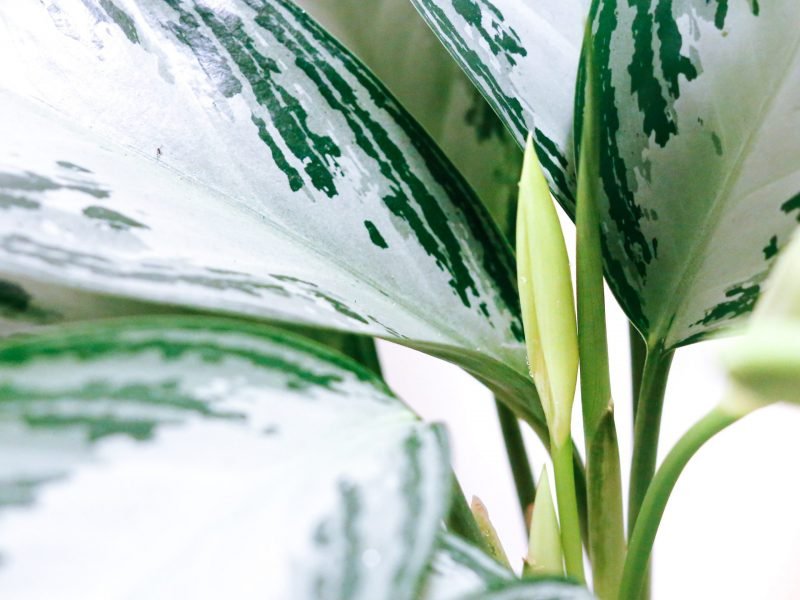
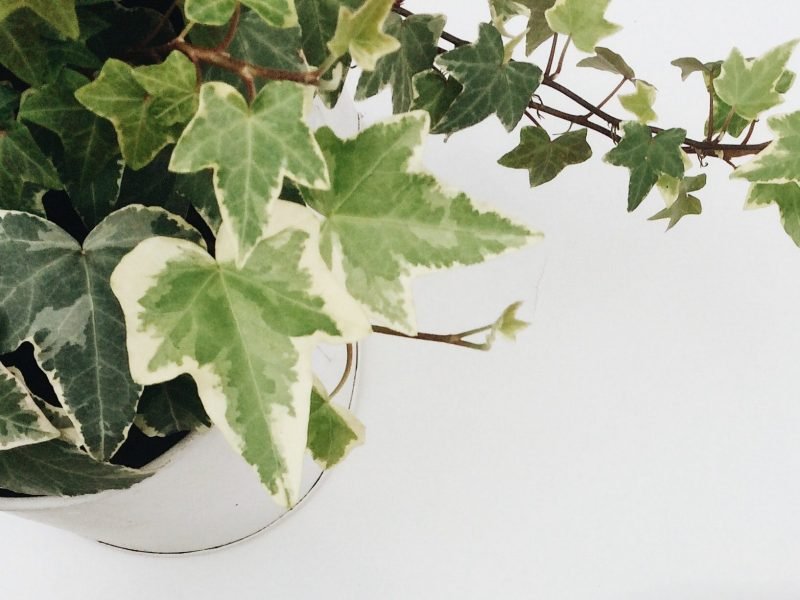
Variegated Prayer Plant

Choosing the Right Soil for your Prayer Plant
Understanding the Soil Needs of a Prayer Plant
A Prayer Plant desires a rich, yet well-draining soil. This means the soil needs to retain some moisture without becoming waterlogged. As such, a peat-based potting mix, which is light and fluffs up nicely, is an excellent choice. It provides the necessary drainage and fosters a favourable environment for the root system.
The Right Ingredients
When searching for the ideal soil mix, consider blends containing peat moss and perlite. Peat moss is capable of retaining water and nutrients, while perlite ensures good aeration and drainage. This combination helps prevent the roots from sitting in water, which could lead to root rot – a common issue in Prayer Plants (and a lot of other houseplants too).
Creating Your Own Mix
A simple recipe involves a combination of peat moss, perlite, and coarse sand in a 2:1:1 ratio. This mix will provide your Prayer Plant with the right mix of drainage, nutrient retention, and aeration.
Note: Always ensure your soil is pH balanced, as Prayer Plants prefer slightly acidic to neutral soil, ranging from 6.0 to 7.0 on the pH scale.
Remember to Refresh
Regardless of your chosen soil, remember to refresh it at least once every year or two. Over time, any soil can become compacted and less effective at draining water. Additionally, nutrients are gradually used up and need to be replenished to maintain your plant’s health.
How, Why and When to Fertilize your Prayer Plant
The Importance of Fertilizing
Fertilizing your Prayer Plant not only helps it grow but also boosts its overall health. An adequately fertilized Prayer Plant will display vibrant foliage and may even produce beautiful, subtle flowers. Without proper nutrients, your plant may experience stunted growth and lackluster leaves.
Choosing the Right Fertilizer
Your Prayer Plant will benefit from a balanced, water-soluble fertilizer. A common choice is a 20-20-20 NPK blend, which contains equal parts nitrogen, phosphorus, and potassium. These three elements are vital for the plant’s overall growth, leaf development, and disease resistance, respectively.
When and How to Fertilize
Prayer Plants typically need fertilizing every two weeks during the growing season, which is spring and summer. In autumn and winter, avoid fertilizing at all as the plant enters a dormant state. Always apply the fertilizer to damp soil to prevent root burn.
Remember: Over-fertilizing can be just as damaging as under-fertilizing. Always follow the dosage instructions on the fertilizer packaging.
Signs of Over-Fertilization
Over-fertilization can lead to salt build-up in the soil, causing leaf tips to turn yellow and curl. If you suspect over-fertilization, flush the soil thoroughly with water to remove excess nutrients and consider repotting in fresh soil if necessary.
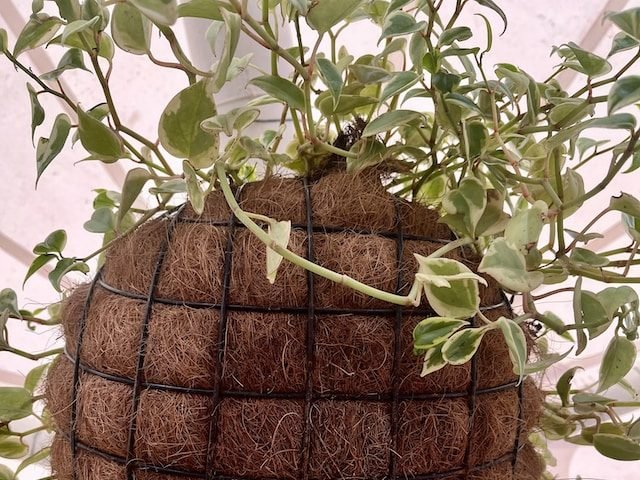
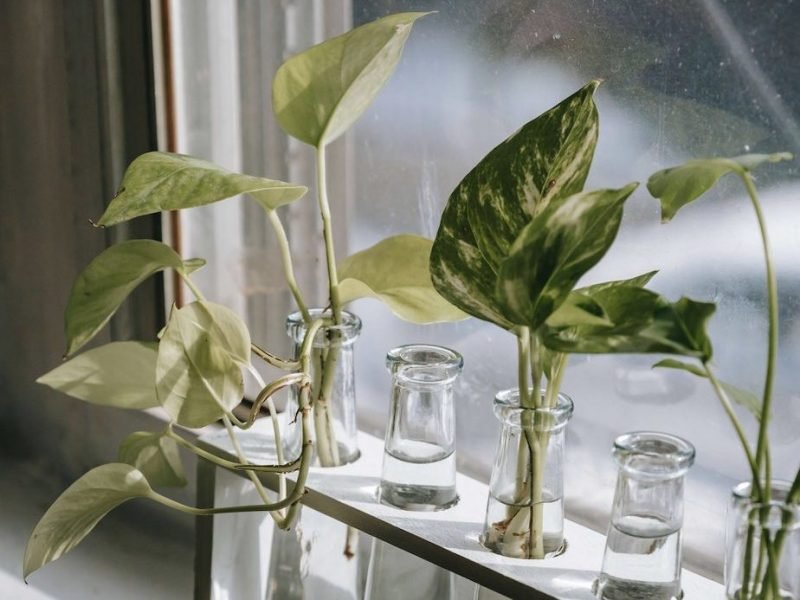
Propagating a Prayer Plant
Method
Prayer Plants propagate really successfully through stem cuttings. This involves cutting a segment of the stem below the leaf node, where the leaf meets the stem. It’s where the plant’s growth hormones are concentrated.
Steps
- Choose a healthy stem – Identify a stem section with at least two leaves. Ensure it’s healthy with no signs of disease or pest infestation.
- Make the cut – Using a clean, sharp pair of garden shears, make a cut below the leaf node. A 2-3 inch cutting works best.
- Prepare for rooting – Remove the lower leaf, leaving the node exposed. This is where the new roots will sprout from.
- Place in water – Place the cutting in a container filled with room-temperature water. Ensure the node is submerged but the remaining leaf stays dry.
- Wait and watch – Patiently wait for roots to develop. This usually takes 2-4 weeks. Refresh the water every few days to prevent bacterial growth.
- Transplant – Once the roots are about an inch long, transplant your new Prayer Plant into a pot with well-draining soil. Care for it as you would a mature plant.
Pruning your Prayer Plant
Pruning your Prayer Plant is a vital aspect of its care. This not only helps to maintain a neat appearance, but also ensures the health and vitality of the plant. Pruning is often forgotten (accidentally and on purpose) by plant parents as it can be quite daunting. However, below you’ll find all the details on why, how and when to prune your Prayer Plant.
Why is Pruning Necessary?
Pruning prevents the plant from becoming leggy and overgrown. It encourages bushier growth, making your Prayer Plant more aesthetically pleasing. Additionally, pruning allows you to remove any dead or dying leaves, reducing the risk of disease and pest infestation.
How to Prune
When it comes to pruning, remember that less is often more. The idea is to remove only the parts of the plant that are not contributing to its overall health or aesthetic appeal. Here are some steps to follow:
- Use a sharp, clean pair of scissors or gardening shears. The sharpness ensures a clean cut, which is less likely to result in damage or disease.
- Identify the leaves that are yellow, brown or otherwise unhealthy. These are the ones you want to remove.
- Make your cut at the base of the leaf stem, as close to the main stem as possible.
When to Prune
The best time to prune your Prayer Plant is in the early spring, just before the growing season starts. This gives the plant a chance to recover before it begins its period of active growth. However, if you notice any unhealthy leaves at other times of the year, do not hesitate to remove them.
Flowers on a Prayer Plant
The Prayer Plant is not only known for its fascinating leaf movements but also for its distinct, petite flowers. Flowering in a Prayer Plant is not a common occurrence, especially when it’s grown indoors. However, with the right conditions and care, your plant can reward you with these delightful blooms.
Appearance of the Flowers
The flowers of the Prayer Plant are small and delicate, often appearing in clusters. They range in colour from white to soft pink or lavender.
When Do Prayer Plants Flower?
Prayer Plants typically bloom during late spring or early summer. However, it’s important to note that they might not flower every year, especially if the plant is not receiving optimal care. It can be very unpredictable so don’t expect them to bloom on a schedule.
Encouraging Flowering
To encourage your Prayer Plant to flower, certain specific conditions need to be met. These include providing ample indirect light, maintaining high humidity, and using a balanced, water-soluble fertiliser.
Tips and Tricks for Cleaning a Prayer Plant
Keeping your Prayer Plant clean is not just about maintaining its aesthetic appeal, but also about ensuring its health and vitality. Regular cleaning helps to keep pests and diseases at bay, whilst also enabling the plant to efficiently photosynthesise. Here are some tips and tricks to help you keep your Prayer Plant in pristine condition.
Regular Dusting
The leaves of your Prayer Plant can easily collect dust. Not only does this make the leaves appear less vibrant, but it also obstructs the plant’s ability to photosynthesise properly as the thin layer of dust acts as a blocker to the sun. Dusting your Prayer Plant weekly with a soft, damp cloth can help to mitigate this issue.
Avoid Harsh Chemicals
When it comes to cleaning products for your Prayer Plant, less is more. Avoid using harsh chemicals or soaps as these can damage the delicate leaves. Instead, opt for using lukewarm water to gently clean the surfaces of the leaves. To remove tough dirt and grime, just use a drop or two of dish soap but nothing more.
Watch Out for Pests
Prayer Plants can occasionally become a target for pests such as spider mites or mealybugs. Regular cleaning can help to prevent these pests, but if you spot any, gently remove them with a soft, damp cloth or a mild insecticidal soap (more on this below).
Shower your Plant
Last but not least, giving your Prayer Plant a gentle shower can be highly beneficial. This not only cleans the plant but also increases the humidity around it, mimicking its natural rainforest habitat. Remember to use lukewarm water and let the plant drain thoroughly afterwards.
Prayer Plant Toxicity to Humans and Pets
Prayer Plants are non-toxic, making them a great addition to homes with pets and children.
It’s important to note, however, that while generally safe, some people or pets may have allergic reactions. Symptoms can include skin irritation or gastrointestinal upset if ingested. Always keep an eye on your furry friends and little ones around any houseplant.
Toxicity to Humans:
- If you or a family member are handling the plant and experience skin irritation, discontinue handling immediately. If symptoms persist, seek medical advice.
- While not harmful if ingested, it’s best to avoid eating the leaves of the Prayer Plant as they can cause minor stomach upset.
Toxicity to Pets:
- Despite being non-toxic, the Prayer Plant can still cause mild irritation in pets if chewed or ingested in large quantities. This can result in symptoms such as vomiting or diarrhoea.
- If you notice your pet showing signs of discomfort after interacting with the plant, it’s wise to contact your vet immediately.
Common Pests and Diseases
Your Prayer Plant, like all houseplants, may occasionally face the threat of pests and diseases. This section will guide you on how to identify common issues and tackle them effectively.
Spider Mites
Spider mites are tiny insects that suck the sap from the leaves, causing yellowing or browning. You may notice webbing on the undersides of the leaves. It’s recommended to isolate the affected plant as soon as you spot them (or signs of them) and treat with neem oil and an insecticide.
Mealybugs
Mealybugs appear as small, white fuzzy spots on the leaves and stems. They too suck sap from the plant, leading to wilting and discolouration. Control measures include manual removal or using an insecticidal soap.
Fungal Diseases
Fungal diseases like root rot and leaf spot can impact your Prayer Plant. Overwatering is often the cause of these problems. Ensure your plant has a well-draining soil and doesn’t sit in water. Always check the soil if you start to see these issues arise and refresh with dry soil if waterlogged.
Bacterial Diseases
Bacterial diseases such as bacterial leaf spot and bacterial blight often show as dark, water-soaked spots on the leaves. If left untreated, these diseases can lead to leaf drop and plant death. Use a copper-based bactericide for treatment.
Frequently Asked Questions
What are the light requirements of a Prayer Plant?
Prayer Plants prefer bright, indirect light. Exposure to direct sunlight can cause the leaves to fade or even burn. In contrast, insufficient light can lead to slow growth and loss of vibrant leaf colours.
How often should I water my Prayer Plant?
Prayer Plants enjoy moist soil but it’s crucial to avoid waterlogging. Generally, watering once a week during the growing season and less frequently during winter works well. Always check the top inch of the soil before watering; if it’s dry, it’s time to water.
What is the optimal temperature for a Prayer Plant?
These tropical beauties thrive in temperatures between 64-80°F (18-27°C). They can tolerate a small drop in temperature but prolonged exposure to cold can damage the plant.
Common Problems
Why are my Prayer Plant’s leaves curling?
Curling leaves on a Prayer Plant are most commonly caused by a lack of water or humidity. Make sure to take your plant out of its pot or use a moisture meter to check the moisture in the soil and adjust your watering accordingly. If the curling leaves are caused by a lack of moisture, they will soon recover and uncurl after watering again. If the soil is waterlogged and soggy replace it immediately to prevent further damage.
You can also increase the humidity for your Prayer Plant to stop the leaves from drying up and curling inwards. Prayer Plant leaves may also be curling due to temperatures being too low. Make sure your plant isn’t next to any drafty windows or doors as the cool air from outside may be shocking your plant, causing the leaves to curl.
Why does my Prayer Plant have brown leaves?
Brown leaves on a Prayer Plant are often caused by a lack of humidity or issues with sunlight. Prayer Plants are native to rainforests so are super sensitive to dry air. Misting or using a humidifier should prevent the problem from getting worse. Unfortunately, once the leaves have gone brown there is no going back from there.
If you’re still unsure about how to spot or fix the problem of brown leaves on your Prayer Plant, you can read more about it here.
Why are there yellow spots on my Prayer Plant’s leaves?
If you notice yellow spots forming on your Prayer Plant’s leaves it is probably caused by bad water quality. Prayer Plants are quite sensitive to high levels of chemicals found in hard tap water. Leave out the water for around 24 hours so that the chlorine and fluoride evaporates. Alternatively, you can also use rainwater or distilled water to avoid this.
Why are the leaves on my Prayer Plant fading and losing their colour?
If you notice that your Prayer Plant’s leaves are discolouring, it will be caused by sunlight issues, either too much or too little. If the old leaves are fading they are being exposed to too much intense sunlight. However, if it’s the new leaves that are turning quite solid green and losing their variegation then it usually means your Prayer Plant needs more sunlight.
Why does my Prayer Plant have brown tips on its leaves?
Brown tips on a Prayer Plant is most commonly caused by dry air. If your room lacks humidity, it will cause the leaves to dry out, starting at the tips and edges. Increase the humidity by misting your plant every few days, using a pebble tray or investing in a humidifier to keep a nice stable humidity level for your Prayer Plant.
Why does my Prayer Plant have yellow leaves?
If the leaves on your Prayer Plant are turning a solid yellow colour then this indicates watering issues. It can be caused by both under and overwatering your Prayer Plant. They don’t like sitting in soggy soil but can develop yellow leaves quickly if the potting mix completely dries out.
Watering your Prayer Plant is a fine balance that is affected by a lot of factors such as the size of your plant as well as the environment its in. Schedules don’t really work so well for Prayer Plants so using a moisture meter is the best way to monitor how much you should water your plant.
If you have been underwatering your Prayer Plant, don’t overcompensate by giving your plant loads of water in one go. This will shock your plant and can damage the root system.
What’s causing the black leaves and stems on my Prayer Plant?
If your Maranta Prayer Plant has a blackened base, this is a sign that overwatering has caused the root system to rot. This will affect your plant from the roots upwards so will impact the lower section of the plant first.
Take your Prayer Plant out of its pot and replace the soil immediately if still soggy. Don’t let it naturally dry out as this will risk more damage. If there are no roots or lower part of the plant that is salvageable, we recommend propagating the stems to save your Prayer Plant.
Why is my Prayer Plant losing leaves?
If you notice that your Prayer Plant is losing leaves at a quicker rate than it is growing new ones then this may be caused by low temperatures. If the leaves feel quite dry before they fall off then it may also be caused by dry air and a lack of humidity. Move your Prayer Plant to a slightly warmer spot in your home and mist the leaves every few days.
However, if your Prayer Plant is losing a few leaves in autumn then it may be simply due to your plant going into the dormant period. It’s normal for Prayer Plants to stop all growth during autumn and winter and lose a lot of their leaves. It’s nothing to worry about and you simply need to give them a little bit more light and warm temperatures and they’ll regrow once spring is near!