


Rattlesnake Plant
Introduction to the Rattlesnake Plant
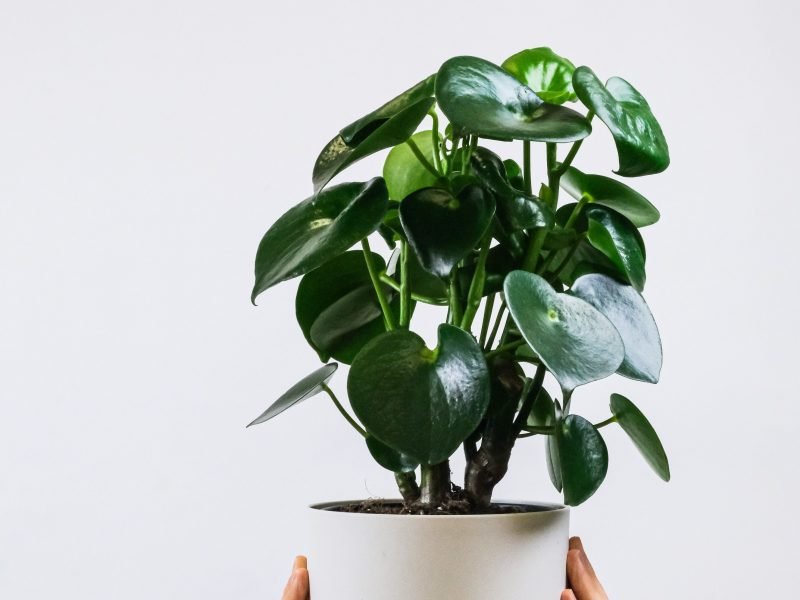
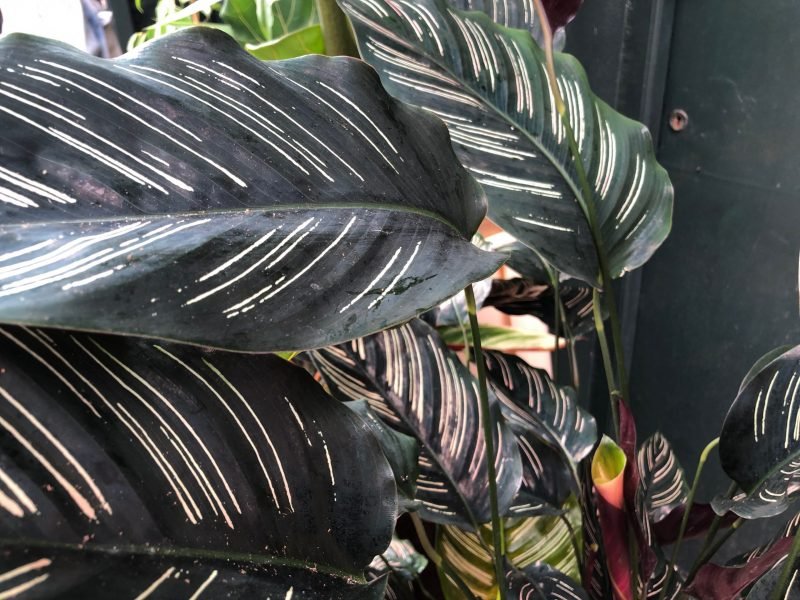
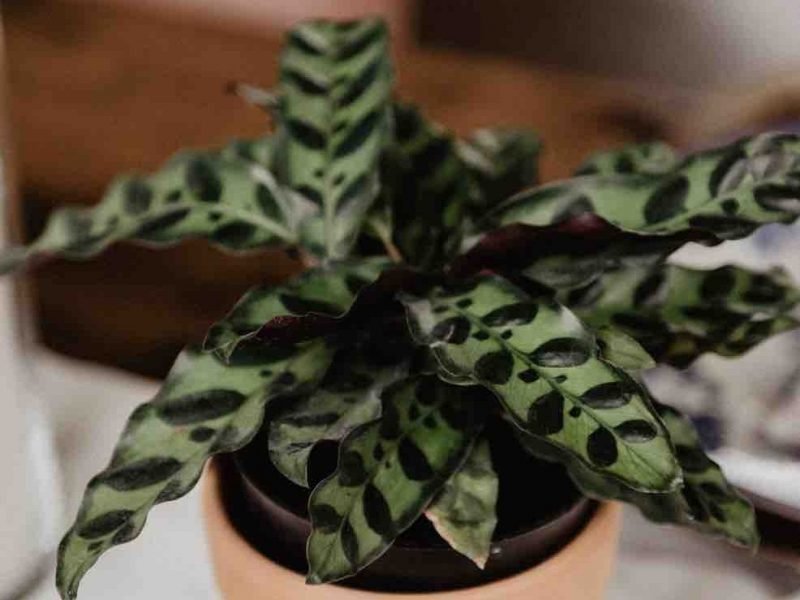
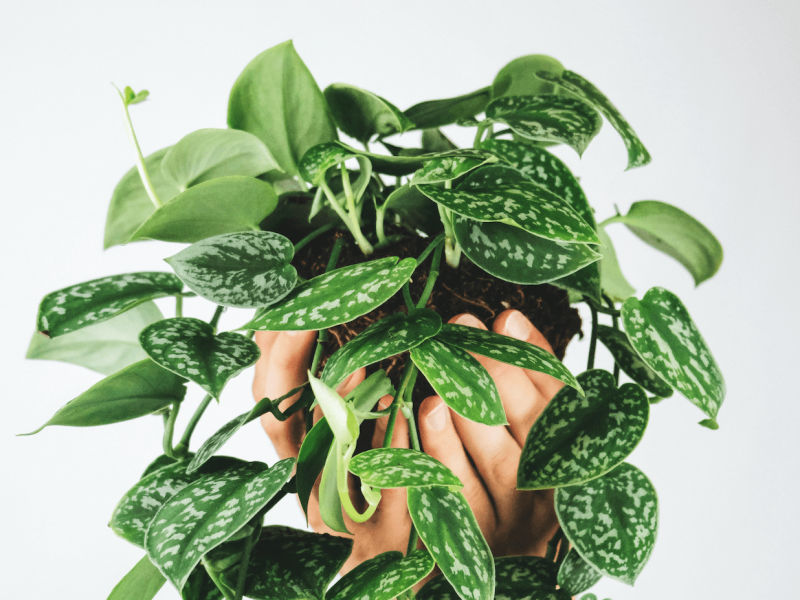
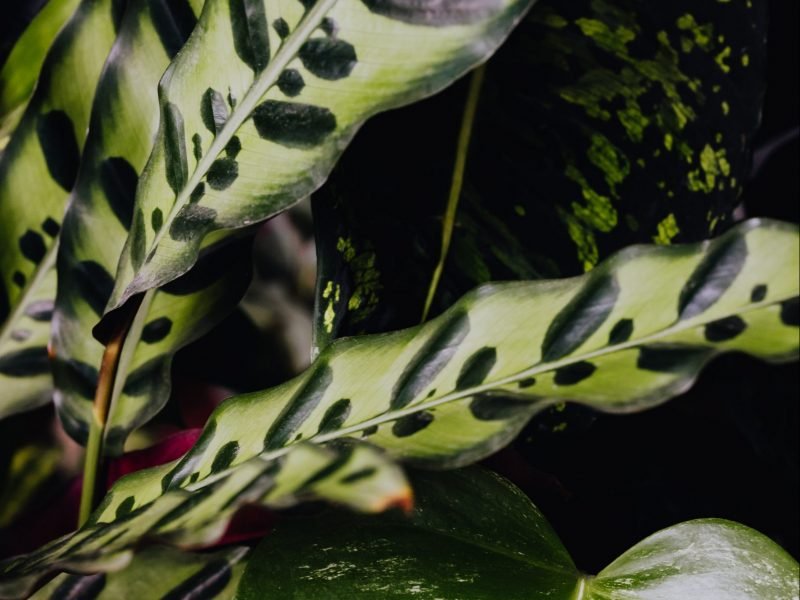
The Rattlesnake Plant, also known as Calathea Lancifolia, is a popular houseplant loved for its striking, reptile-like foliage. Native to Brazilian rainforests, this plant brings a feeling of the tropics right to your home.
Why is it called the Rattlesnake Plant?
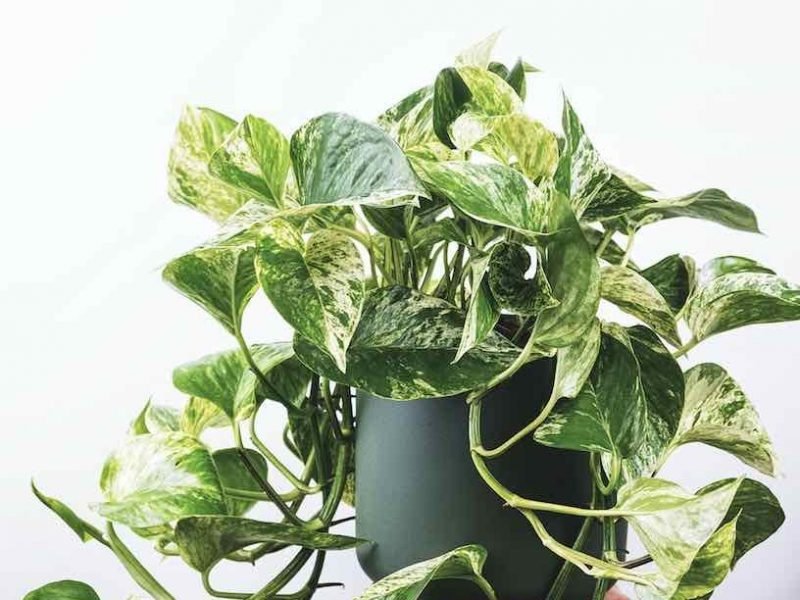
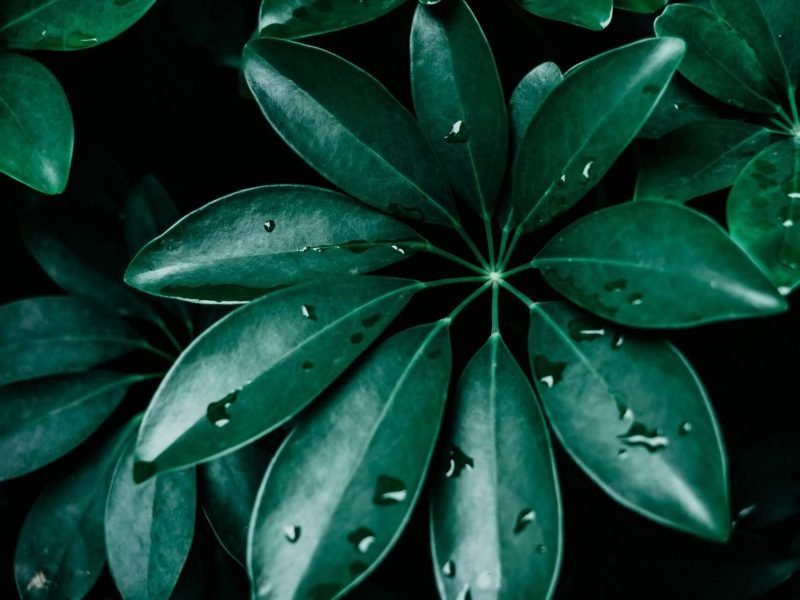
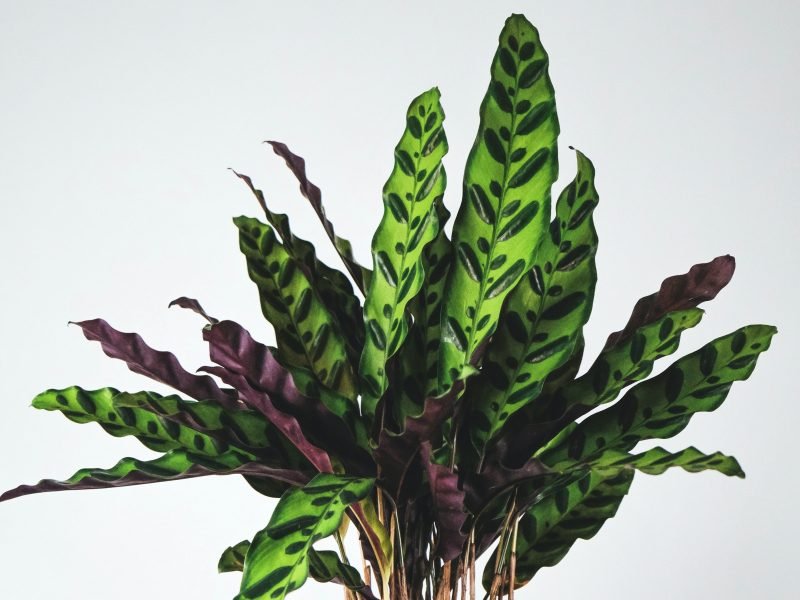
Its name is inspired by the intricate, colourful patterns on its leaves that closely resemble the skin of a rattlesnake. The plant displays wavy, elongated leaves with dark green tops and purple undersides, creating a striking visual contrast.
Understanding The Rattlesnake Houseplant
A member of the Marantaceae family, the Rattlesnake plant has a fascinating attribute known as ‘nyctinasty’. This term refers to the movement of its leaves, which rise and fall from day to night, almost as if the plant is participating in a slow, rhythmic dance.
Nyctinasty is a reaction to changes in light, temperature, and water. During the day, the leaves extend outwards to catch as much light as possible. At night, they stand up straight, as if in a state of rest. This movement is a joy to observe and adds another layer of intrigue to this already captivating plant.
Another great feature of the Rattlesnake Plant is that it’s also an excellent air purifier. As part of the photosynthesis process, it removes toxins from the air, improving the overall air quality in your home. This aspect makes it not only a beautiful addition but also a beneficial one.
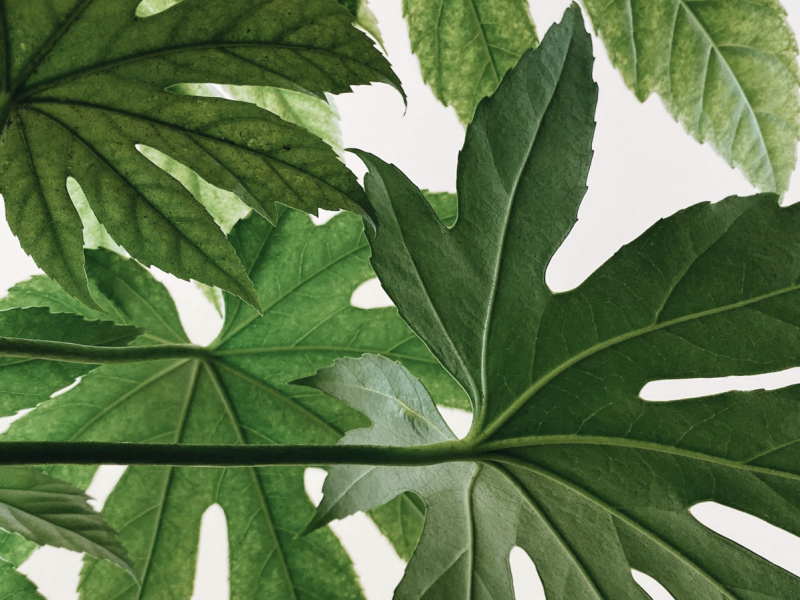
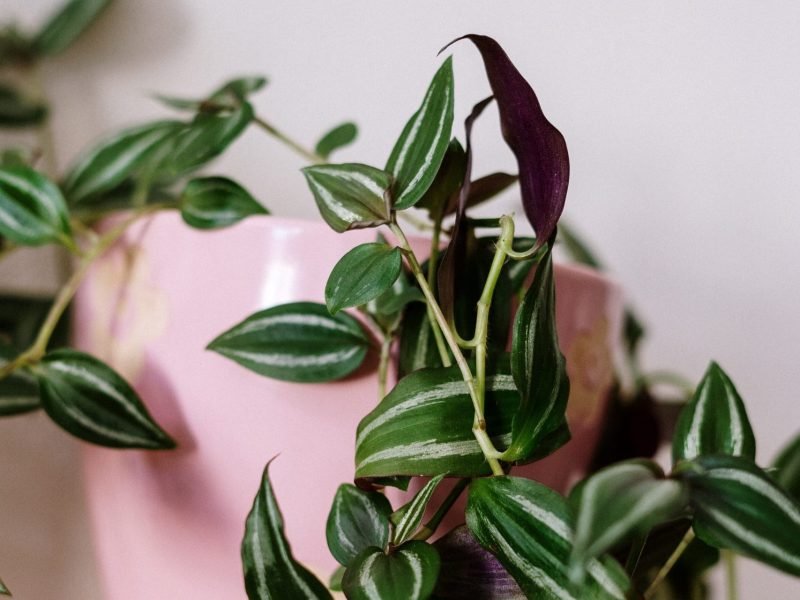
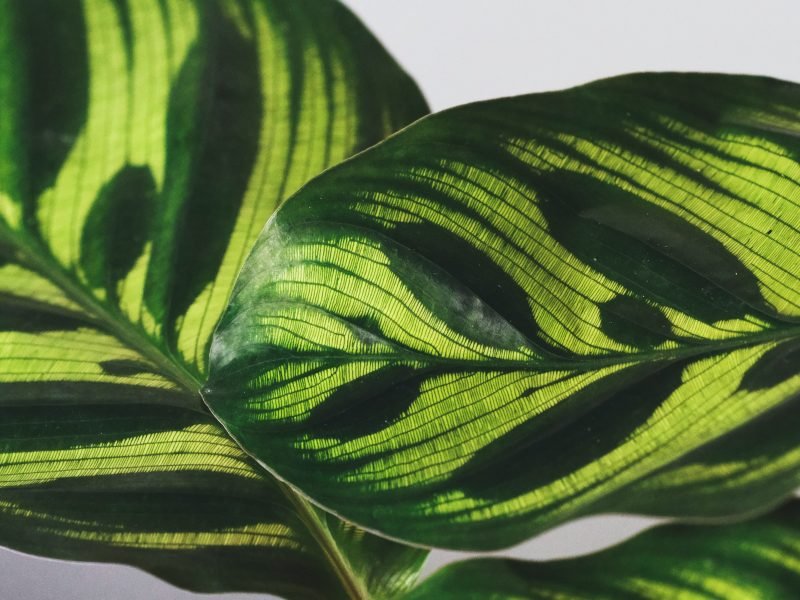
Rattlesnake Plant Leaves
Rattlesnake Plant Light Requirements
This tropical houseplant thrives in indirect, medium to bright light. You need to be very careful about exposing these plants to any direct sunlight as it can scorch their delicate leaves.
Placement Tips:
- Place the plant near a north or east-facing window (accurate for the northern hemisphere).
- Avoid direct sunlight; utilise sheer curtains if necessary.
- Ensure the light is evenly distributed to avoid leaf burn.
Remember, the key is to mimic the plant’s natural habitat – the understory of Brazilian rainforests. It’s an area with diffused light, shielded by larger plants and trees.
Artificial Lighting for Rattlesnake Plant
Artificial lighting can supplement natural light, particularly in darker areas of your home and can be a great help to avoid issues throughout darker months of the year. Fluorescent lights, especially those with a high colour temperature, are ideal for this.
Watering Your Rattlesnake Plant: Tips And Tricks
Watering your Rattlesnake Plant is one of the biggest challenges when caring for these plants as there are a lot of factors to consider and a lot of environmental changes that have an impact on when, how and how much to water. But don’t worry, below we have broken down the main elements you need to know about to ensure you’re watering your Rattlesnake Plant correctly:
1. Watering Frequency
Rattlesnake Plants, like many tropical houseplants, are very sensitive to overwatering. It prefers its soil to slightly dry out between watering sessions. An effective method is to stick your finger about an inch into the soil and only water when it feels dry to the touch. We also recommend buying a moisture meter if you’re having issues with overwatering or underwatering.
2. Water Quality
Rattlesnake Plants aren’t fans of chemicals found in tap water such as chlorine or fluorine. Using rainwater, distilled water, or filtered water is a better option for these sensitive plants. If tap water is your only choice and you live in a hard water area, leaving it to sit overnight can help evaporate some of these chemicals.
3. Water Temperature
Never use cold or hot water to hydrate your Rattlesnake Plant, as this can shock its system and burn the root system. Room temperature water is ideal for these tropical plants.
3. Top down vs bottom up
There are two methods you can use to water your Rattlesnake Plant, either from the top of the pot or by adding water to the saucer and letting it evaporate up. Both methods work well for this plant but whichever one you use you should always be removing any excess water from the saucer 15 minutes after watering to avoid overwatering.
Humidity Requirement
As it is a tropical species, the Rattlesnake Plant thrives in humidity. They originate from Brazil’s rainforests, where humidity is naturally high. While you can’t (and don’t want to) completely replicate the level of humidity naturally found in a rainforest, boosting the humidity will go a long way to avoiding issues caused by dry air such as brown leaf tips and edges.
Indoors, most homes have lower humidity levels, especially during winter when heating systems are on. This can create a dry atmosphere that’s not ideal for your rattlesnake plant. If the air is too dry, your plant may start to develop brown, crispy leaf edges.
How to increase the humidity in your home:
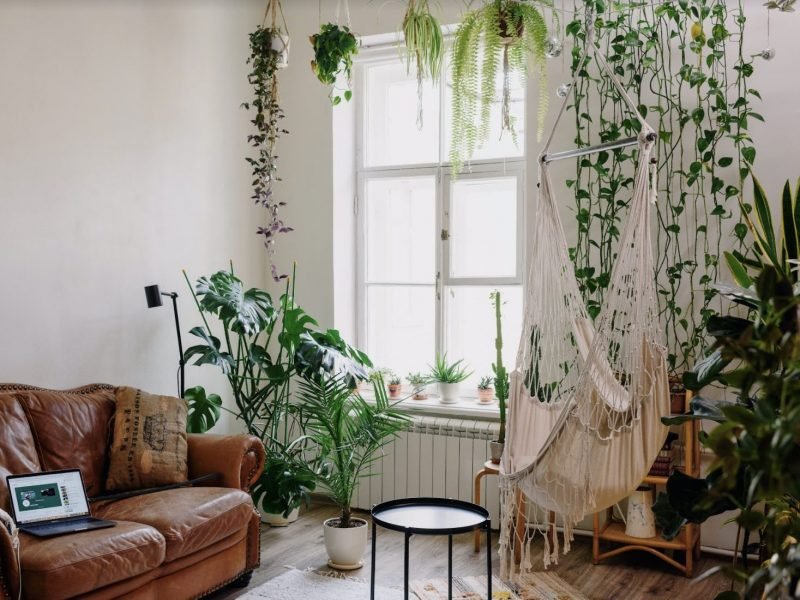
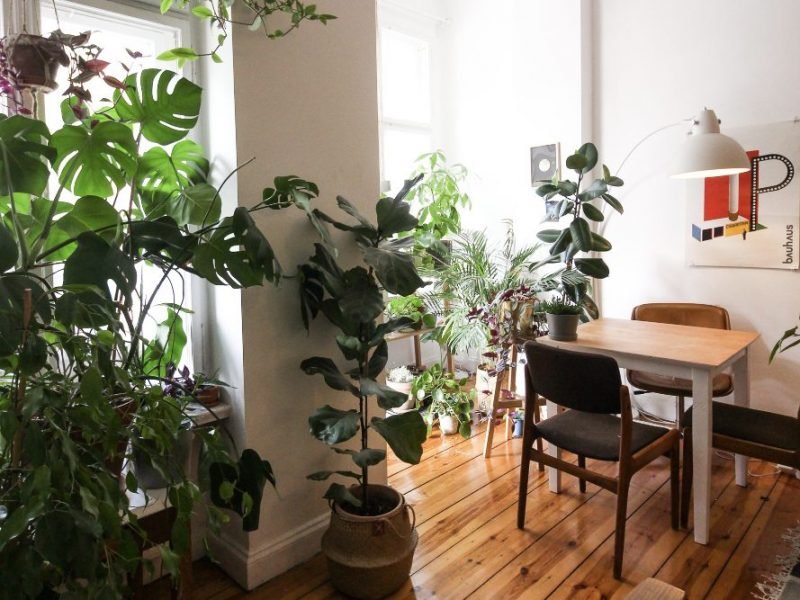
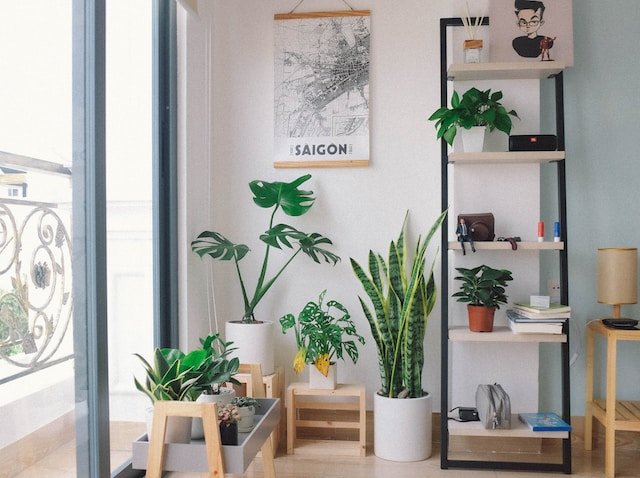
- Grouping Plants: Position your rattlesnake plant alongside other houseplants. Plants release moisture into the air, elevating humidity levels around them.
- Water Tray: Place your pot atop a tray filled with water and pebbles. Ensure the water level doesn’t touch the pot’s base to prevent root rot.
- Misting: Gently spray your Rattlesnake Plant’s leaves but make sure to only do this in the morning so the water droplets have enough time to evaporate before nightfall. Cold damp leaves can lead to leaf rot.
- Humidifier: For a more consistent and hands-off solution, consider investing in a humidifier.
Temperature Requirements
Calathea Lancifolia plants thrive in temperatures that mimic their tropical rainforest origins, as with humidity. Ideally, the temperature should range between 64 to 75°F (18- 24°C). Any temperature below 59°F (15°C) can potentially harm the plant, causing leaf curling and brown spots. If the plant is living in extremely cold temperatures it can actually cause the cells in the leaves to freeze and die so be careful of this in the height of winter.
These plants are also not fond of sudden temperature changes so avoid placing them near drafts, air conditioning vents, or heaters. We strongly recommend monitoring indoor temperatures so you can react to any changes before they cause issues with your plant’s health.
Winter Care
As we mentioned above, winter can be a challenging time for your Rattlesnake Plant as the temperature drops and heating systems dry out the air. Here are a few tips to mitigate any issues that this may cause:
- Keep the Plant Away From Radiators: Radiators and heaters can create hot spots which are detrimental to the plant.
- Use a Humidifier: A humidifier can help maintain the humidity levels, making up for the dryness caused by heating systems.
- Provide Extra Insulation: Place the plant on a tray of pebbles filled with water or cover the pot with a layer of mulch to provide extra insulation.
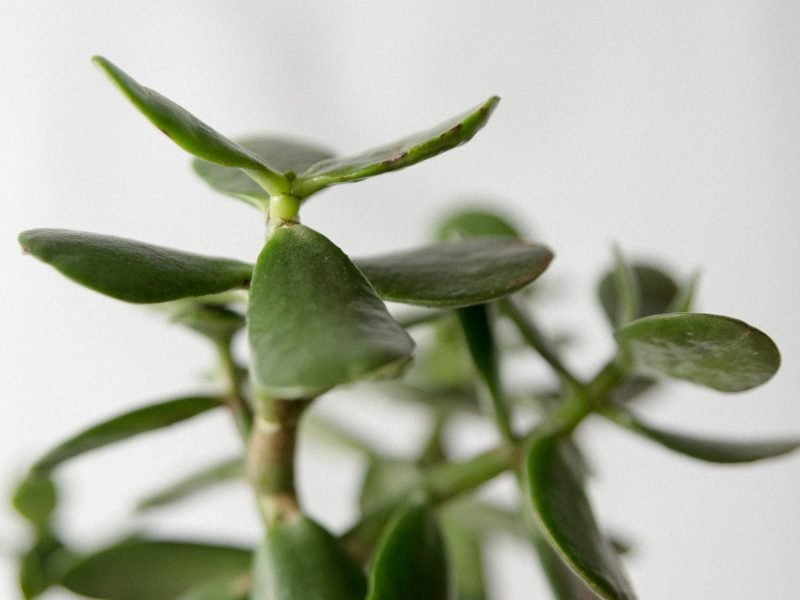
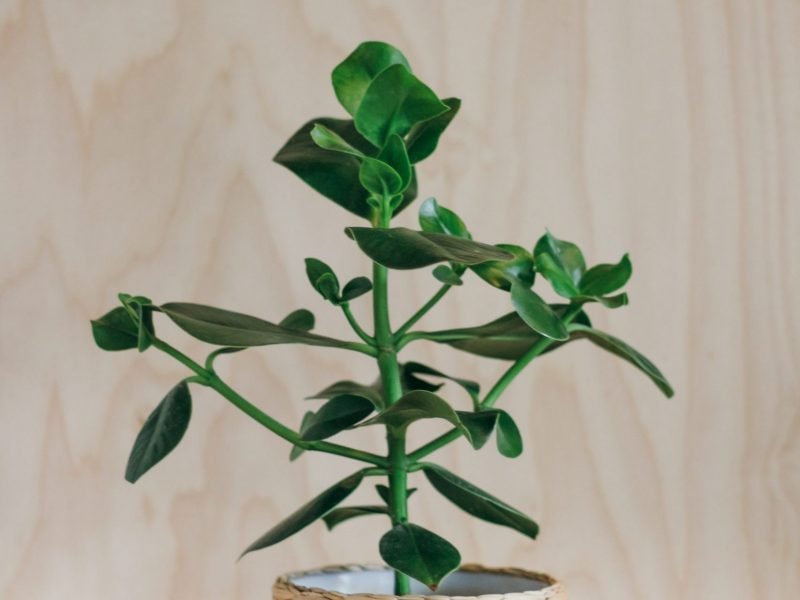
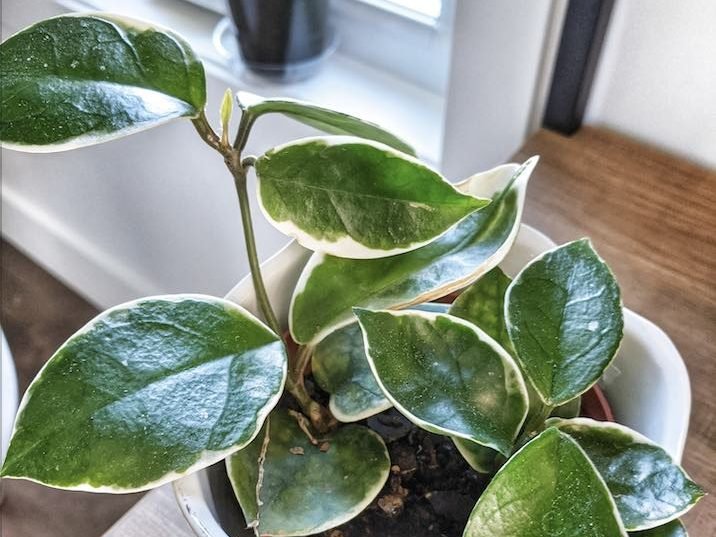
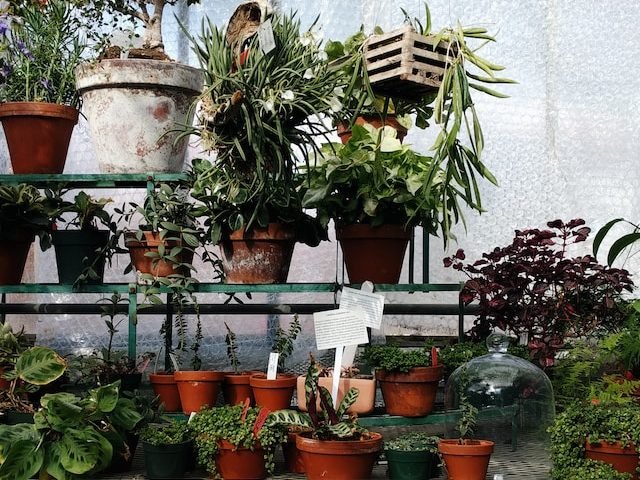
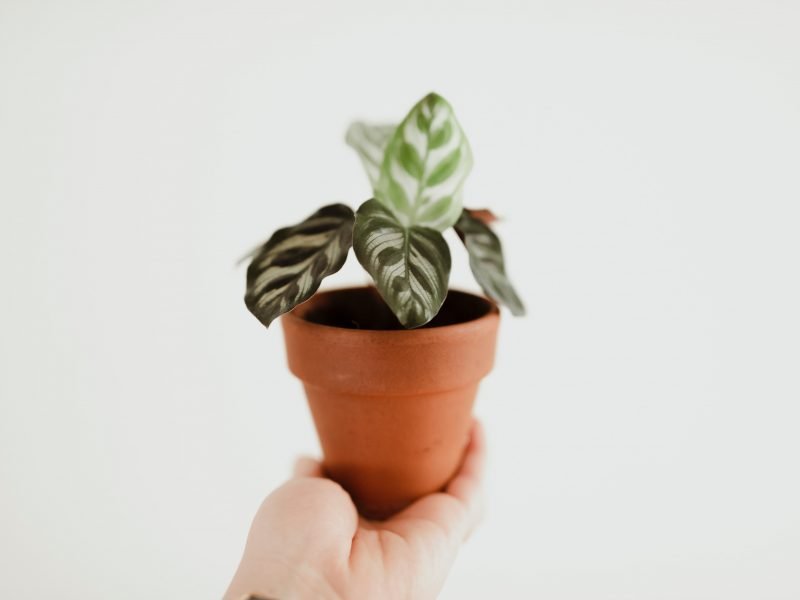
Small Rattlesnake Plant
Choosing the Right Soil for your Rattlesnake Plant
Getting the soil composition right is fundamental in ensuring your Rattlesnake plant thrives. This tropical plant prefers a well-draining soil mix which mimics its natural habitat. The ideal soil should retain some moisture but not become waterlogged.
Components of the Ideal Soil Mix:
- Peat moss: This helps in retaining necessary moisture (use coir for a more sustainable alternative).
- Perlite: It aids in drainage and prevents the soil from compacting.
- Orchid bark: This replicates the plant’s natural habitat and assists in aeration.
Commercial Soil Mix:
If you prefer buying ready-made soil mixes, look for those specifically designed for indoor plants or tropical plants. They typically have the necessary components and nutrients for the Rattlesnake plant. However, you may need to add some extra perlite to increase drainage if it’s not already included.
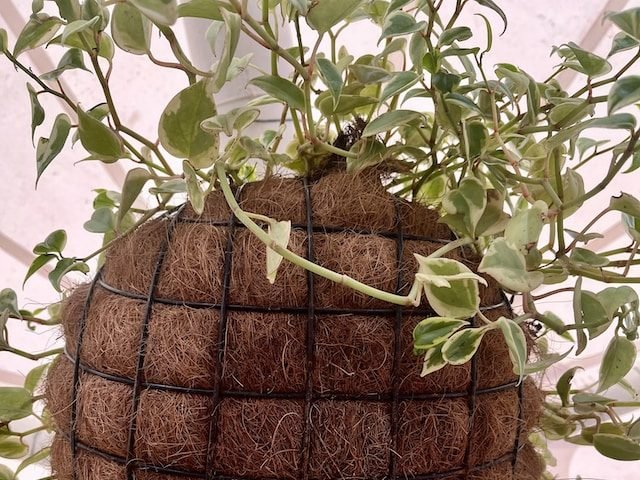
Repotting Your Rattlesnake Plant: A Step-By-Step Guide
Repotting your Rattlesnake Plant shouldn’t be a daunting task and something that we put off and forget about. It is actually a really beneficial process that fosters healthy growth and ensures your plant has ample space to flourish. Below we’ve outlined a simple step-by-step to help you repot your plant right!
Step 1: Choosing the Right Time
For optimal results, it’s best to repot your Rattlesnake Plant during the early spring months. This is when the plant is in its active growth phase and can easily recover from the shock of repotting.
Step 2: Selecting a Suitable Pot
Choose a pot that is 2-3 inches larger in diameter than the current one. A pot with ample drainage holes is vital to prevent waterlogging, which could lead to root rot.
Step 3: Preparing the Potting Mix
Prepare a well-draining potting mix. A blend of standard potting soil, perlite, and peat moss works perfectly (see above). The mix should be light and airy to promote root health.
Step 4: Removing the Plant from its Current Pot
Gently remove the plant from its current pot. Be careful not to damage the delicate root system. If the plant is stuck, tilt the pot and tap it lightly to loosen the soil and roots. Make sure to untangle any roots that are growing out of the drainage holes to make removing your plant easier and less damaging.
Step 5: Placing the Plant in the New Pot
Place the plant in its new home, ensuring it sits at the same depth as it was in the previous pot. Fill the pot with the prepared potting mix, leaving about an inch of space from the top.
Step 6: Watering after Repotting
After repotting, water your Rattlesnake Plant thoroughly. This helps to settle the soil around the roots.
Fertilizing Your Rattlesnake Plant: A Comprehensive Guide
While this plant is generally easy to care for, proper fertilization is key to maintaining its vibrant colours and promoting growth.
When to Fertilize
The best time to fertilize your Rattlesnake Plant is during its active growing season (spring and summer). During this period, apply a balanced houseplant fertilizer approximately once a month. In the cooler months, the plant enters a dormant phase and should not be fertilized at all.
Choosing the Right Fertilizer
As Rattlesnake Plants are native to the tropics, they thrive in rich, well-draining soil. Therefore, a balanced, water-soluble fertilizer, or a slow-release granular product, is ideal. Ensure the fertilizer is rich in nitrogen to support the plant’s vibrant green growth.
Application
Make sure to dilute the fertilizer to half the recommended strength. This prevents the sensitive roots from burning which is caused by excess fertilizer suffocating and burning the roots. Fertilize the plant after watering to ensure the nutrients are evenly distributed throughout the soil.
Signs of Over-fertilization
Over-fertilization can harm your rattlesnake plant, leading to symptoms such as yellowing leaves, brown leaf tips, and slowed growth. If you notice any of these signs, cease fertilizing immediately and flush the soil with clean water to remove excess salts.
We then recommend not fertilizing for the remainder of the growth period to avoid any further issues and let your plant recover. When you do begin fertilizing again the following year, ensure you are diluting the fertilizer even more than before.
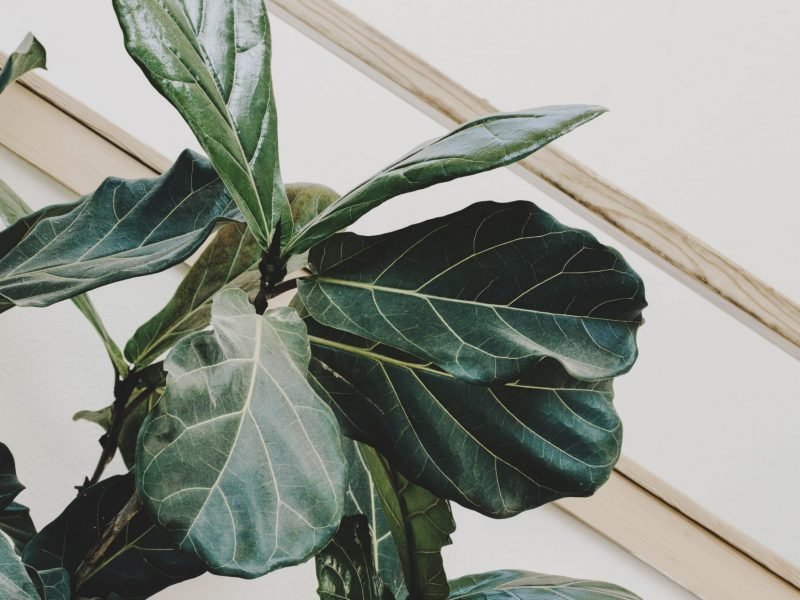
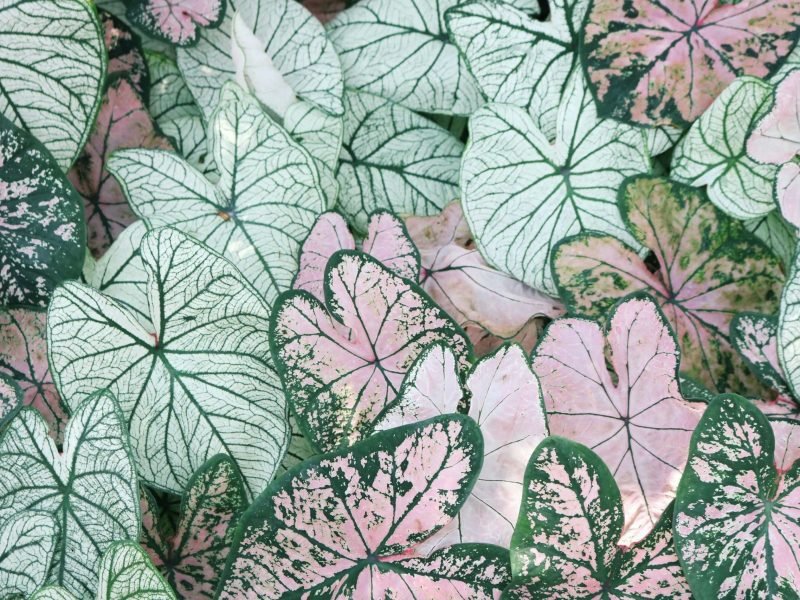
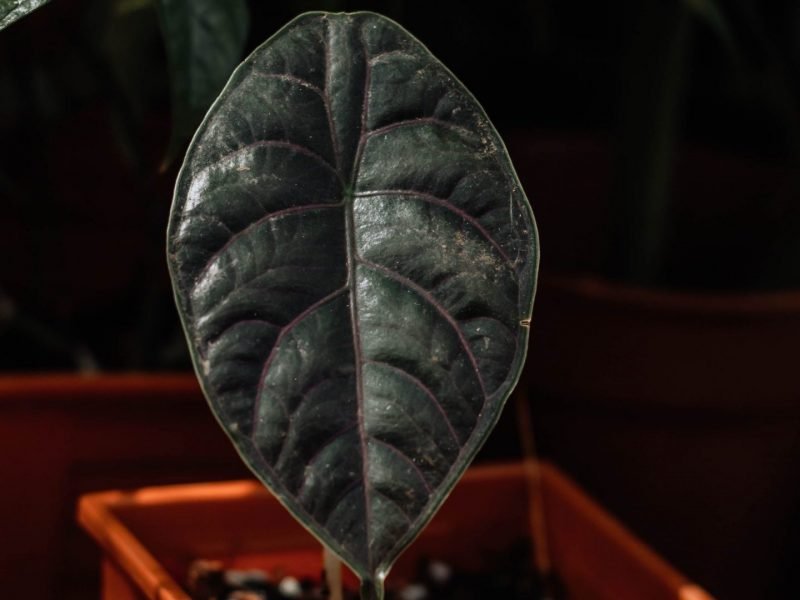
Rattlesnake Plant Leaves
Pruning Your Rattlesnake Plant: Why And How To Do It
Pruning your Rattlesnake Plant is an essential part of maintaining its health and vitality but it’s something that is very easily forgotten when caring for all houseplants.
Regular pruning ensures that your plant maintains an optimal shape and that it grows robustly. Consequently, your plant rewards you with a lush display of intricate patterns and colours.
Why should you prune your Rattlesnake Plant?
- Promotes healthy growth: Pruning helps remove dead, damaged or diseased foliage, enabling the plant to focus its energy on new and healthy growth.
- Enhances appearance: Pruning helps maintain a shape that’s visually pleasing and prevents overgrowth which can lead to a straggly appearance.
- Prevents disease spread: By removing affected leaves, you minimise the risk of disease spreading to the rest of the plant.
How should you prune your Rattlesnake plant?
- Identify the leaves: Look for leaves that are yellowing, wilting, or showing signs of disease or damage. Alternatively, if you are pruning to shape your plant, locate the leaves you want to remove before making a single cut.
- Use a sharp tool: Use sharp, clean shears or scissors to make a cut at the leaf base. This can prevent the spread of disease.
- Make the cut: Aim to cut at an angle, as close as possible to the stem, without damaging it.
Propagating Your Rattlesnake Plant: The Ultimate Guide
Propagating your Rattlesnake Plant (Calathea Lancifolia) may seem like a daunting task, but with a bit of knowledge and preparation, you can easily create a new plant from your existing mother plant. Below you’ll find the steps you need to successfully propagate your plant.
Step 1: Gather the Necessary Materials
Before you begin, make sure you have all the necessary materials on hand. These include a healthy Rattlesnake Plant, a clean knife or pair of scissors, a pot with drainage holes, fresh potting mix, and a plastic bag.
Step 2: Select and Cut the Division
Remove your Rattlesnake Plant from its pot to divide up the sections. Using your clean knife or scissors, cut a section of root with at least one leaf attached. This will be your new plant.
Step 3: Plant the Cuttings
Next, fill your pot with fresh potting mix and make a hole in the centre. Place your cutting in the hole and gently cover the roots with the soil.
Step 4: Provide Optimal Growing Conditions
After planting, place the pot in a plastic bag to create a greenhouse effect. This will keep the humidity high, which is crucial for the new plant’s development. Keep the plant in a warm, bright spot, but out of direct sunlight.
Step 5: Monitor Growth and Care
Keep an eye on your young plant. It should begin to show signs of new growth within a few weeks. Once it’s established, care for it as you would a mature Rattlesnake Plant.
Flowers on a Rattlesnake Plant
The Rattlesnake Plant is not typically known for its blossoms. Instead, it’s the striking foliage that captures attention. However, under certain conditions, it may produce small, non-showy flowers.
It’s important to note that the flowering of a Rattlesnake Plant isn’t always a sign of optimum health. In fact, it can be quite the opposite. In the wild, these plants often bloom when they’re under stress, as a last-ditch effort to try and reproduce before they die.
However, a blooming Rattlesnake Plant in indoor environments sometimes can be a reaction to stressors like inconsistent watering or inadequate light, but this does not necessarily mean they are dying. It could simply mean they need a little more care and attention.
To throw more of a spanner into the works, fully healthy and thriving Rattlesnake Plants are also known to bloom so don’t jump to any conclusions straight away.
Rattlesnake Plant Toxicity to Pets and Humans
For pets: It’s good news for pet owners. The Rattlesnake Plant (Calathea Lancifolia) is not toxic to cats or dogs. That said, it’s always wise to discourage them from nibbling on the leaves, as this can cause mild gastrointestinal upset.
For humans: Similarly, the plant poses no significant harm to humans. However, it’s always a good practice not to consume parts of any indoor plant, Rattlesnake Plant included. Ingesting a large amount of this plant can lead to unwanted stomach discomfort or, in rare cases, an allergic reaction.
Cleaning your Rattlesnake Plant
Maintaining the cleanliness of your Rattlesnake plant is crucial for its long-term health (it’s not just about the aesthetics). Even a thin layer of dust can prevent your plant from getting all the available light which limits its photosynthesis abilities slightly. Below are some of the main ways you can keep your Rattlesnake Plant’s leaves clean…
Regular dusting: Dust and grime can accumulate on the plant’s leaves, obstructing its photosynthesis process. Regular dusting with a soft cloth or sponge can help keep your plant fresh and clean.
Shower time: Occasionally, your Rattlesnake plant would appreciate a light shower. Simply place it under a gently running tap, making sure all the leaves are washed. However, ensure no water is left standing in the pot to prevent the roots from getting waterlogged.
Cleaning solution: A mild solution of dish soap and water can be used to treat stubborn dirt or potential pests. Spray it on the plant’s leaves and then wipe them down with a cloth. Never use any harsh chemicals or leaf shine as this can damage the leaves and clog up the pores permanently.
Common Pests And Diseases Of Rattlesnake Plants
Rattlesnake Plants are not immune to common houseplant pests and diseases and you may from time to time encounter these issues. Knowing what to do and fighting the issue early is the best defence against pests and diseases so here’s a brief rundown of the common issues you might encounter and how to mitigate them.
Spider Mites
These tiny, almost invisible pests can cause significant damage to your Rattlesnake plant. Spider mites suck out the sap from the leaves, leading to faded, speckled foliage. If left unchecked, the infestation can cause leaves to dry out and eventually fall off. Look out for small white spots across the leaves as a sign of spider mites.
Fungus Gnats
Fungus gnats are small, dark-coloured flies that hover around the plant. The larvae feed on the plant roots, potentially affecting the plant’s overall health. Overly damp soil conditions often attract these pests.
Scale
Scale insects are small pests that attach themselves to the plant and suck the sap, causing weakened growth and yellowing leaves. They typically appear as tiny, bumpy brown spots on the plant.
Root Rot
A common disease in Rattlesnake plants is root rot, which usually occurs due to overwatering. Symptoms include yellowing leaves and a rotting or foul-smelling base. It’s essential to ensure proper drainage to prevent this issue.
Preventing and Treating Pests and Diseases
- Regular Inspection: Regularly check your Rattlesnake plant’s leaves and stems for any signs of pests or disease. You want to do this thoroughly about once a month but briefly each time you water.
- Proper Watering: Avoid overwatering, as it can lead to root rot. Water your plant only when the top inch of the soil is dry.
- Isolation: If you notice an infested plant, isolate it immediately to prevent the pests from spreading to other plants.
- Pest Control: Use a horticultural soap or neem oil to get rid of pests like spider mites, scale insects, and fungus gnats. We also recommend removing the worst affected leaves to cut the size of the infestation and make it easier to tackle.
Frequently Asked Questions about Rattlesnake Plant Care
How often should I water my Rattlesnake Plant?
Watering your Rattlesnake Plant depends on several factors like the size of the plant, the potting mix used, and the surrounding environment. Generally, you should water your Rattlesnake Plant when the top 1-2 inches of soil feel dry to the touch but if you’re unsure, we recommend investing in a moisture meter. Overwatering can lead to root rot, a common issue with Calathea plants and a lot of other houseplant types.
What kind of light does a Rattlesnake Plant need?
This plant prefers bright, indirect light. Too much direct sunlight can cause the leaves to fade or burn, while too little light can lead to slow growth and loss of the distinctive patterns on the leaves.
How should I fertilise my Rattlesnake Plant?
Feed your Rattlesnake Plant with a balanced, water-soluble fertiliser, diluted to half the strength recommended on the package to avoid fertilizer burn. Fertilise once a month during the growing season, from spring through early autumn.
Does a Rattlesnake Plant need humidity?
Yes, the Rattlesnake Plant is a tropical plant that thrives in a humid environment. If your home is dry, consider using a humidifier or placing the plant on a tray filled with pebbles and a bit of water to increase the surrounding humidity.
Rattlesnake Plant Common Problems
Why are my Rattlesnake Plant’s leaves curling?
If you notice the leaves on your Rattlesnake Plant are starting to curl, this is often due to either a lack of water or not enough humidity in the air. Slightly increase the frequency of your watering and occasionally mist your plant if you are not already as this may stop the leaves from curling. We also recommend using a humidifier to increase the humidity around your plant.
Why are there brown leaf tips on my Rattlesnake Plant?
Brown leaf tips on a Rattlesnake Plant are most commonly due to underwatering or a lack of humidity. Slightly increase the frequency of your watering and occasionally mist your plant using a spray bottle or use a humidifier if you are not already.
Why is my Rattlesnake Plant wilting?
If you find that your Rattlesnake plant has started to wilt, you may be overwatering. Check the moisture in the soil using a moisture meter and replace it with a high-quality potting mix if waterlogged. Reduce your watering and keep an eye on the moisture levels in the soil. We also recommend adding drainage holes to the pot if there aren’t any or switching to terracotta pots.